
- Best for
- Spa-style bathtub mood
- Cost
- $340 (about $400 budget cap)
- Time
- 1–2 weekends
- Difficulty
- Easy to Confident DIY (faucet optional)
Why warm white-and-wood bathtub nook is the spa-feel bathroom of 2026
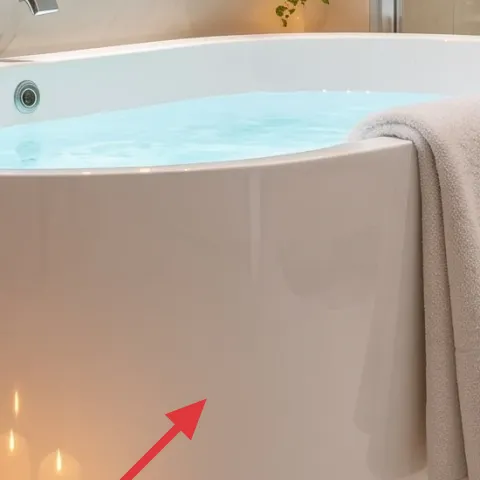
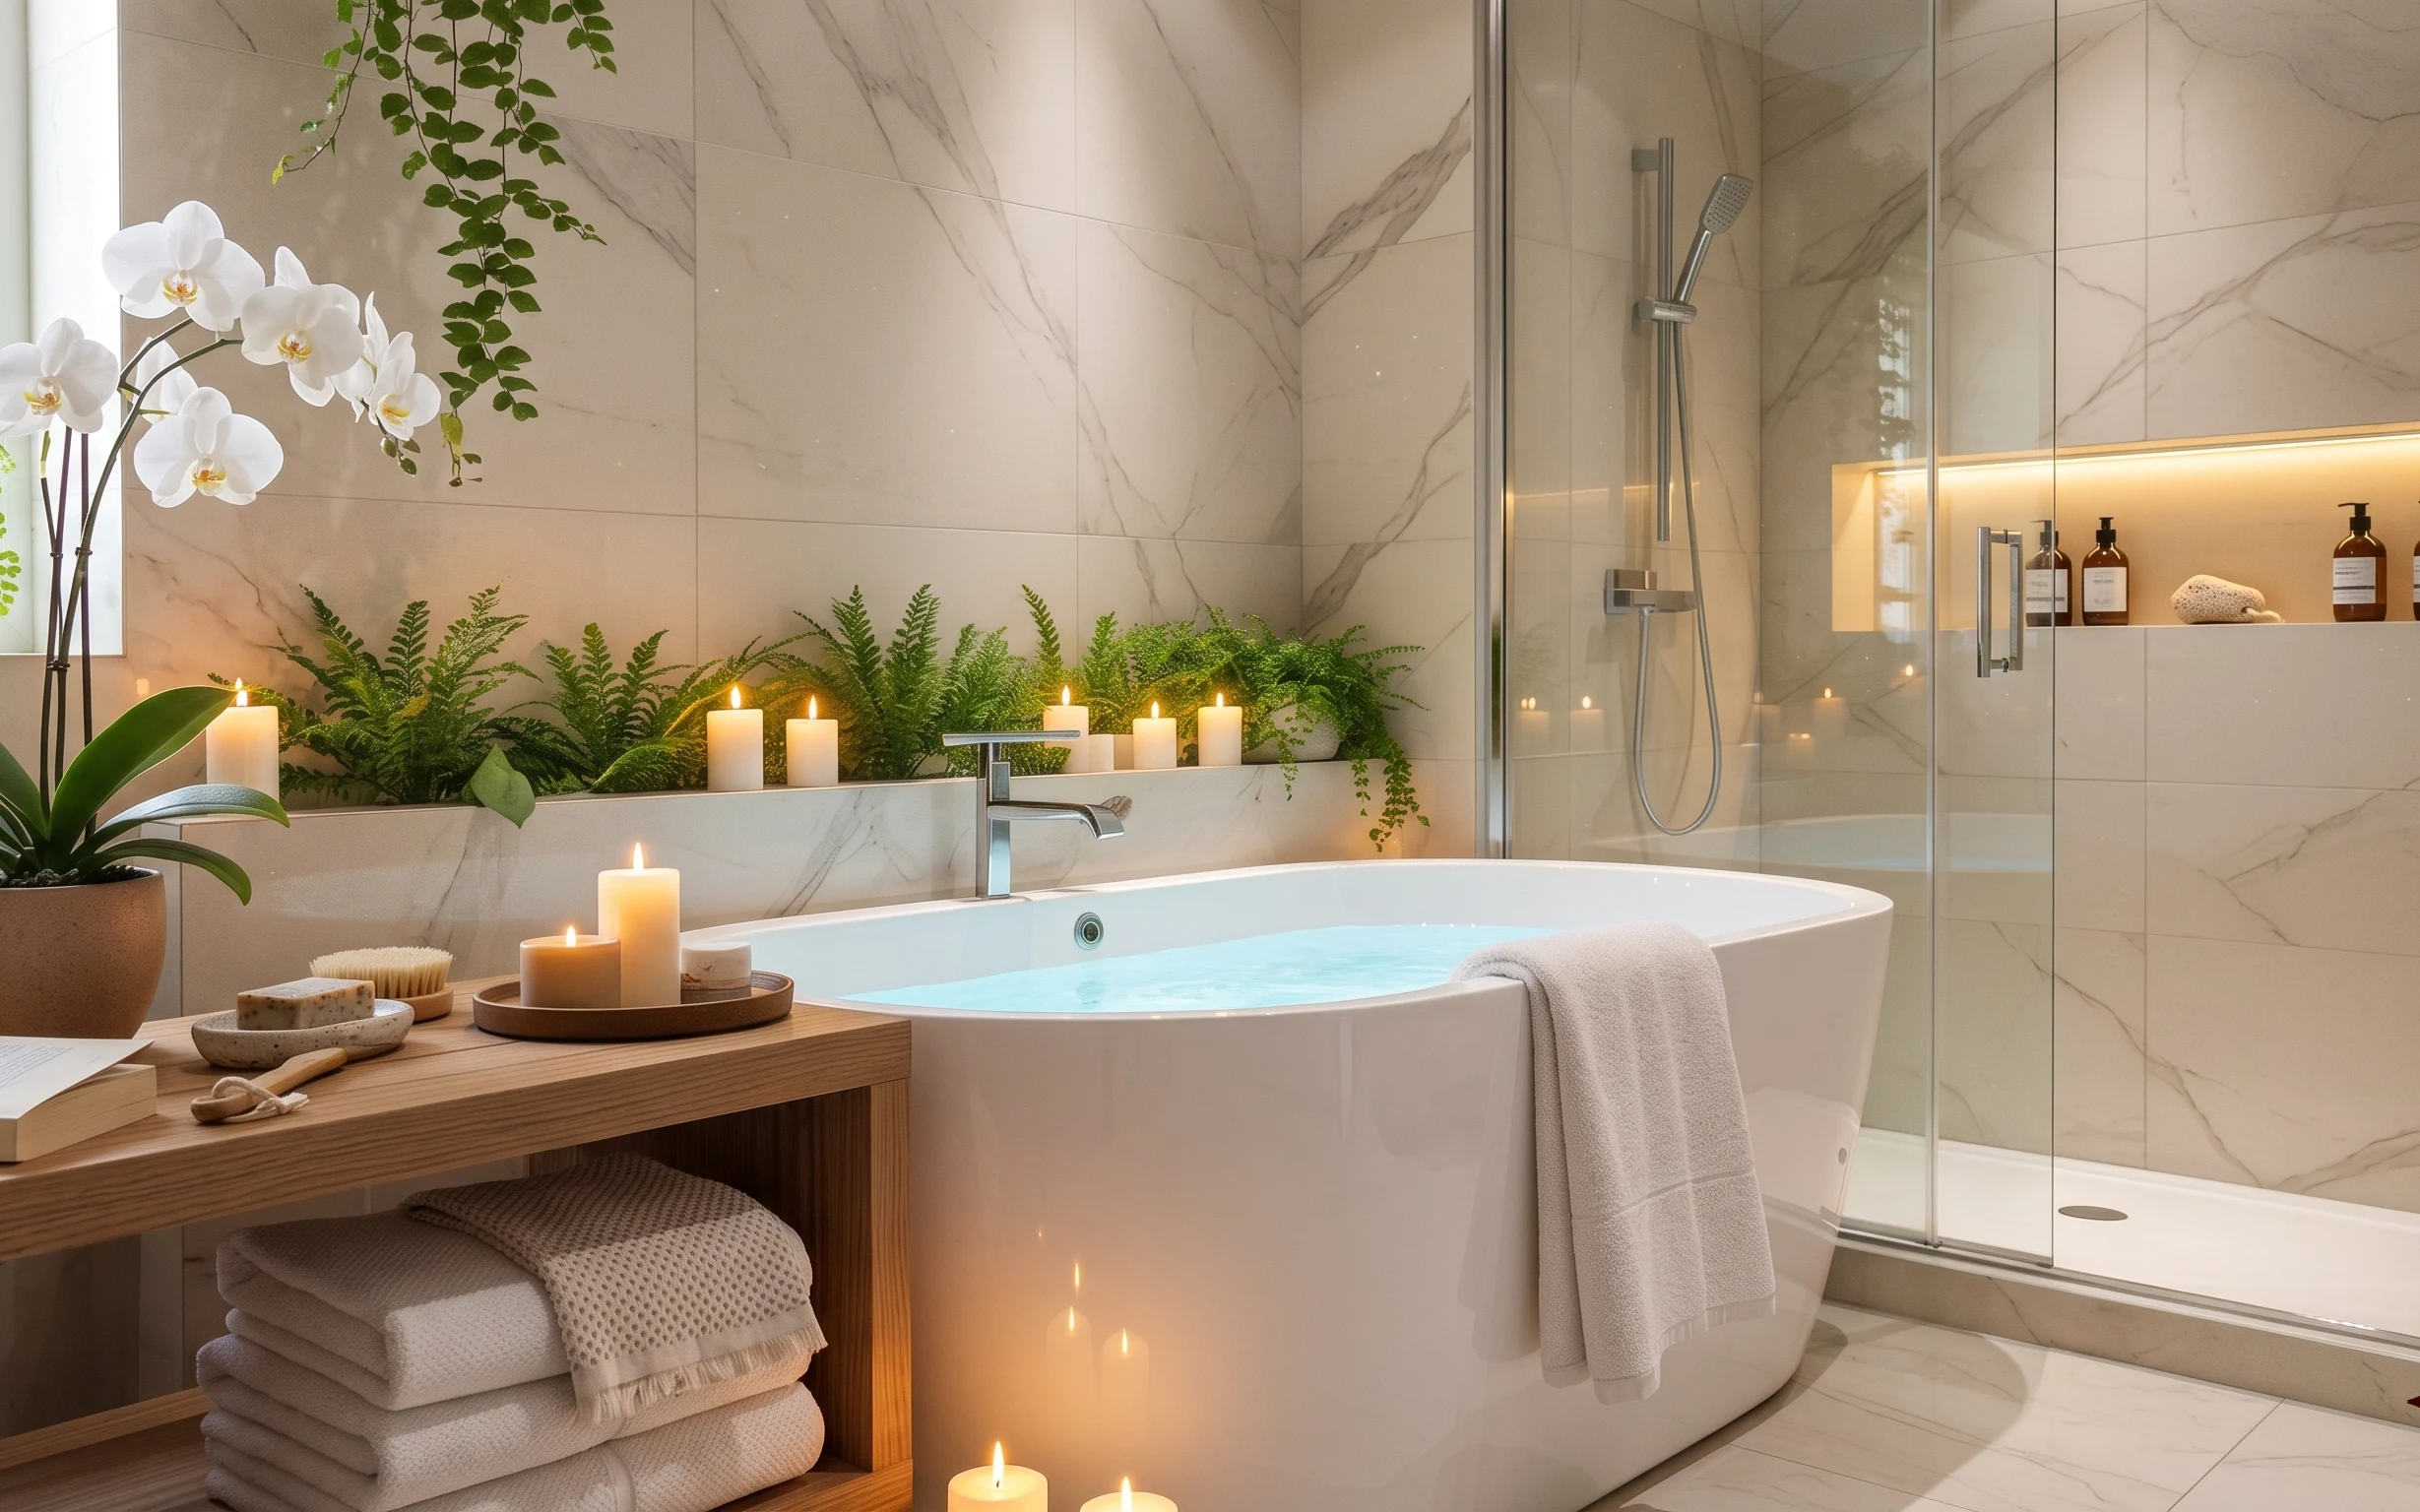
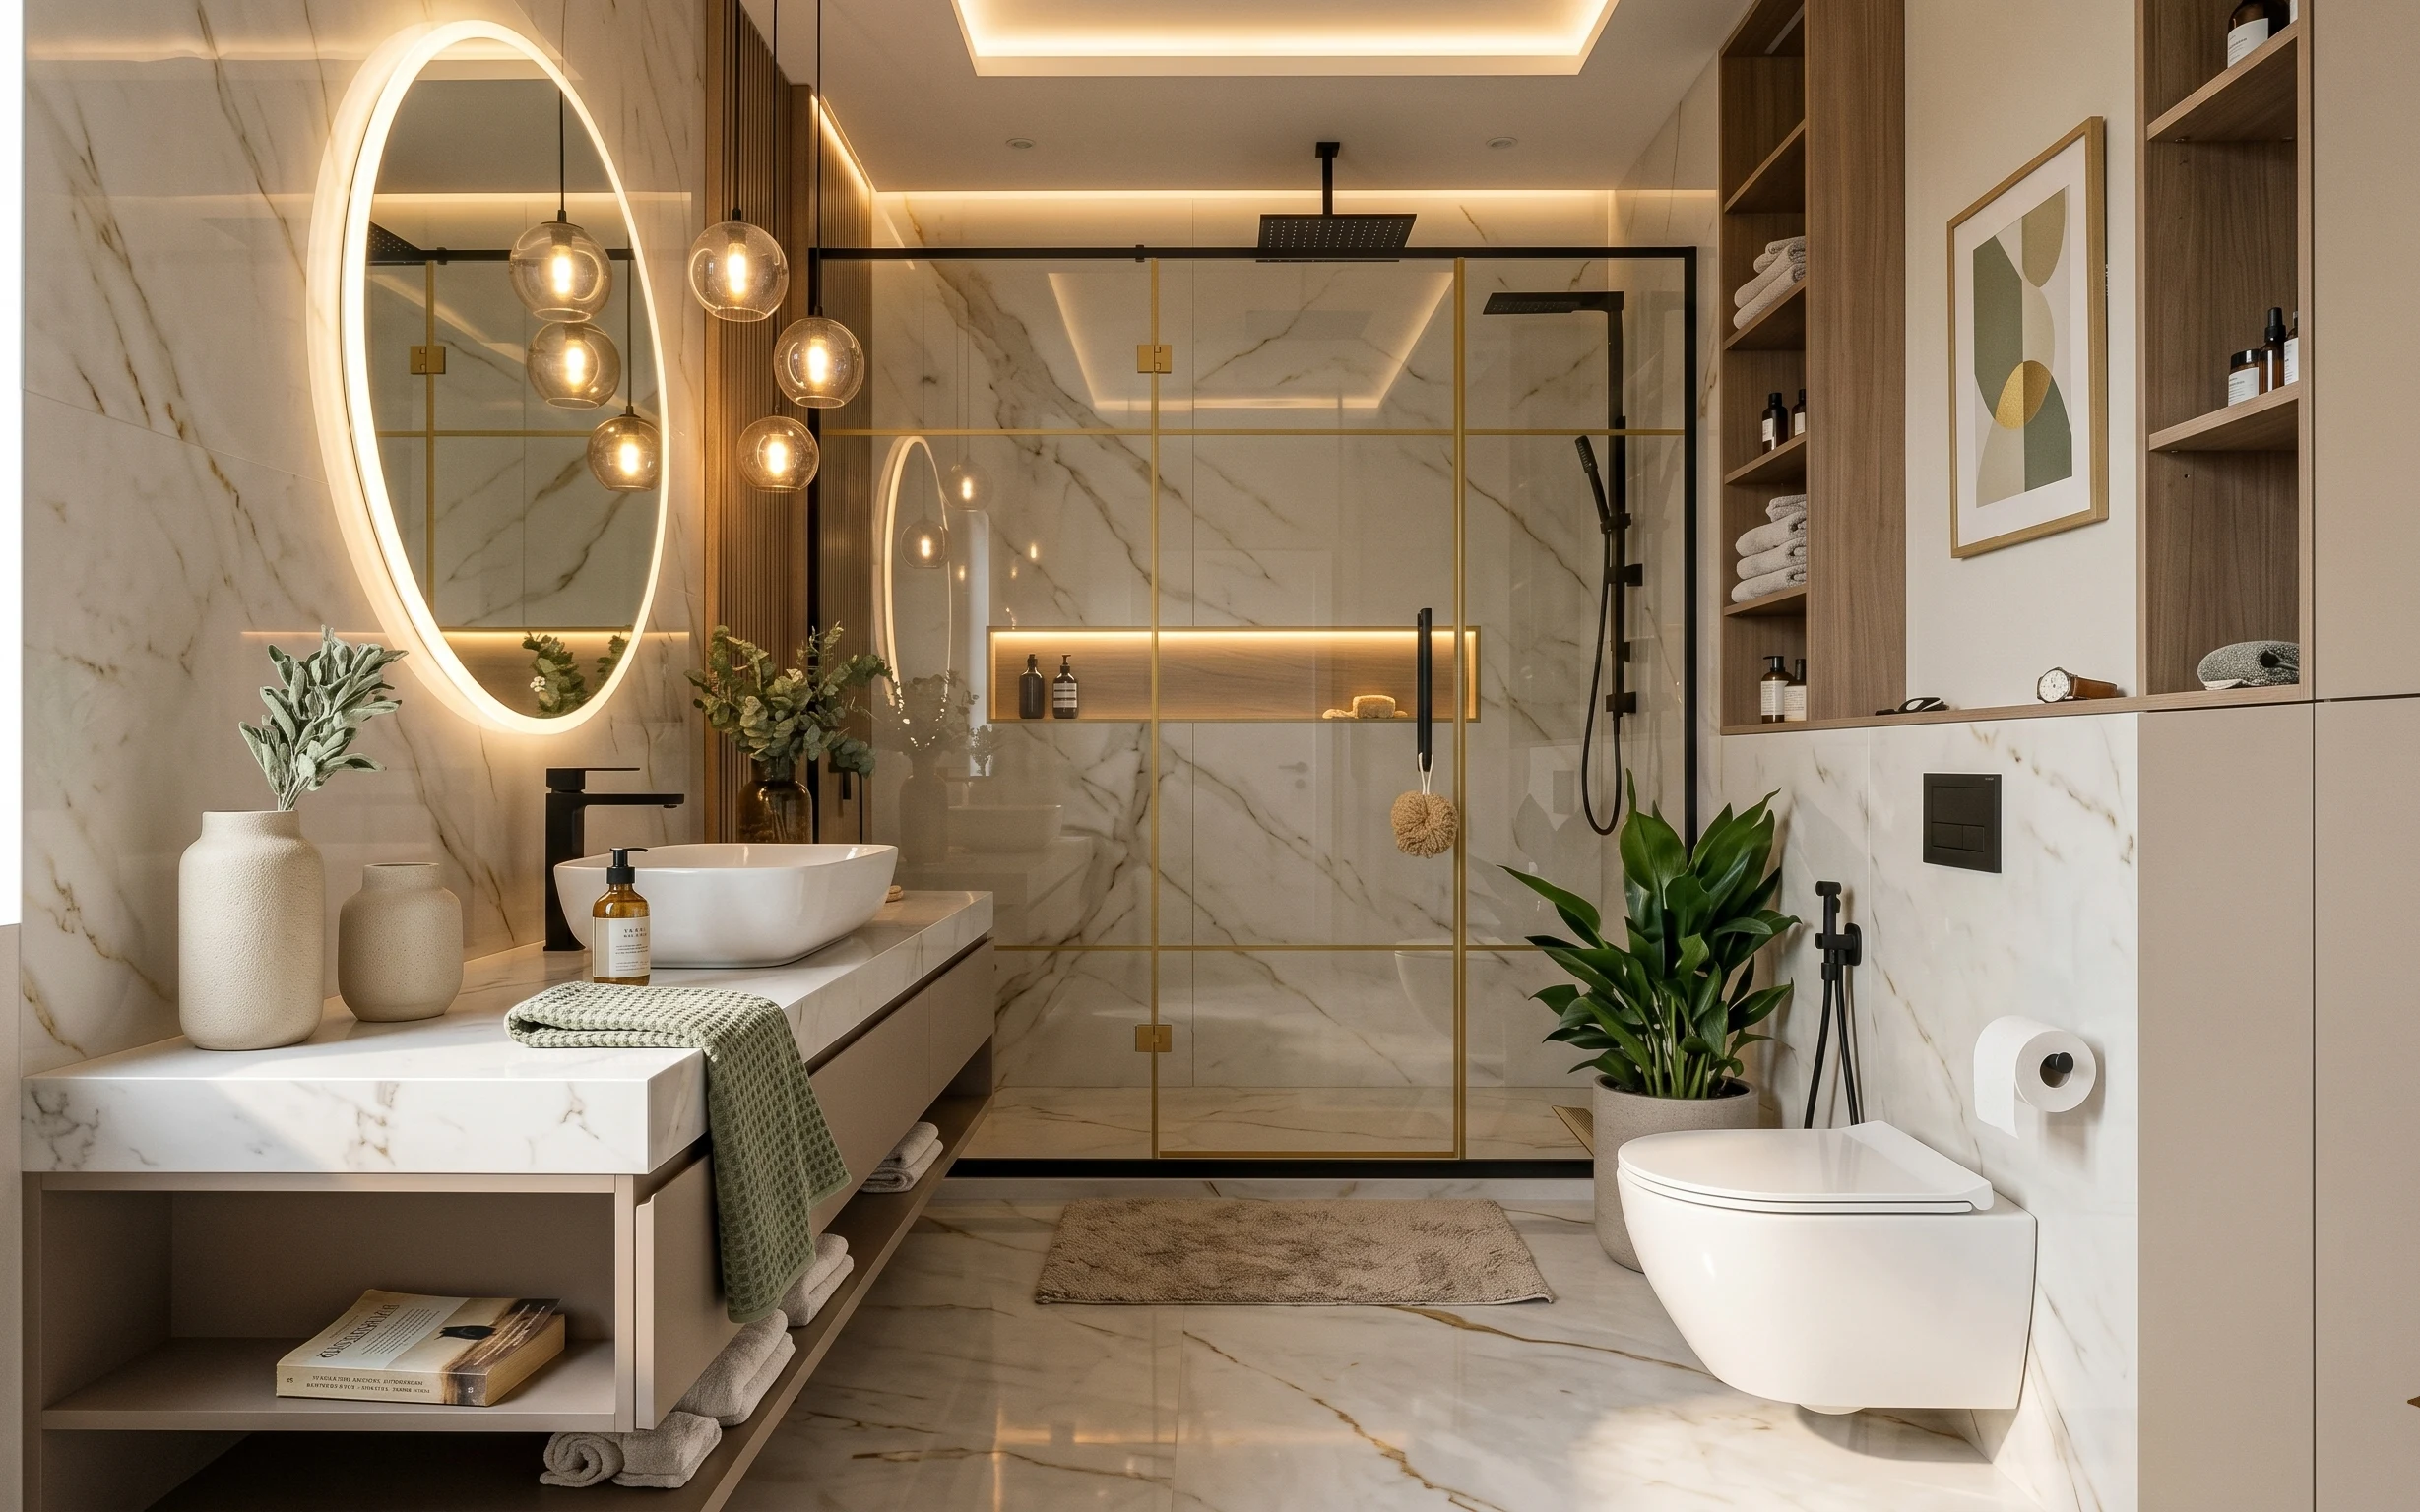
In this bathroom, the look is doing a simple thing exceptionally well: soft light on hard surfaces. The marble-look tile, glass shower panel, and sleek bathtub rim give you that crisp backdrop, while the warm light wood ledge and stacked white towels add texture you can actually feel. I’ve seen bathrooms like this in Elle Decor spreads and on the calmer end of Scandinavian styling—lots of whites, but never flat. For homeowners, the fun part is picking the highest-impact changes, not the most reversible ones.
The first time I tried to copy this vibe, I overthought the “spa” part and ended up with too many matching candles. What fixed it was adding contrast: a painted terracotta-style planter pot on the floor, plus greenery that spills across the ledge area instead of sitting politely in one corner. Suddenly it looked styled, not staged, and it worked with the room’s existing marble look instead of fighting it.
Layer 1 — candles on tray ($35) Warm light over hard tile
Candles clustered along the bathtub ledge create that instant spa mood without changing a single permanent surface. In the photo, the flame level sits low and close to the marble-look walls, so the light bounces and makes everything feel calmer and more dimensional. The alternative is overhead lighting, which can make everything look sterile and flat—especially against white tile. This layer is an easy win because you can keep your existing fixtures and simply adjust how the room is “lit” during use. Trade-off: candles require a little attention for placement and safety.
Stagger candle heights
Use a mix of heights on the tray so the glow creates depth instead of one uniform yellow band.
Layer 2 — medium terracotta-style planter pot ($40) DIY paint for a softer look
The large potted plant at left is the breathing room in this otherwise sleek, bright setup. The pot’s job isn’t to disappear—it frames the plant so the greenery looks intentional against the marble-look wall. Buying a whole new pot works, but the more satisfying move is making the existing terracotta-style container feel cohesive with the warm light wood ledge. That’s why this layer is DIY: you’ll keep the shape and scale you already have, then dial in the color so it doesn’t read “random plant purchase.” Trade-off: paint won’t be as durable as industrial coatings, so it needs a clear topcoat.
Make it instead of buying it
Paint a medium terracotta-style planter pot to match the warm light wood tones in the bathtub nook, so the plant looks like it belongs.
Materials
- Acrylic paint — 1 small jar — craft store — $10
- Spray primer (for porous surfaces) — 1 can — hardware store — $7
- Fine sandpaper (180–220 grit) — 1 sheet — hardware store — $4
- Clear topcoat/sealer (water-based) — small can — hardware store — $8
Steps
- Rough-sand the pot surface so the primer can grip evenly.
- Wipe away dust with a dry cloth.
- Prime the entire exterior in thin, even coats; let dry fully.
- Paint with 2–3 thin layers, keeping brush marks minimal.
- Let the final coat dry, then apply clear topcoat for bathroom moisture exposure.
- Allow the pot to cure until it feels dry and tack-free before setting it back on the floor ledge area.
Total DIY cost: $29 — saves about $11 over buying.
Layer 3 — stack of white towels ($60) Textural softness at the tub edge
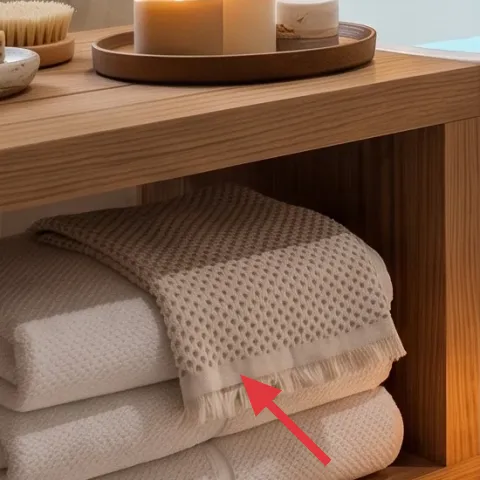
Those stacked white towels are doing more than “look pretty.” They soften the lines where the bathtub rim meets the warm light wood ledge, and they create a repeating white element that keeps the marble-look wall from feeling too cold. The biggest reason this works is texture: folded towels read like fabric, while tile reads like stone. If you swapped them for plain white décor boxes or a single towel draped the wrong way, you’d lose that layered, lived-in feel. This layer is budget-friendly because towels are easy to stage and replace, not a long-term commitment. Trade-off: towels are a styling tool—keeping them fluffy matters.
Fold for shape, not just height
Roll or fold so the top edges look crisp; messy stacks can look accidental instead of intentional.
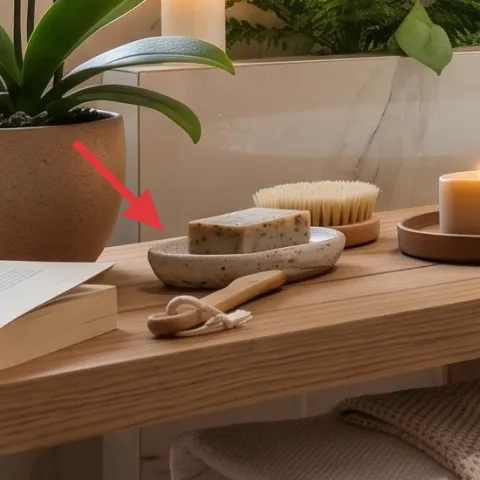
Layer 4 — wood bath ledge/countertop ($35) A place for everything
The warm light wood ledge is the quiet anchor of the bathtub nook. In the photo, it holds the candle tray and bath brush, which means the countertop doesn’t have to be “bare” to feel clean. This is a practical layer because it gives you a designated landing zone, so smaller objects don’t spread across the marble-look surfaces. The alternative—leaving everything on the tub rim or scattered on the floor—can make the room look busy fast. With a dedicated ledge, you can keep styling tight: candles in one area, greenery in another, and a single useful tool at the edge. Trade-off: wood needs simple wipe-downs to prevent residue buildup.
Keep the ledge palette to two materials
In this look, wood and green do the heavy lifting; use fewer metals so the room stays calm.
Layer 5 — green fern-like greenery arrangement ($20) Spread greenery across the ledge
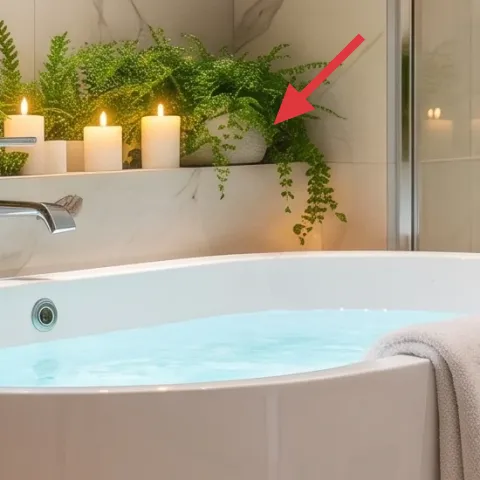
The fern-like greenery arrangement across the ledge area is what makes the tub feel lush rather than merely clean. It bridges the gap between the plant on the floor and the bright marble-look wall, so the whole bathroom reads as one scene instead of separate accessories. A common mistake is placing greenery only in one pot near the tub, which can still feel “one note” against all that white tile. By spreading it where your eye naturally lands—along the wall line above the tub—you get depth without adding more furniture. Trade-off: greenery takes a little arranging, but once set, it stays pretty for a long time.
Target the eye line
If greenery sits too low or too high, it won’t feel integrated with the tub area.
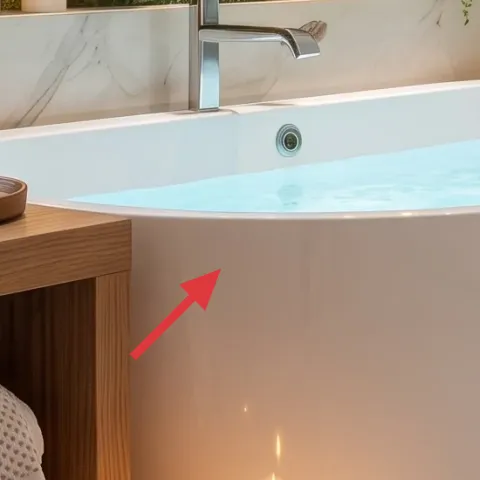
Layer 6 — bathroom shower faucet ($120) Clean lines, better daily use
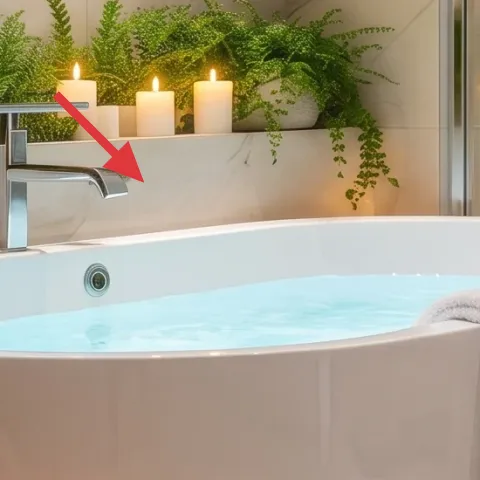
The bathroom shower faucet is a functional upgrade that also changes the visual rhythm of the whole space. In a room with marble-look tile and glass shower panel, small hardware details matter because your eyes catch them every time you step in. Swapping or upgrading the faucet to a cleaner, more streamlined look keeps the style coherent with the warm wood ledge and the calm candle glow. The trade-off is time: plumbing work can be more involved than styling, and you should treat hard-wiring or complicated swaps like a “call someone” job if access is tight. If it’s straightforward in your setup, this is a high-impact layer because it affects both form and daily use.
Plan for water shutoff and access
Before buying hardware, check how you’ll reach connections behind the wall or under the tub rim.
Layer 7 — soap bottles on back wall shelf ($30) Repeat the warm-calm “apothecary” note
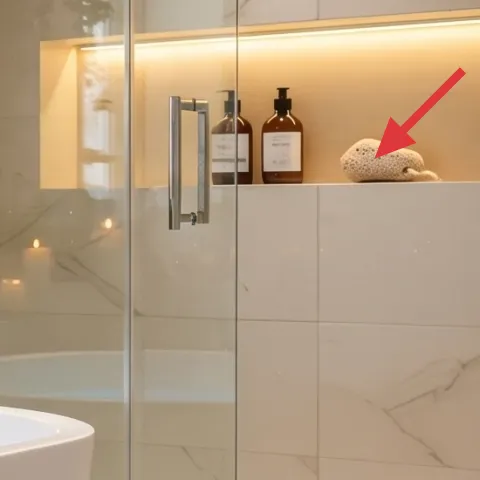
Those soap bottles on the back wall shelf give the bathtub nook a finishing layer that looks curated. They’re not random décor—having the bottles up at eye level means the room feels designed for actual use. The bottles also add dark accents that balance the white tile and keep the warm light wood from being the only “color note.” If you only added candles and towels, the shelf area might still feel unfinished, especially when you’re standing at the tub. Trade-off: choose bottles you’ll actually refill, so the styling stays realistic long after the weekend project.
Choose consistent bottle shapes
When bottle shapes repeat, the shelf reads intentional even if the scents vary.
The cost, layer by layer
| Layer | Item | Cost |
|---|---|---|
| 1 | Candles on tray | $35 |
| 2 | Medium terracotta-style planter pot (DIY ~$29) | $40 |
| 3 | Stack of white towels | $60 |
| 4 | Wood bath ledge/countertop | $35 |
| 5 | Green fern-like greenery arrangement | $20 |
| 6 | Bathroom shower faucet | $120 |
| 7 | Soap bottles on back wall shelf | $30 |
| Total | $340 | |
If the faucet number feels too big, keep everything else and swap only candles, towels, and the greenery arrangement. That keeps the spa look while leaving the plumbing untouched for later.
What worked, what didn't (across the whole room)
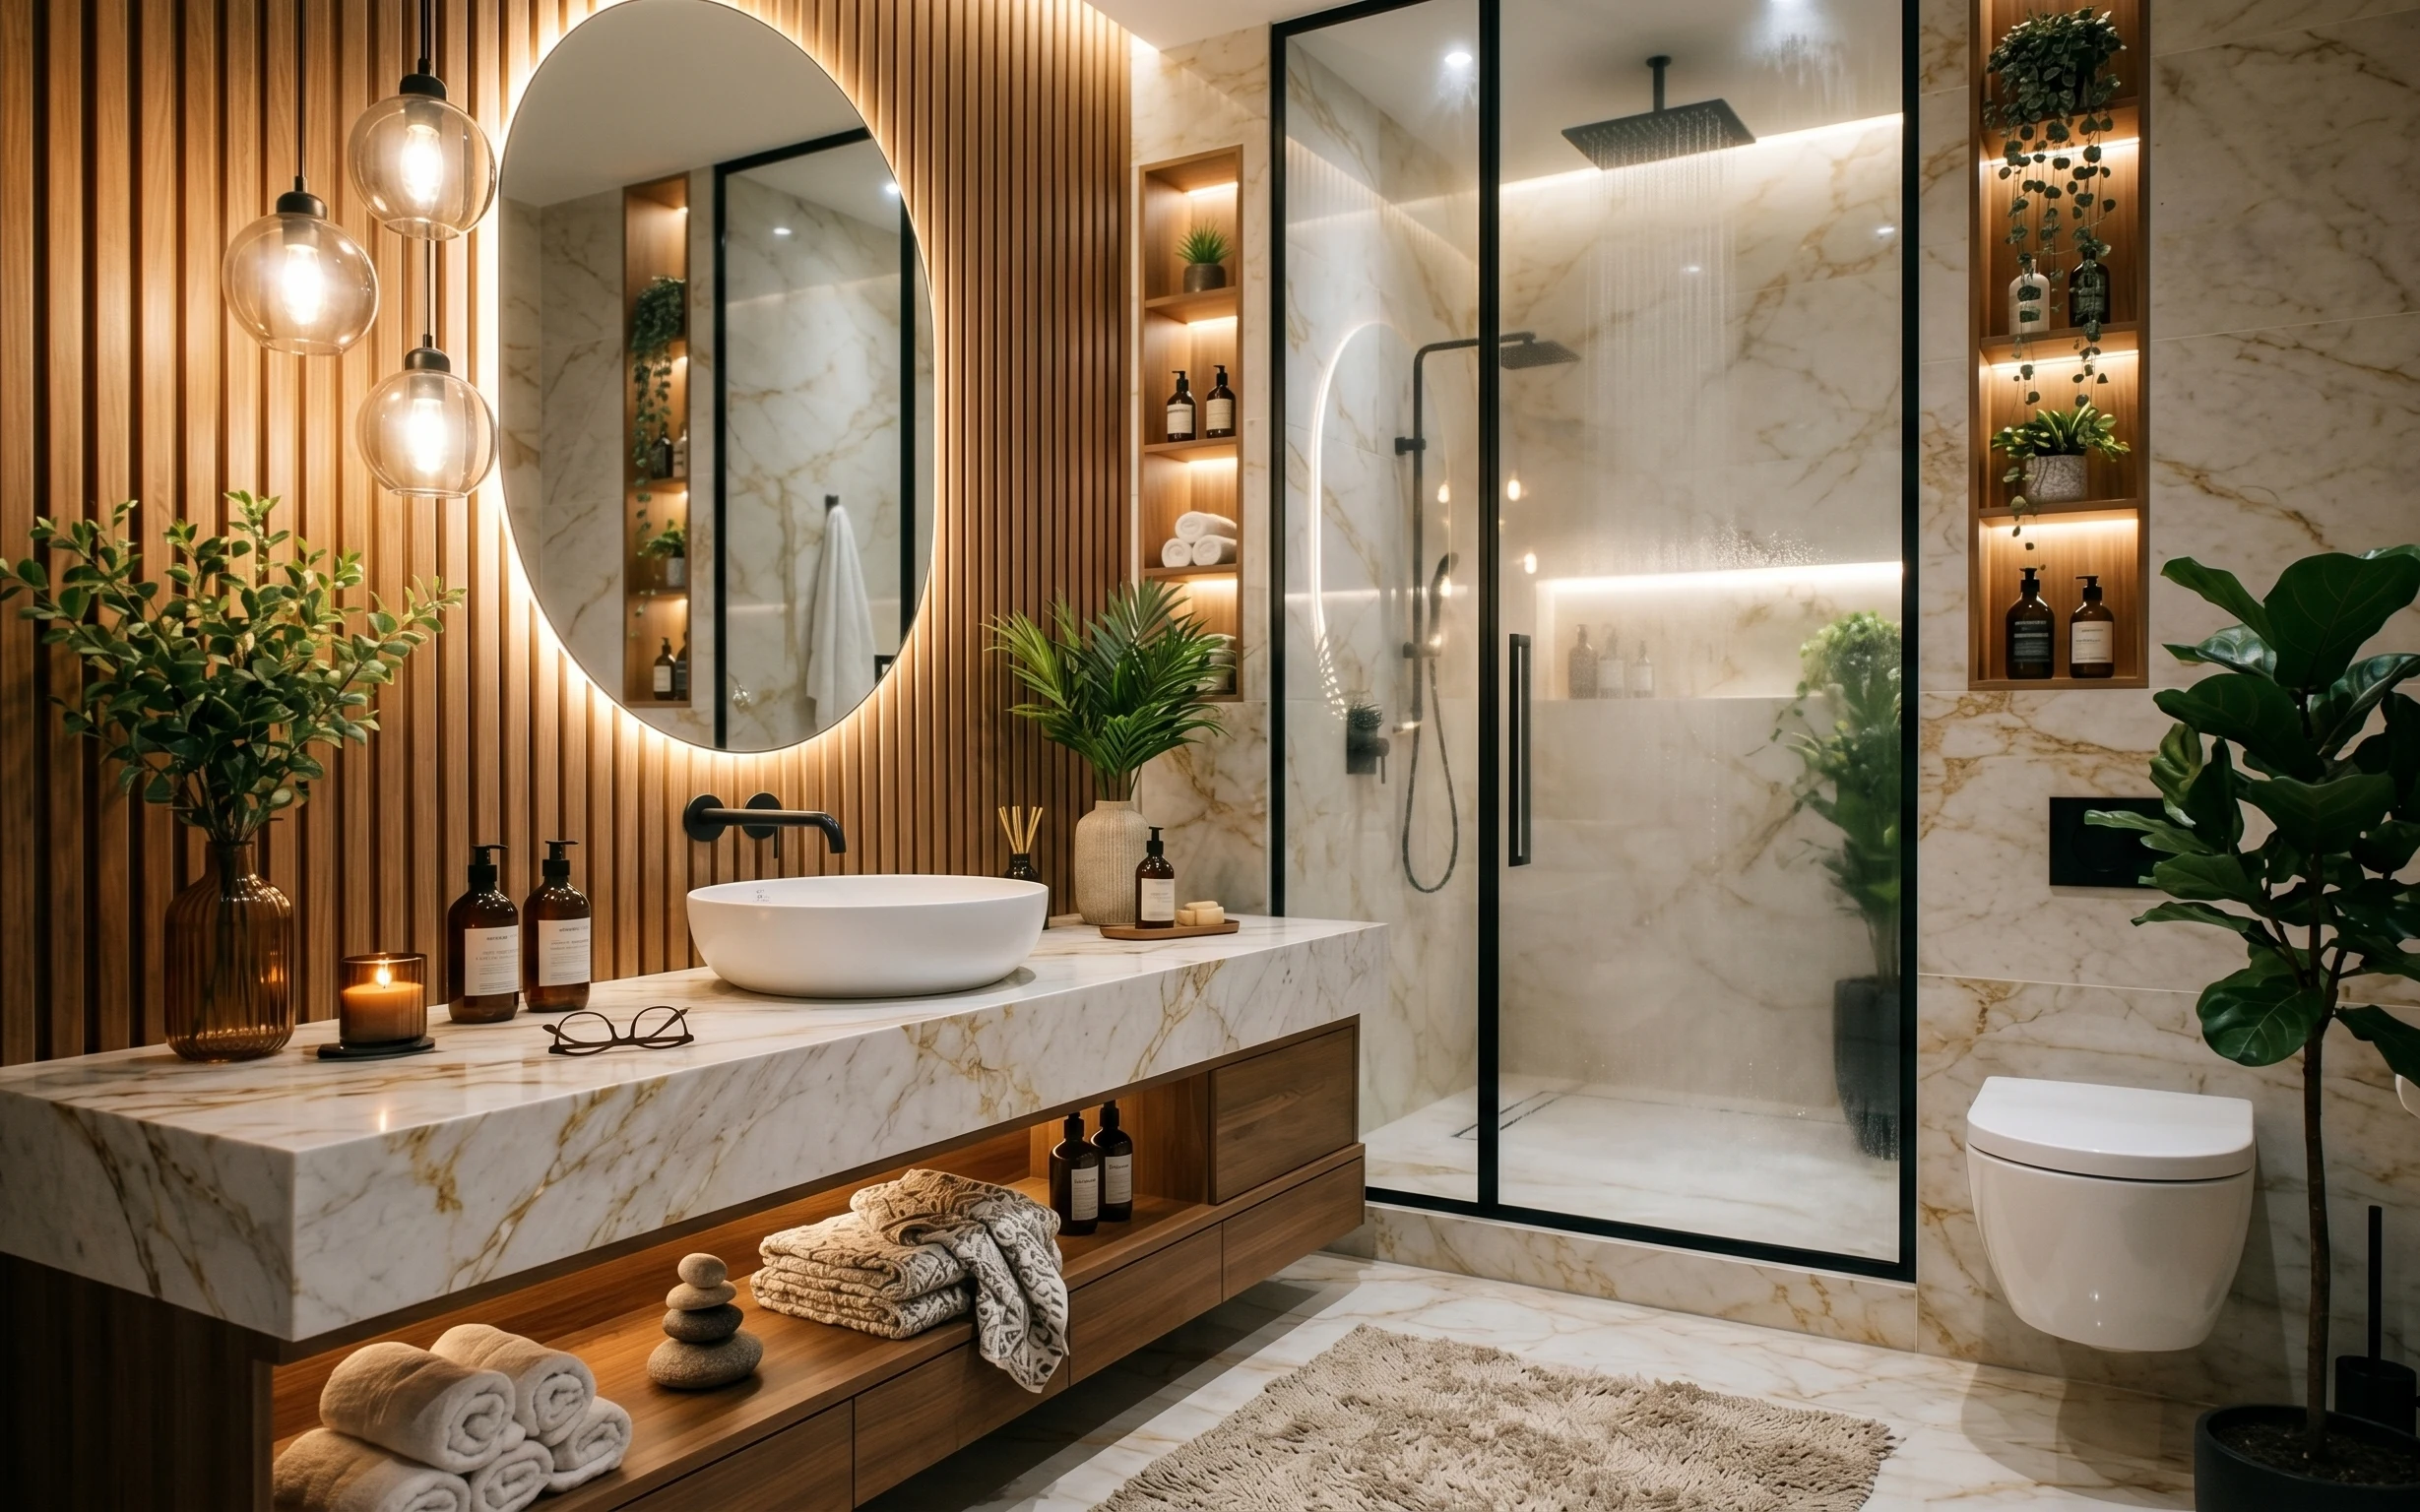
This bathtub nook succeeds because it layers softness (towels and plant texture) over sleek surfaces (marble-look tile and glass). The warm candle glow and the planted shelf line create depth so the room feels styled, not blank.
What worked
- Candle placement on the tray created a low, flattering light zone near the tub rim.
- Stacked white towels softened the bright tile and added a repeatable white texture.
- The greenery arrangement connected the floor plant to the tub wall area for one cohesive scene.
- A warm light wood ledge kept daily items contained instead of spreading across the marble-look surfaces.
- Soap bottles on the back wall shelf made the “apothecary” styling look functional, not decorative-only.
What didn't
- Too many matching candles looked flat; varying height reads more intentional against the tile.
- If the greenery sits only in one pot, the wall line above the tub still feels unfinished.
- Hardware that’s visually busy draws focus away from the calm color palette.
- Leaving the ledge bare for long stretches makes the tub area feel less “ready to use.”
What we'd skip if we did it again
Skip changing multiple fixtures at once. A faucet upgrade already shifts the look and daily feel; stacking extra hardware swaps can blow the budget and create a patchwork feel.
Skip buying “spa set” accessories that all match the same finish. Mixing warm light wood, green plant texture, and simple candlelight looks more natural than a coordinated bundle.
Skip placing greenery only at the floor or only at the tub rim. For this bathtub nook, the most convincing placement is along the ledge line where your eyes naturally rest.
Frequently asked
How long does a bathtub nook refresh like this usually take?
If you start with candles, towels, and greenery, those styling layers can take a single afternoon. The DIY painted planter pot is a weekend-friendly project because paint and topcoat need dry time. The faucet layer is the swing factor—if your plumbing swap is straightforward, it can be scheduled quickly; if access is tight, plan for professional help and extra lead time.
What if I rent and I can’t change the faucet?
Keep the tub area statement layers that don’t require plumbing: candles on the tray, stacked white towels, and the greenery arrangement. For the planter pot, you can paint it if it’s your owned accessory and doesn’t get into building surfaces. Focus on how the room feels during use (light and texture), not on matching hardware.
Can this work in a smaller bathroom?
Yes—scale down by choosing fewer pieces in each zone. Use one candle group instead of multiple spots, and keep towels stacked but compact. If the ledge area is narrow, place the fern-like greenery in a smaller spread so it still hits the tub eye line. The big idea stays the same: one warm wood landing zone plus layered softness.
What if my bathroom is larger and feels plain?
Add repetition rather than more clutter. Use a second towel stack moment or a longer greenery run across the ledge area, and keep candle height varied so the glow looks intentional from multiple angles. If you add soap bottles, keep bottle shapes consistent so the shelf reads curated instead of crowded.
Where can I shop differently for the same look?
For candles and soap bottles, home stores and smaller apothecary-style shops often have better packaging and less plastic-looking glass. For the planter pot, garden centers can be cheaper than décor shops, and paintable containers are easy to customize. For greenery, look for pre-made faux arrangements that match fern texture so it doesn’t read like generic leaves.
What’s the biggest mistake people make with this bathtub nook style?
Overloading the room with matching “spa set” items can make the space feel staged instead of lived-in. The fix is layering: warm light wood plus white textiles plus green texture, with candlelight doing the finishing work. Also, avoid letting greenery sit only in one corner—spread it along the ledge line where your eye lands.
More in Bathroom
4 no-drill ways to soften a bathtub nook
A calm bathtub nook on a $400 refresh budget—built with candles, a painted planter pot, layered greenery, and a faucet update. The result f…
What $300 buys: a move-friendly spa bathroom refresh
Budget a $300 spa bathroom refresh built for shared living: swap in a fresh bath mat, a towel stack, and moveable styling objects. The big …
A spa nook bathroom for $400: no-drill upgrades that pack fast
A spa nook bathroom refresh for shared housing on a $400 budget, built from move-friendly rug, towels, a poured candle, and simple counter …