- Best for
- move-ready bathroom refresh
- Cost
- $355 in layers (budget $400)
- Time
- 2–4 hours total
- Renter-safe
- no-drill, packable swaps
Why warm stone-and-amber styling is the bathroom nook of 2026
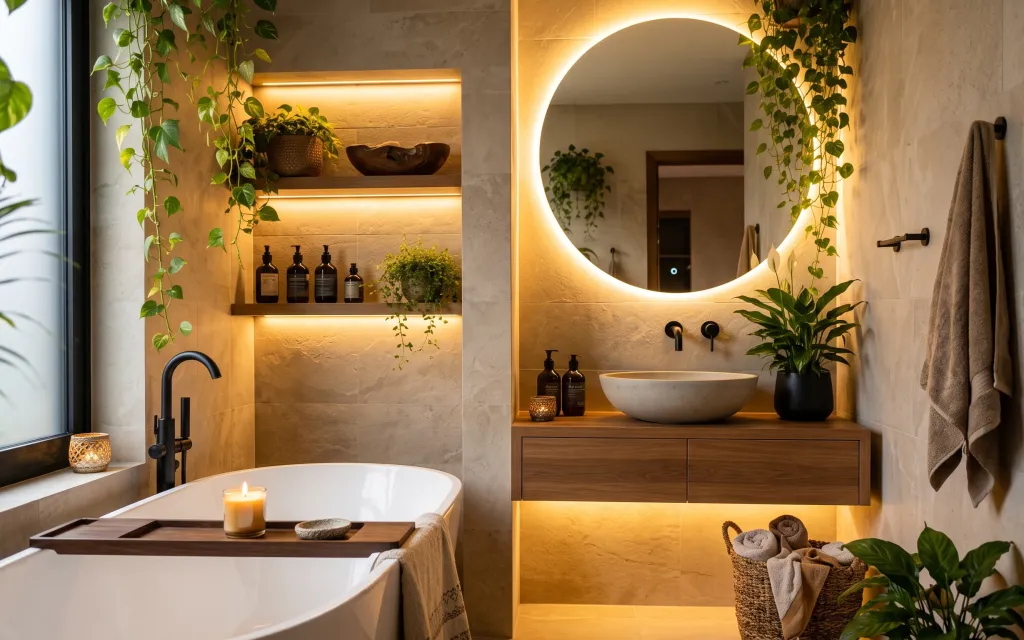
In this photo, the look is all about contrast: warm beige stone next to dark metal details, then softened with a beige throw, folded towels, and green vines. The round mirror makes the room feel continuous, while the candle glow keeps it flattering even when overhead light is out. I’ve used this mix (mirror shape + layered soft goods + countertop botanicals) in shared houses because it reads “finished” without asking for landlord approvals. For materials, notice the stone texture, the matte towel fabric, and the waxy candle glass—those differences are what make it feel expensive.
I used to overthink “bathroom decor” and try to add matching sets—towels that were all the same, candles from the same brand, even trays that looked too perfect. This is the point where I’d usually catch myself: the most realistic version is variation. A slightly rumpled throw on the tub edge, a woven basket for towels, and a candle that actually looks handmade is what makes the space feel lived-in, not curated-for-a-photo. That’s the shift here.
Layer 1 — beige throw blanket draped over tub edge ($30) Softens the tub line with warm texture
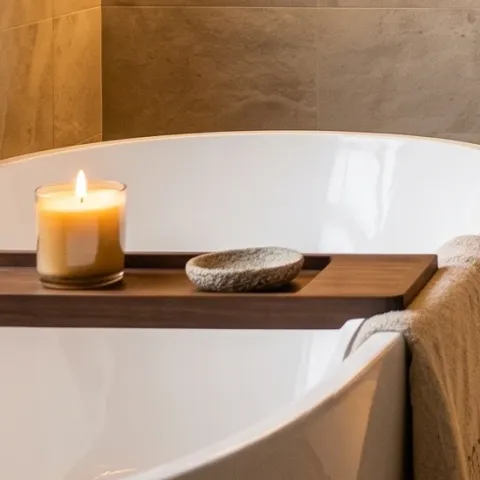
A beige throw blanket on the tub edge is one of those “small placement, big read” choices. In the hero, it adds a soft, slightly fuzzy texture right where your eye naturally lands—between the smooth stone and the clean curve of the tub. I like this over a towel-only approach because towels can feel utilitarian fast, while a throw looks intentional even if it’s not a full blanket set. The trade-off is that throws need a quick shake out after a damp shower, but that’s also what makes them renter-friendly and easy to pack.
Use a throw that hides lint
Look for a thicker knit or waffle weave; it shows less water spotting than slick, thin fabrics.
Layer 2 — folded towels in a woven basket ($35) Adds storage that still looks styled
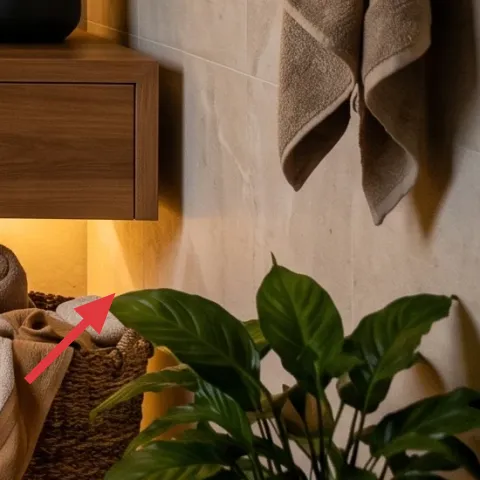
This woven basket works because it’s doing double duty: it holds extra towels out of sight, and the texture makes the whole bathroom feel warmer. The folded towels in the hero sit low and front-facing, so they visually balance the heavier stone and the mirror shape. I’d skip a plastic caddy here—too bright and too “bathroom aisle”—and go for a basket you can move room to room. The trade-off is that woven materials need a little maintenance (a quick brush and air-dry), but you’ll be grateful when you’re packing for the next lease.
Fold with contrast, not perfection
Mix one larger fold with one smaller one so the layers look relaxed instead of uniform.
Layer 3 — lit candle in a glass jar ($35) Brings the amber glow without wiring
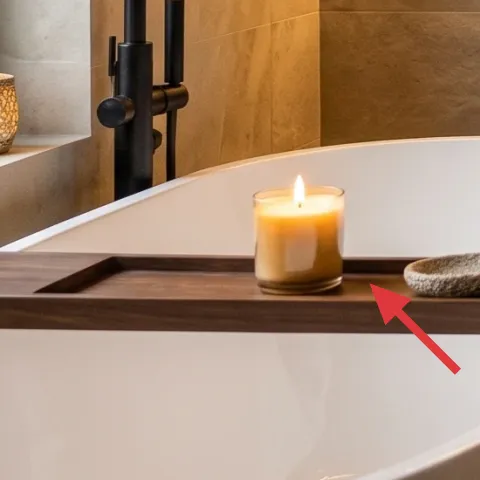
A candle in a glass jar is the fastest way to make bathroom lighting feel flattering. In the photo, the flame echoes the warm tone of the under-shelf glow, but it’s portable—no hardwired anything required. I like buying candles that look decorative even when unlit, because renters always end up with “what do I do with it after?” problems. Here, you just move the jar to the next bathroom corner or dining table. Trade-off: you’ll want to burn it with ventilation and keep it away from towel edges.
Make it instead of buying it
This candle pour recreates the same warm, amber jar moment using simple pour-wax and a wick, so you can refresh the look cheaply between leases.
Materials
- Pouring wax — ~10 oz — craft store — $12
- Wick + wick tab — 1 set — craft store — $4
- Candle fragrance oil — 1 small bottle — craft store — $3
- Jar/cup for pouring (reuse a simple glass vessel) — 1 — thrift or reuse — $1
Steps
- Clean and dry the glass jar so the wax releases evenly.
- Center the wick; press the wick tab onto the bottom and keep it upright.
- Melt pouring wax until fully liquid and smooth.
- Stir in fragrance oil off-heat, then pour into the jar.
- Let it cool fully until the surface is set and matte.
- Trim the wick and test-burn 1 hour for an even melt pool.
Total DIY cost: $20 — saves about $15 over buying.
Layer 4 — wood tray ($35) Keeps the counter calm with one “landing spot”
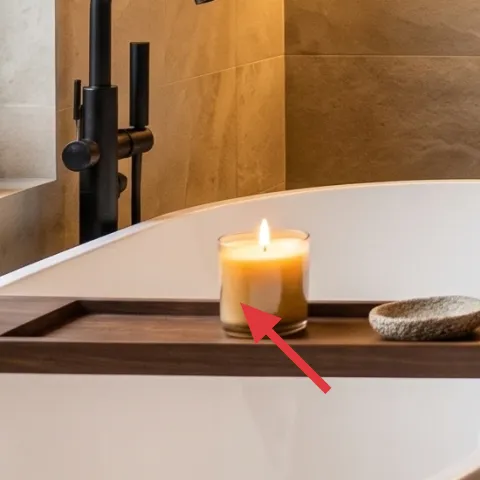
A wood tray on the counter turns scattered bathroom small-stuff into one intentional vignette. In the hero, the tray anchors the candle and the small folded washcloths, so the whole corner reads “designed” instead of accidental. I’d choose a tray over placing items directly on stone because trays also protect surfaces and make packing easier—you lift one piece, not five. The trade-off is choosing the wrong size: too small looks crowded, too large dominates. Aim for a tray that holds the candle jar plus a small stack of washcloths without everything touching the edges.
Don’t use a tray that warps with humidity
Pick sealed wood or a finish meant for damp spaces; otherwise the tray can cup.
Layer 5 — leafy potted plant in a dark ceramic pot ($40) Adds life that matches the stone warmth
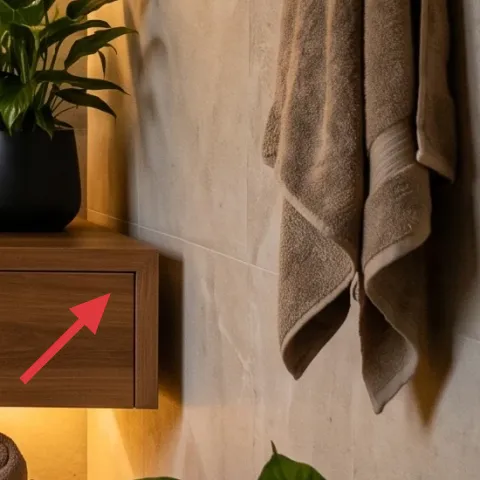
The dark ceramic pot plus leafy plant is a clean way to add color without introducing busy patterns. In the photo, the green offsets warm beige stone and makes the mirror feel more “garden-like.” I’d rather buy one medium plant than decorate with multiple tiny ones because smaller plants look fussy fast in shared storage. The trade-off is watering consistency, but a ceramic pot slows evaporation a bit, and you can lift-and-pack it without breaking down a whole display. When you move, this piece stays relevant in any room with light.
Choose a pot you can carry one-handed
If the plant feels heavy to grab from the base, it’s going to be annoying when you’re taking it down to move.
Layer 6 — glass pump bottles on the floating shelves ($60) Makes the shelf look curated, not cluttered
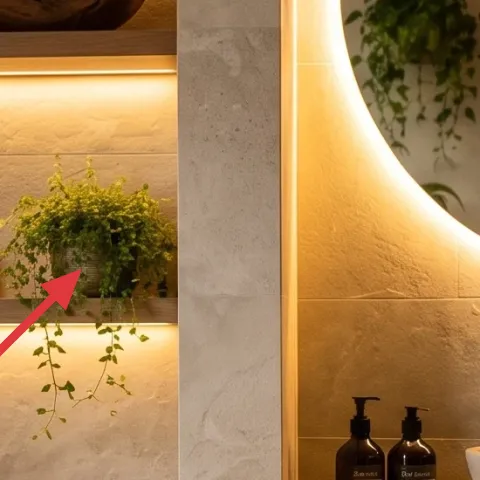
Grouping glass pump bottles on a shelf creates a “spa shelf” rhythm: repeated shapes, similar heights, and labels that visually behave like decor. In the hero, bottles sit between two layers of warm light, so they read as part of the architecture instead of random storage. I chose this over adding more objects because pump bottles take up vertical space cleanly and stay useful long-term. The trade-off is you’ll want to empty, rinse, and refill before packing—mess control matters. For shared housing, buying matching bottle refills is also a budget-friendly way to keep everyone stocked.
Keep the shapes consistent
One bottle silhouette repeated 3–5 times looks intentional even if the scents change.
Layer 7 — large round bathroom mirror ($120) Gives the room that soft, continuous frame
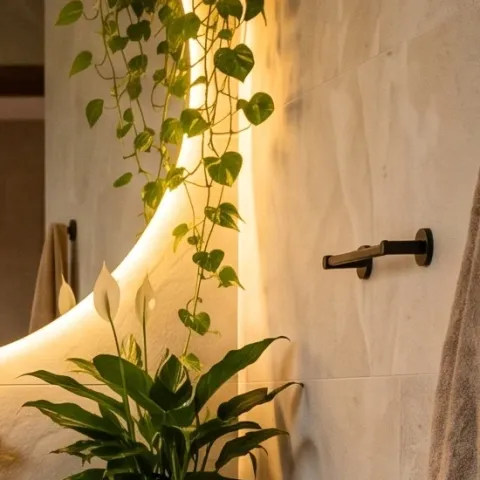
A large round mirror is the structural styling piece here: it adds a gentle curve that counters sharp stone lines and makes the whole bathroom feel more open. In the hero, the mirror’s shape also amplifies greenery—the hanging vines and plant silhouettes show up twice, once directly and once in reflection. I’m treating it as a movable refresh because it’s not on the banned “fixed thing” list; you can swap mirrors like you’d swap art. Trade-off: mirror packing takes care—bubble wrap and corner protectors are non-negotiable so it survives the next move.
Pack mirrors like fragile glass art
Wrap in thick bubble wrap and stand it on cardboard so the glass never touches box corners.
The cost, layer by layer
| Layer | Item | Cost |
|---|---|---|
| 1 | beige throw blanket | $30 |
| 2 | woven basket + folded towels | $35 |
| 3 | candle jar pour (DIY) | $35 |
| 4 | wood tray | $35 |
| 5 | leafy potted plant in dark ceramic pot | $40 |
| 6 | glass pump bottles set (4) | $60 |
| 7 | large round bathroom mirror | $120 |
| Total | $355 | |
If you need a cheaper version, keep the mirror and tray, then step down the mirror size or choose a single larger pump bottle instead of a set. A thrifted candle jar also helps—just replace the wick and pour fresh wax.
What worked, what didn't (across the whole room)
The warm stone-and-amber palette lands because the decor repeats shapes and textures: round mirror, curved tub, woven basket, and a single tray “landing zone.” The plants make it feel alive without needing new paint. The only pieces that can slip are the ones that need upkeep—candles, plants, and woven textures.
What worked
- The beige throw blanket on the tub edge softens the whole corner right away.
- Folded towels in a woven basket look intentional while keeping extra linens contained.
- The candle jar glow matches the warm lighting mood without hardwiring anything.
- The wood tray organizes small items so counters never look cluttered.
- Green in the dark ceramic pot adds contrast against warm beige stone.
- Grouped glass pump bottles create a clean “shelf vignette” instead of scattered toiletries.
What didn't
- Too many small objects on the counter makes the shelf area feel busy instead of calm.
- Unsealed wood trays can warp in steamy bathrooms over time.
- Mirrors packed without corner protection are the fastest way to end up with damage.
- Plants that are overwatered can yellow fast, which breaks the botanical look.
What we'd skip if we did it again
Skip any decor that requires wall drilling or permanent mounting. Mirrors and shelf styling can be movable, but permanent brackets turn a “quick refresh” into a removal headache at lease end.
Skip a mixed set of candles with totally different jar shapes. One consistent glass jar silhouette reads cohesive next to the round mirror and warm stone lighting.
Skip shelves full of random sizes of containers. The bathroom shelf in the photo works because bottles repeat shape and height, so the corner stays visually quiet.
Frequently asked
How long does this bathroom nook refresh take?
For a shared space, plan on 2–4 hours. Most of the time is styling: arranging the wood tray items, folding towels, and balancing the plant with the mirror reflection. If you DIY a candle pour, add another 1–2 hours including cooling time. The goal isn’t perfection—it’s getting the same texture rhythm you see in the photo.
Can this work in a rental where I can’t change fixtures?
Yes, because the layers are textiles and portable decor: a throw, a woven towel basket, a tray, bottles, and a candle. If the sink area already has a mirror and shelf lighting, you’re only changing what sits on top of it. If mirrors are the only “bigger” swap, keep it lightweight and removable so you can return it before moving out.
What if my bathroom is smaller than this photo?
Go narrower, not lighter. Keep the wood tray as your anchor so items don’t spread across counters. Choose a plant that’s small enough to carry in one go, and reduce the bottle set to 3 instead of 4. For towels, one basket on a shelf or near the sink is enough—stacked textiles create the cozy look without filling every surface.
What if my bathroom has more counter space?
Lean into height. Add a second bottle or a second small pot on the shelf, but keep everything inside the wood tray boundary whenever possible. The repetition of glass bottle shapes is what keeps the shelf from becoming clutter. Another easy addition is using the throw for a second spot—either tub edge or a nearby chair—so the palette stays consistent.
Where should I shop for these move-ready pieces?
Look for textiles and baskets in home goods, then shop for the candle jar and pour supplies at craft stores. The plant pot and plant can come from a nursery or a discount home store, as long as you can lift and pack it. For glass pump bottles, search by refillable pump bottle sets; choose matching silhouettes so the shelf looks curated.
What’s the biggest mistake people make with this kind of bathroom styling?
Overfilling surfaces. The hero image works because it keeps the visual roles clear: the tray holds small items, the basket holds towels, the plant brings color, and the shelf has a grouped set of bottles. When everything is “decor,” nothing stands out. Start with one anchor (tray or mirror), then add only 2–3 supportive pieces.
More in Bathroom
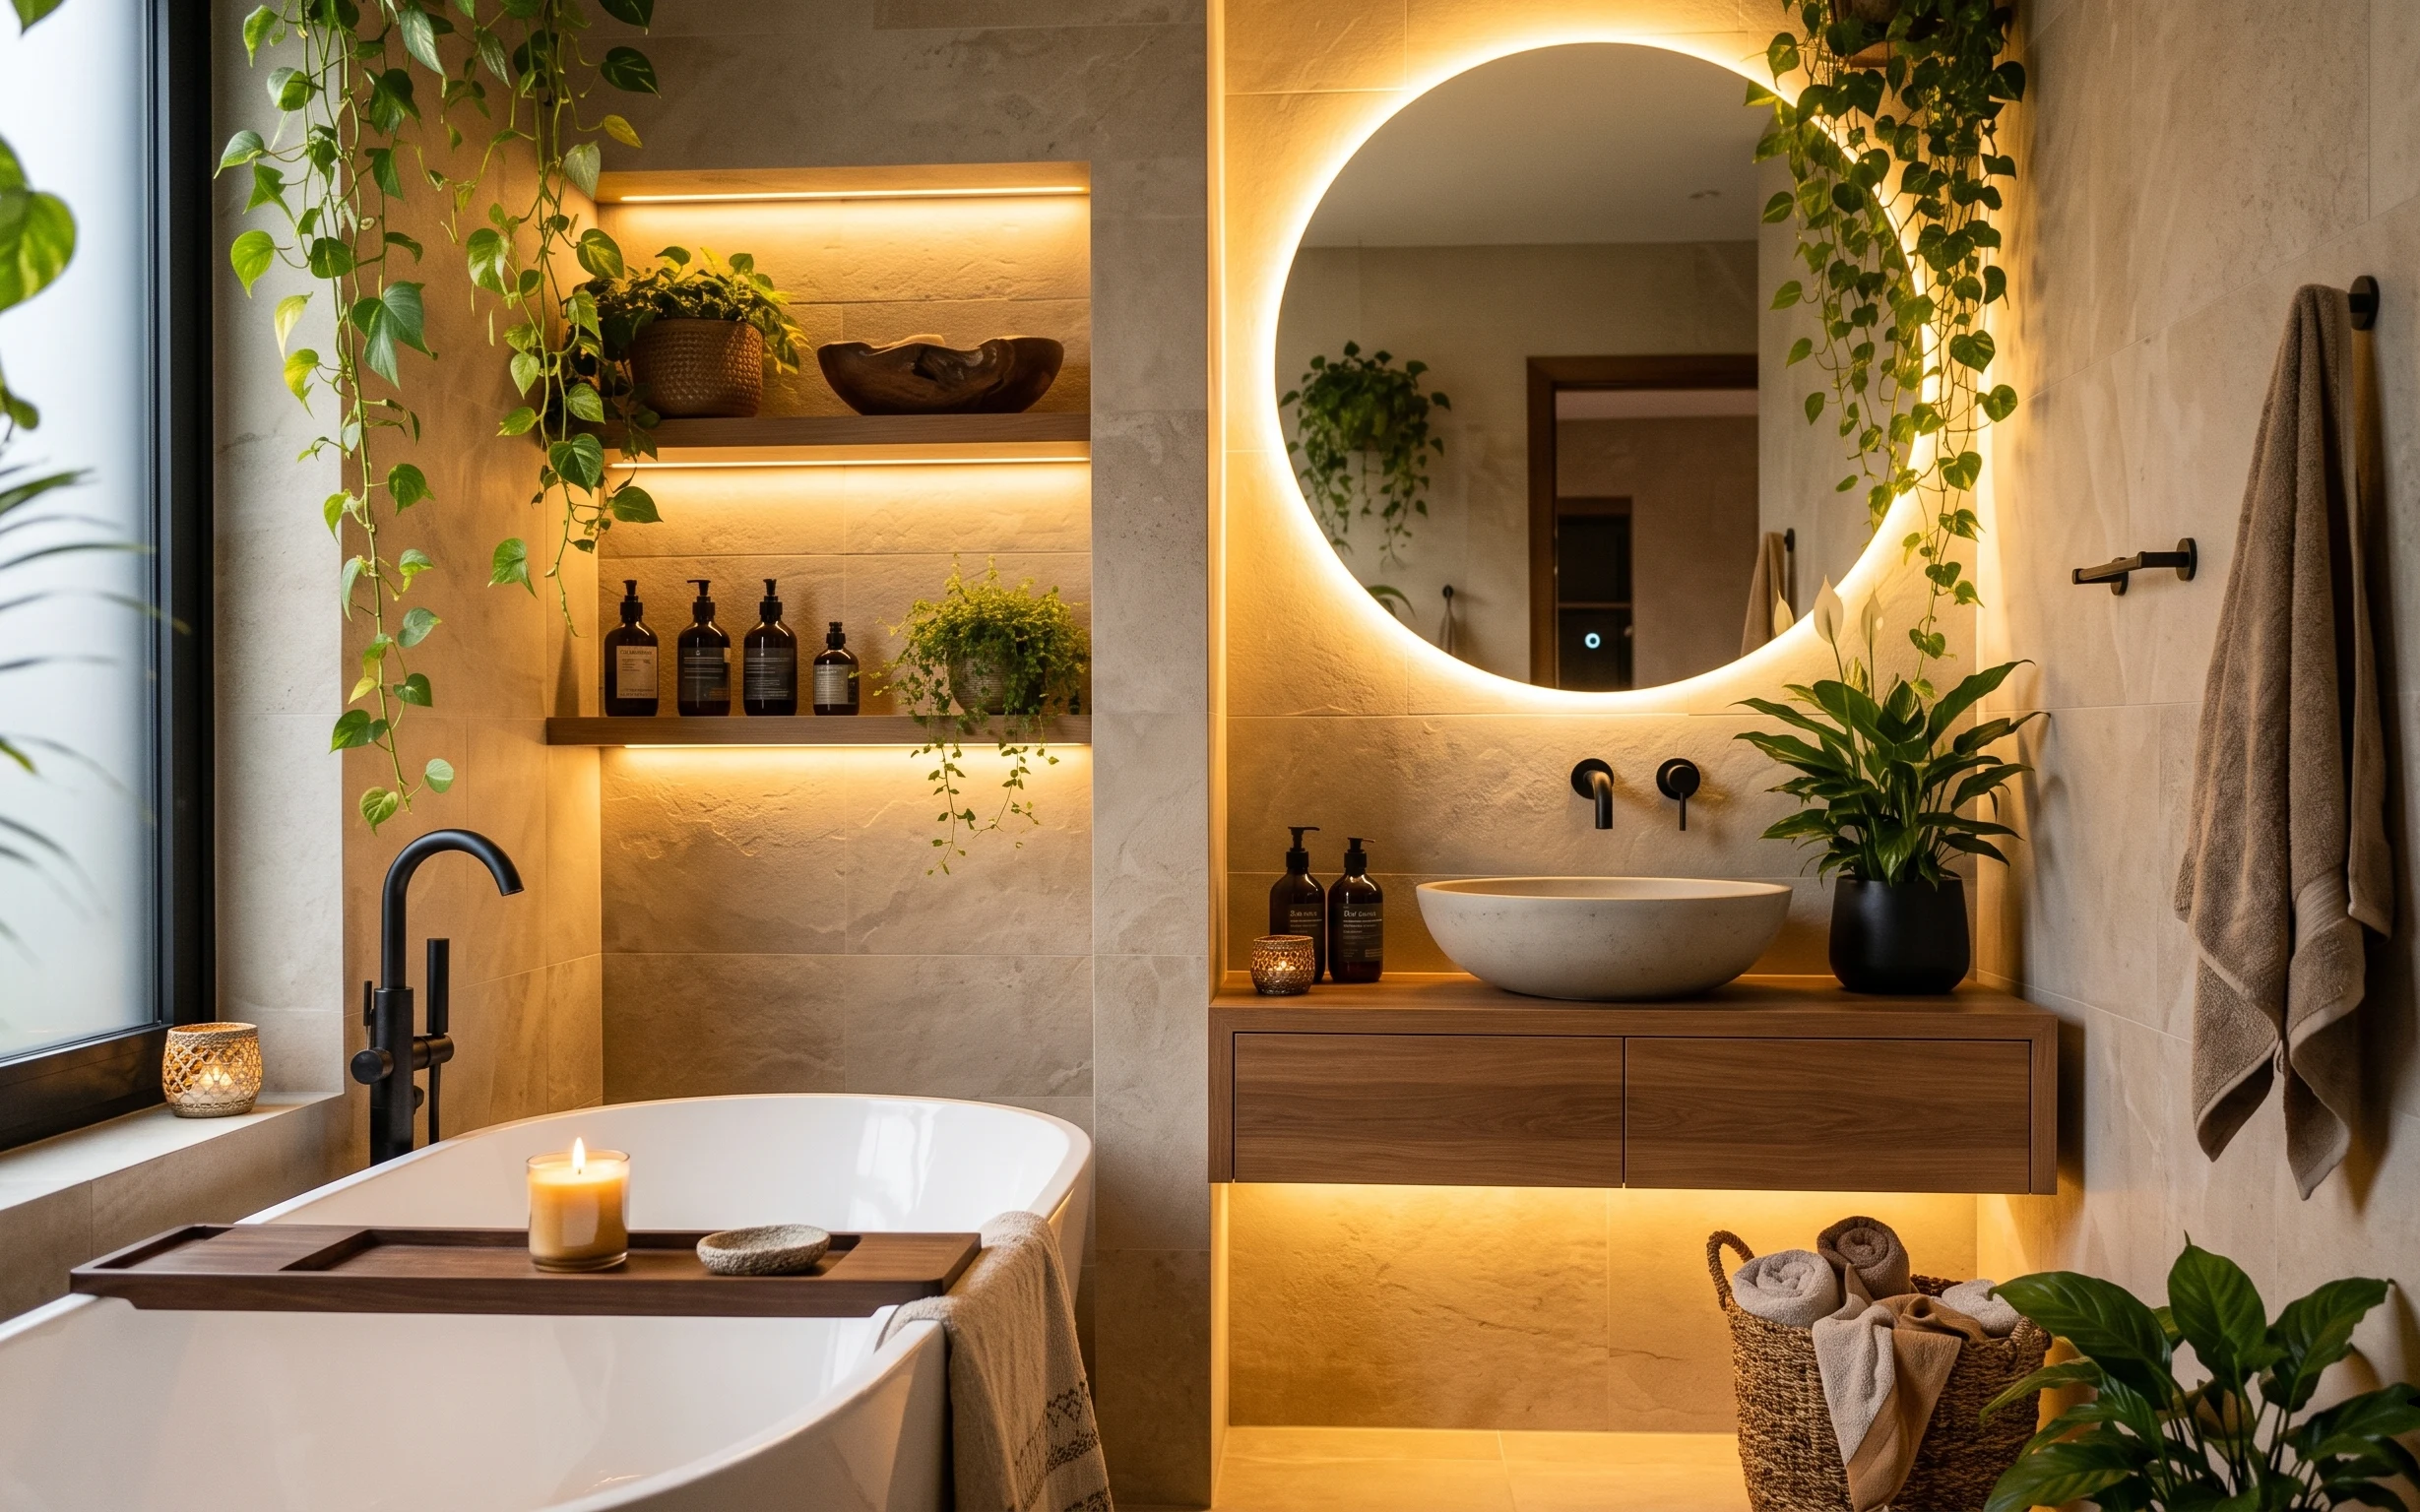
7 renter-friendly, no-drill bathroom styling ideas for $400
A warm, botanical bathroom nook is easier to recreate than it looks: swap in move-ready textiles, a fresh candle pour, and a few countertop…
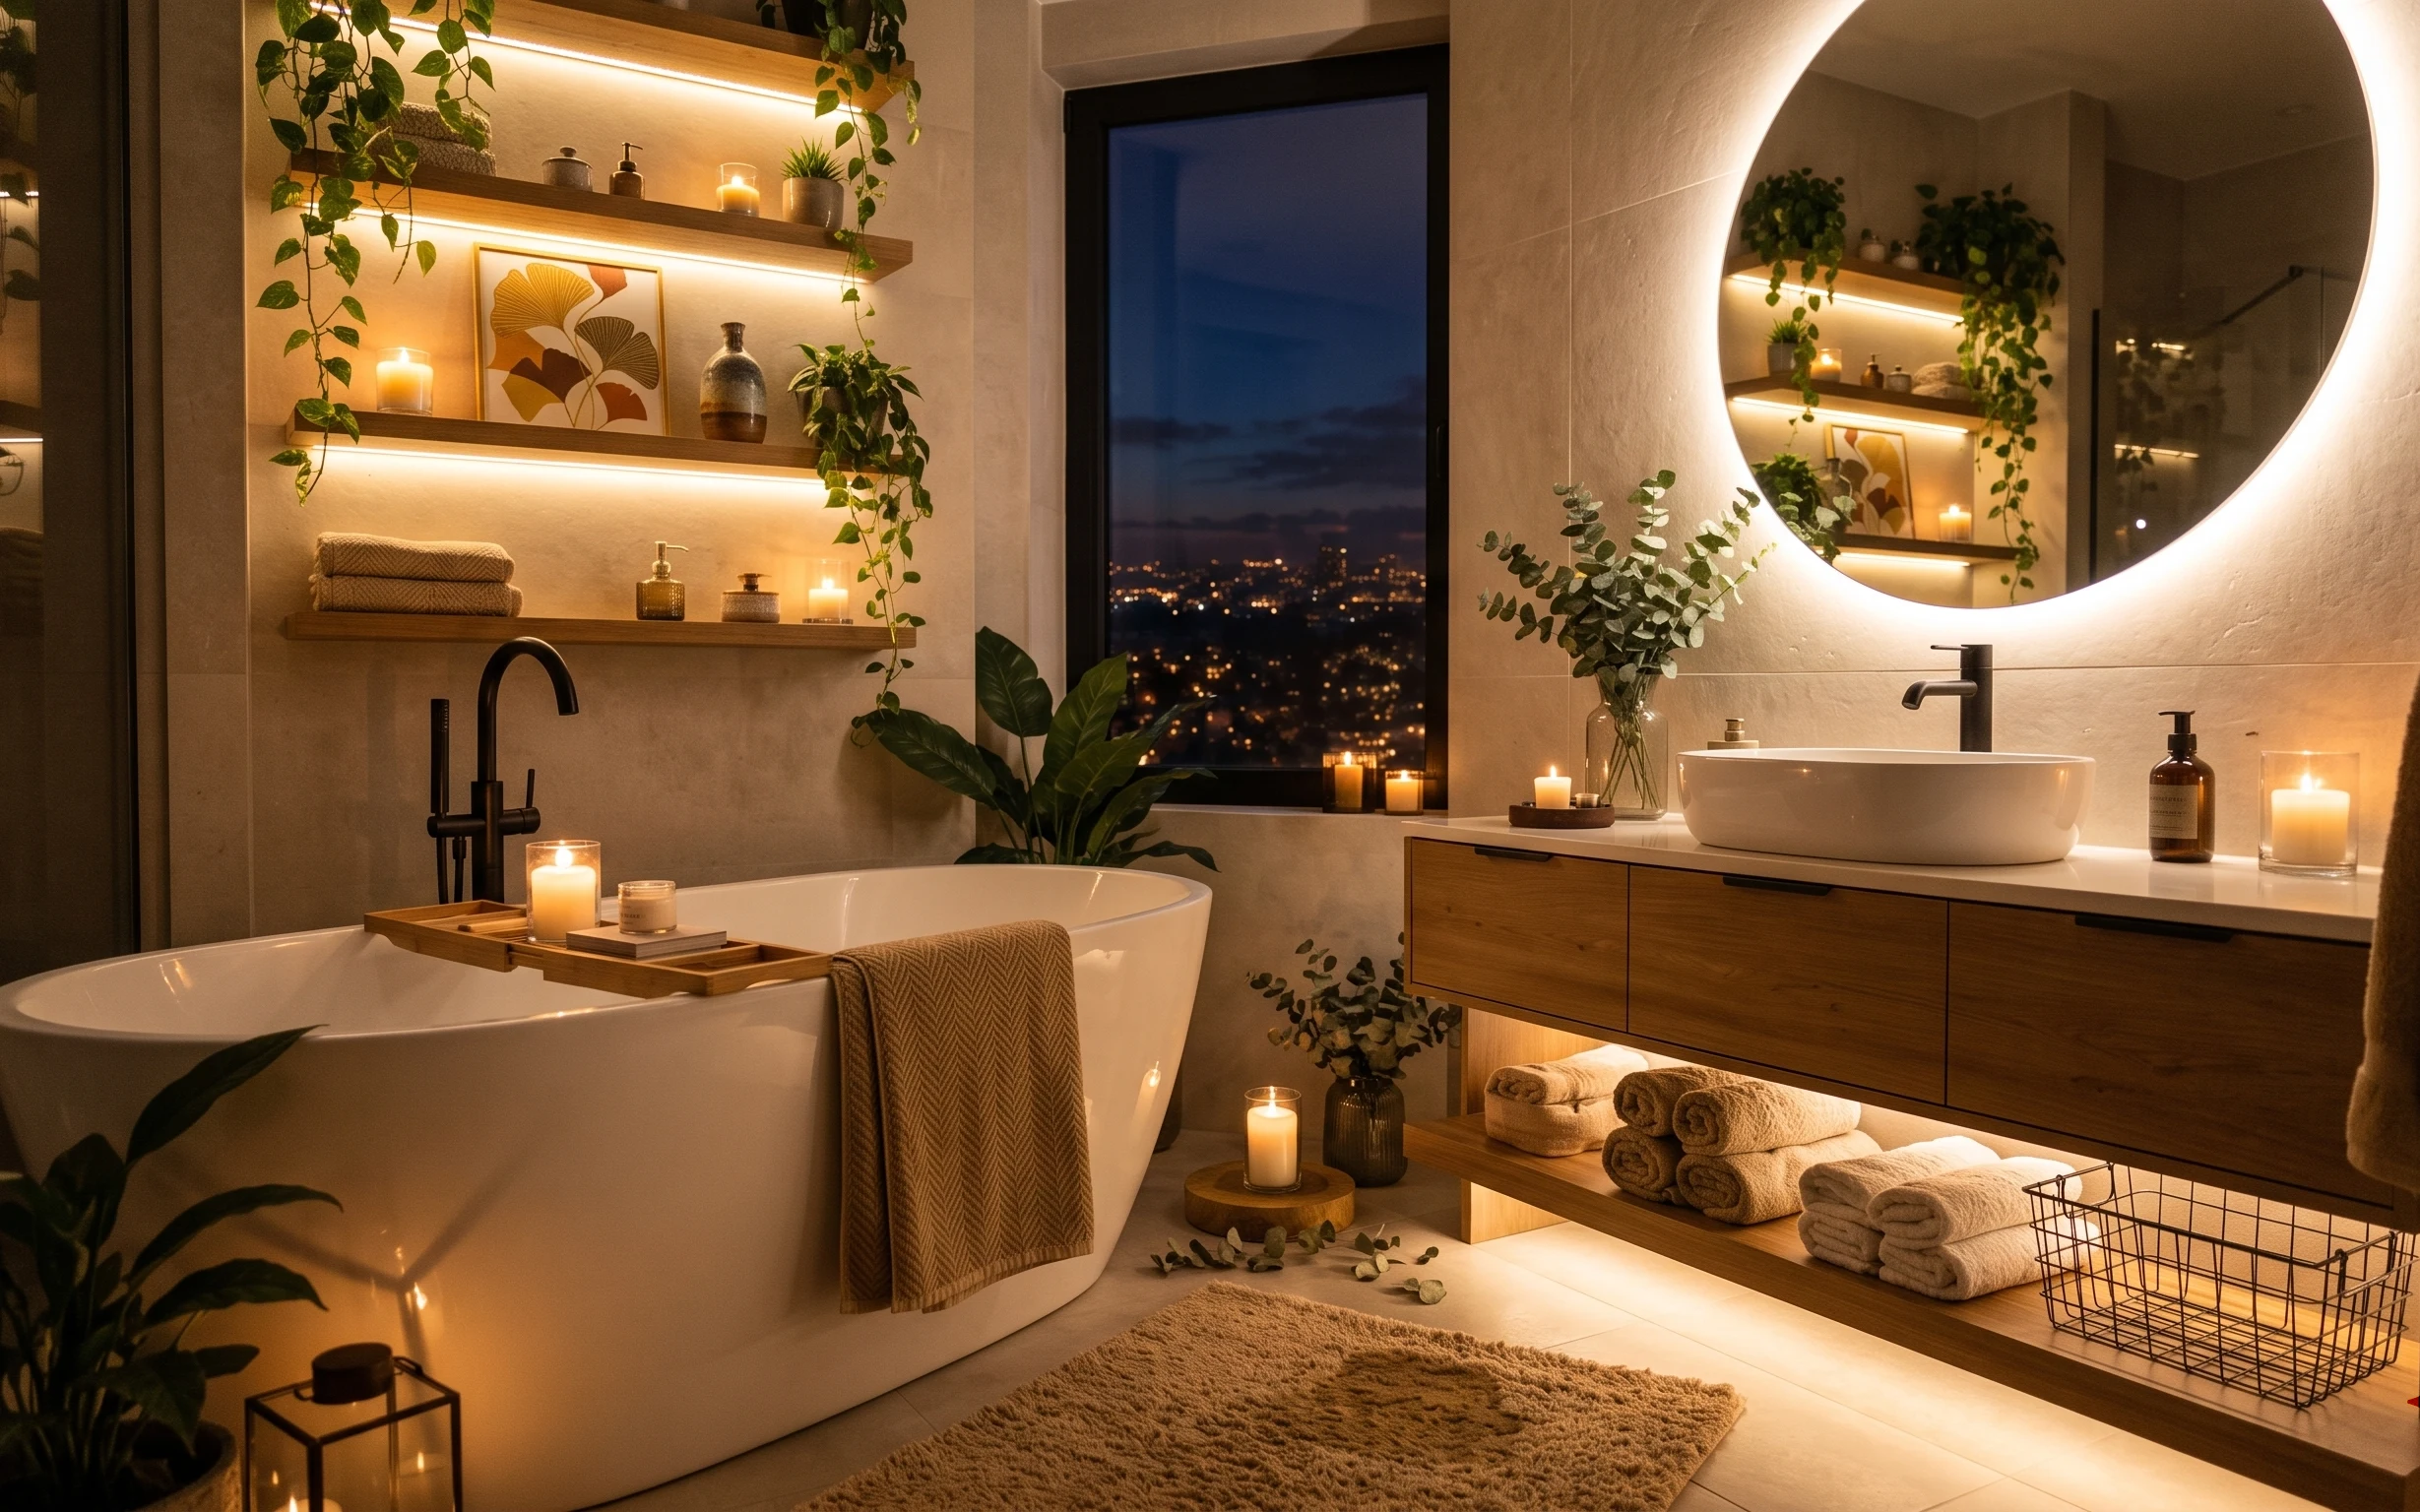
What $1000 buys: a spa-like bathroom refresh with plants
A spa-like bathroom refresh for homeowners on a $1000 budget: add warm floating shelves for plants, anchor the look with a round mirror, an…
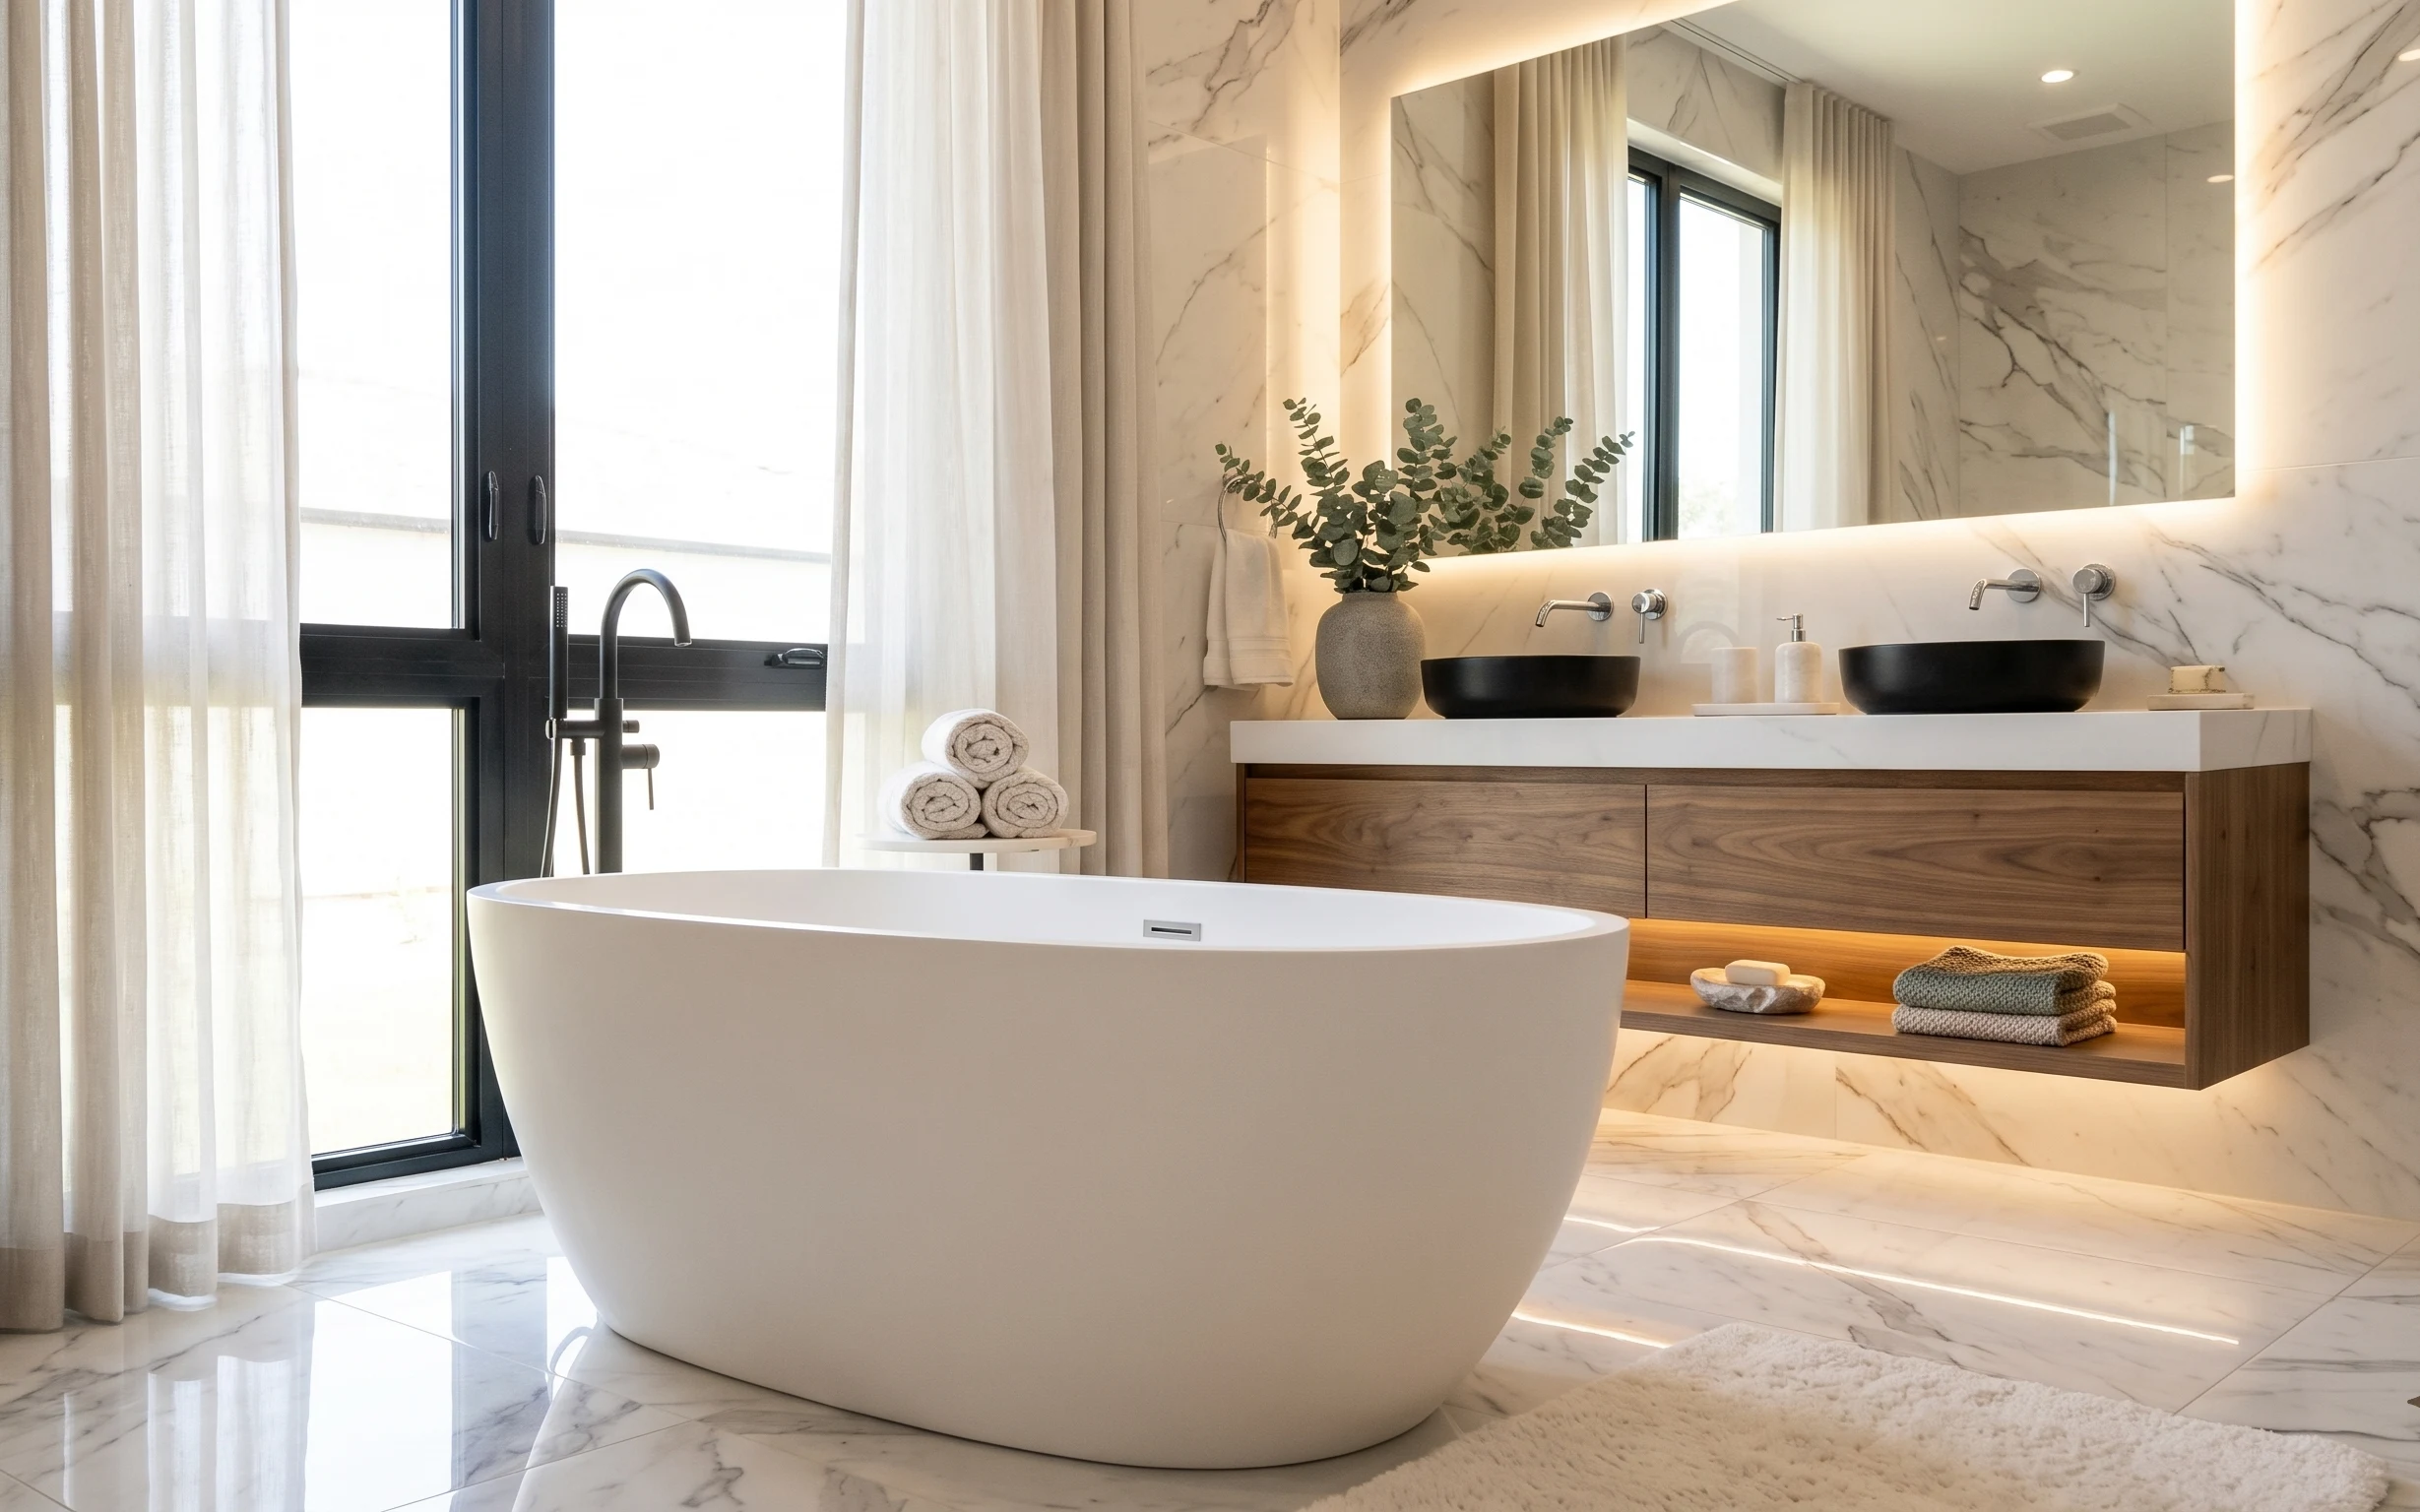
What $350 buys: a renter-safe bathroom tub corner refresh
A move-friendly bathroom tub corner refresh with soft textiles, a light-catching mirror, and greenery—built for shared housing and quick pa…