- Best for
- Textile + plant swaps that pack fast
- Cost
- $185 total for the pictured look
- Difficulty
- Easy (no-drill styling)
- Time
- 1 afternoon
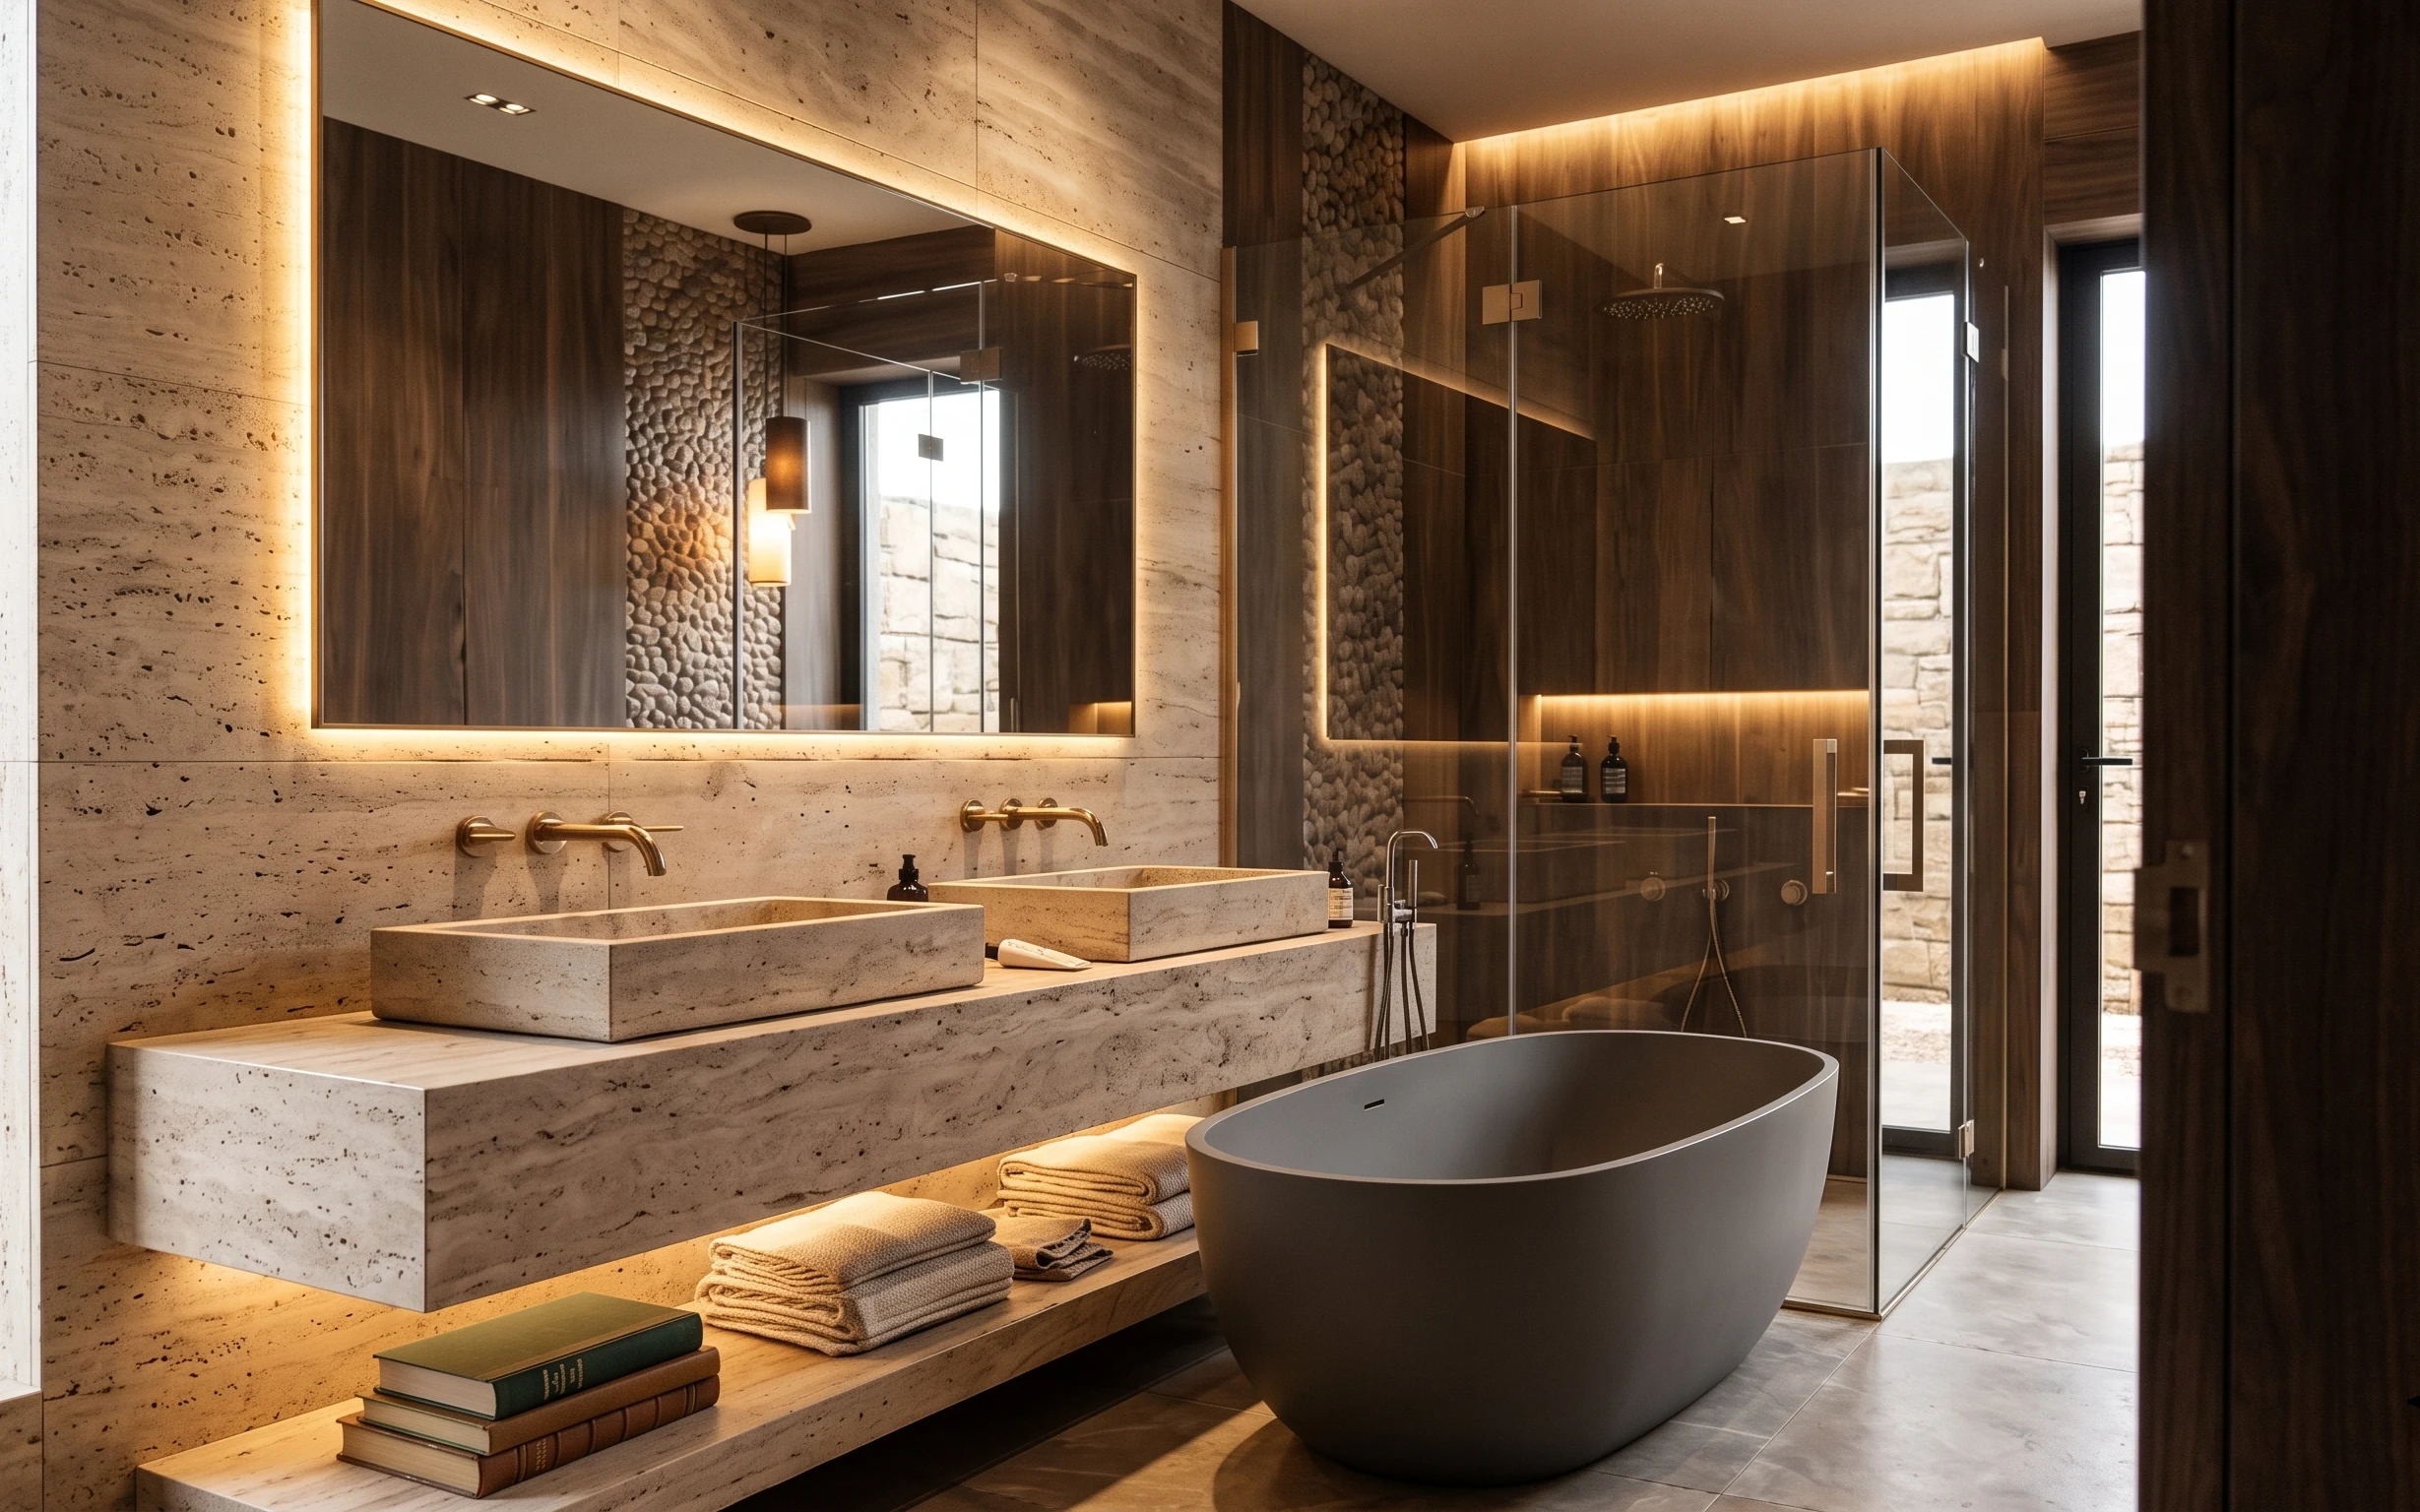
Why this seafoam-and-brass setup is the spa bathroom of 2026
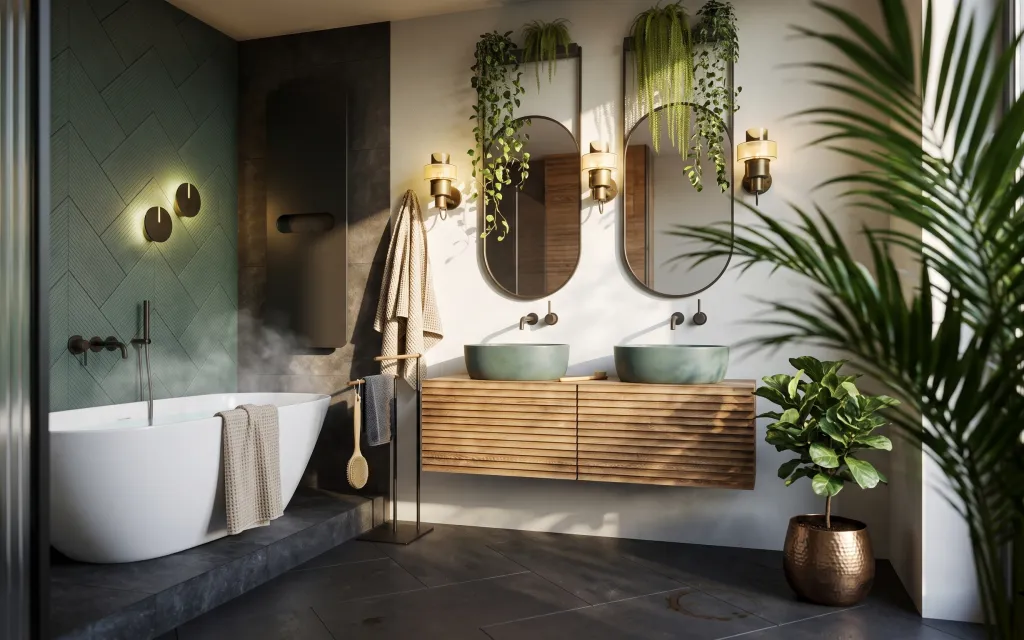
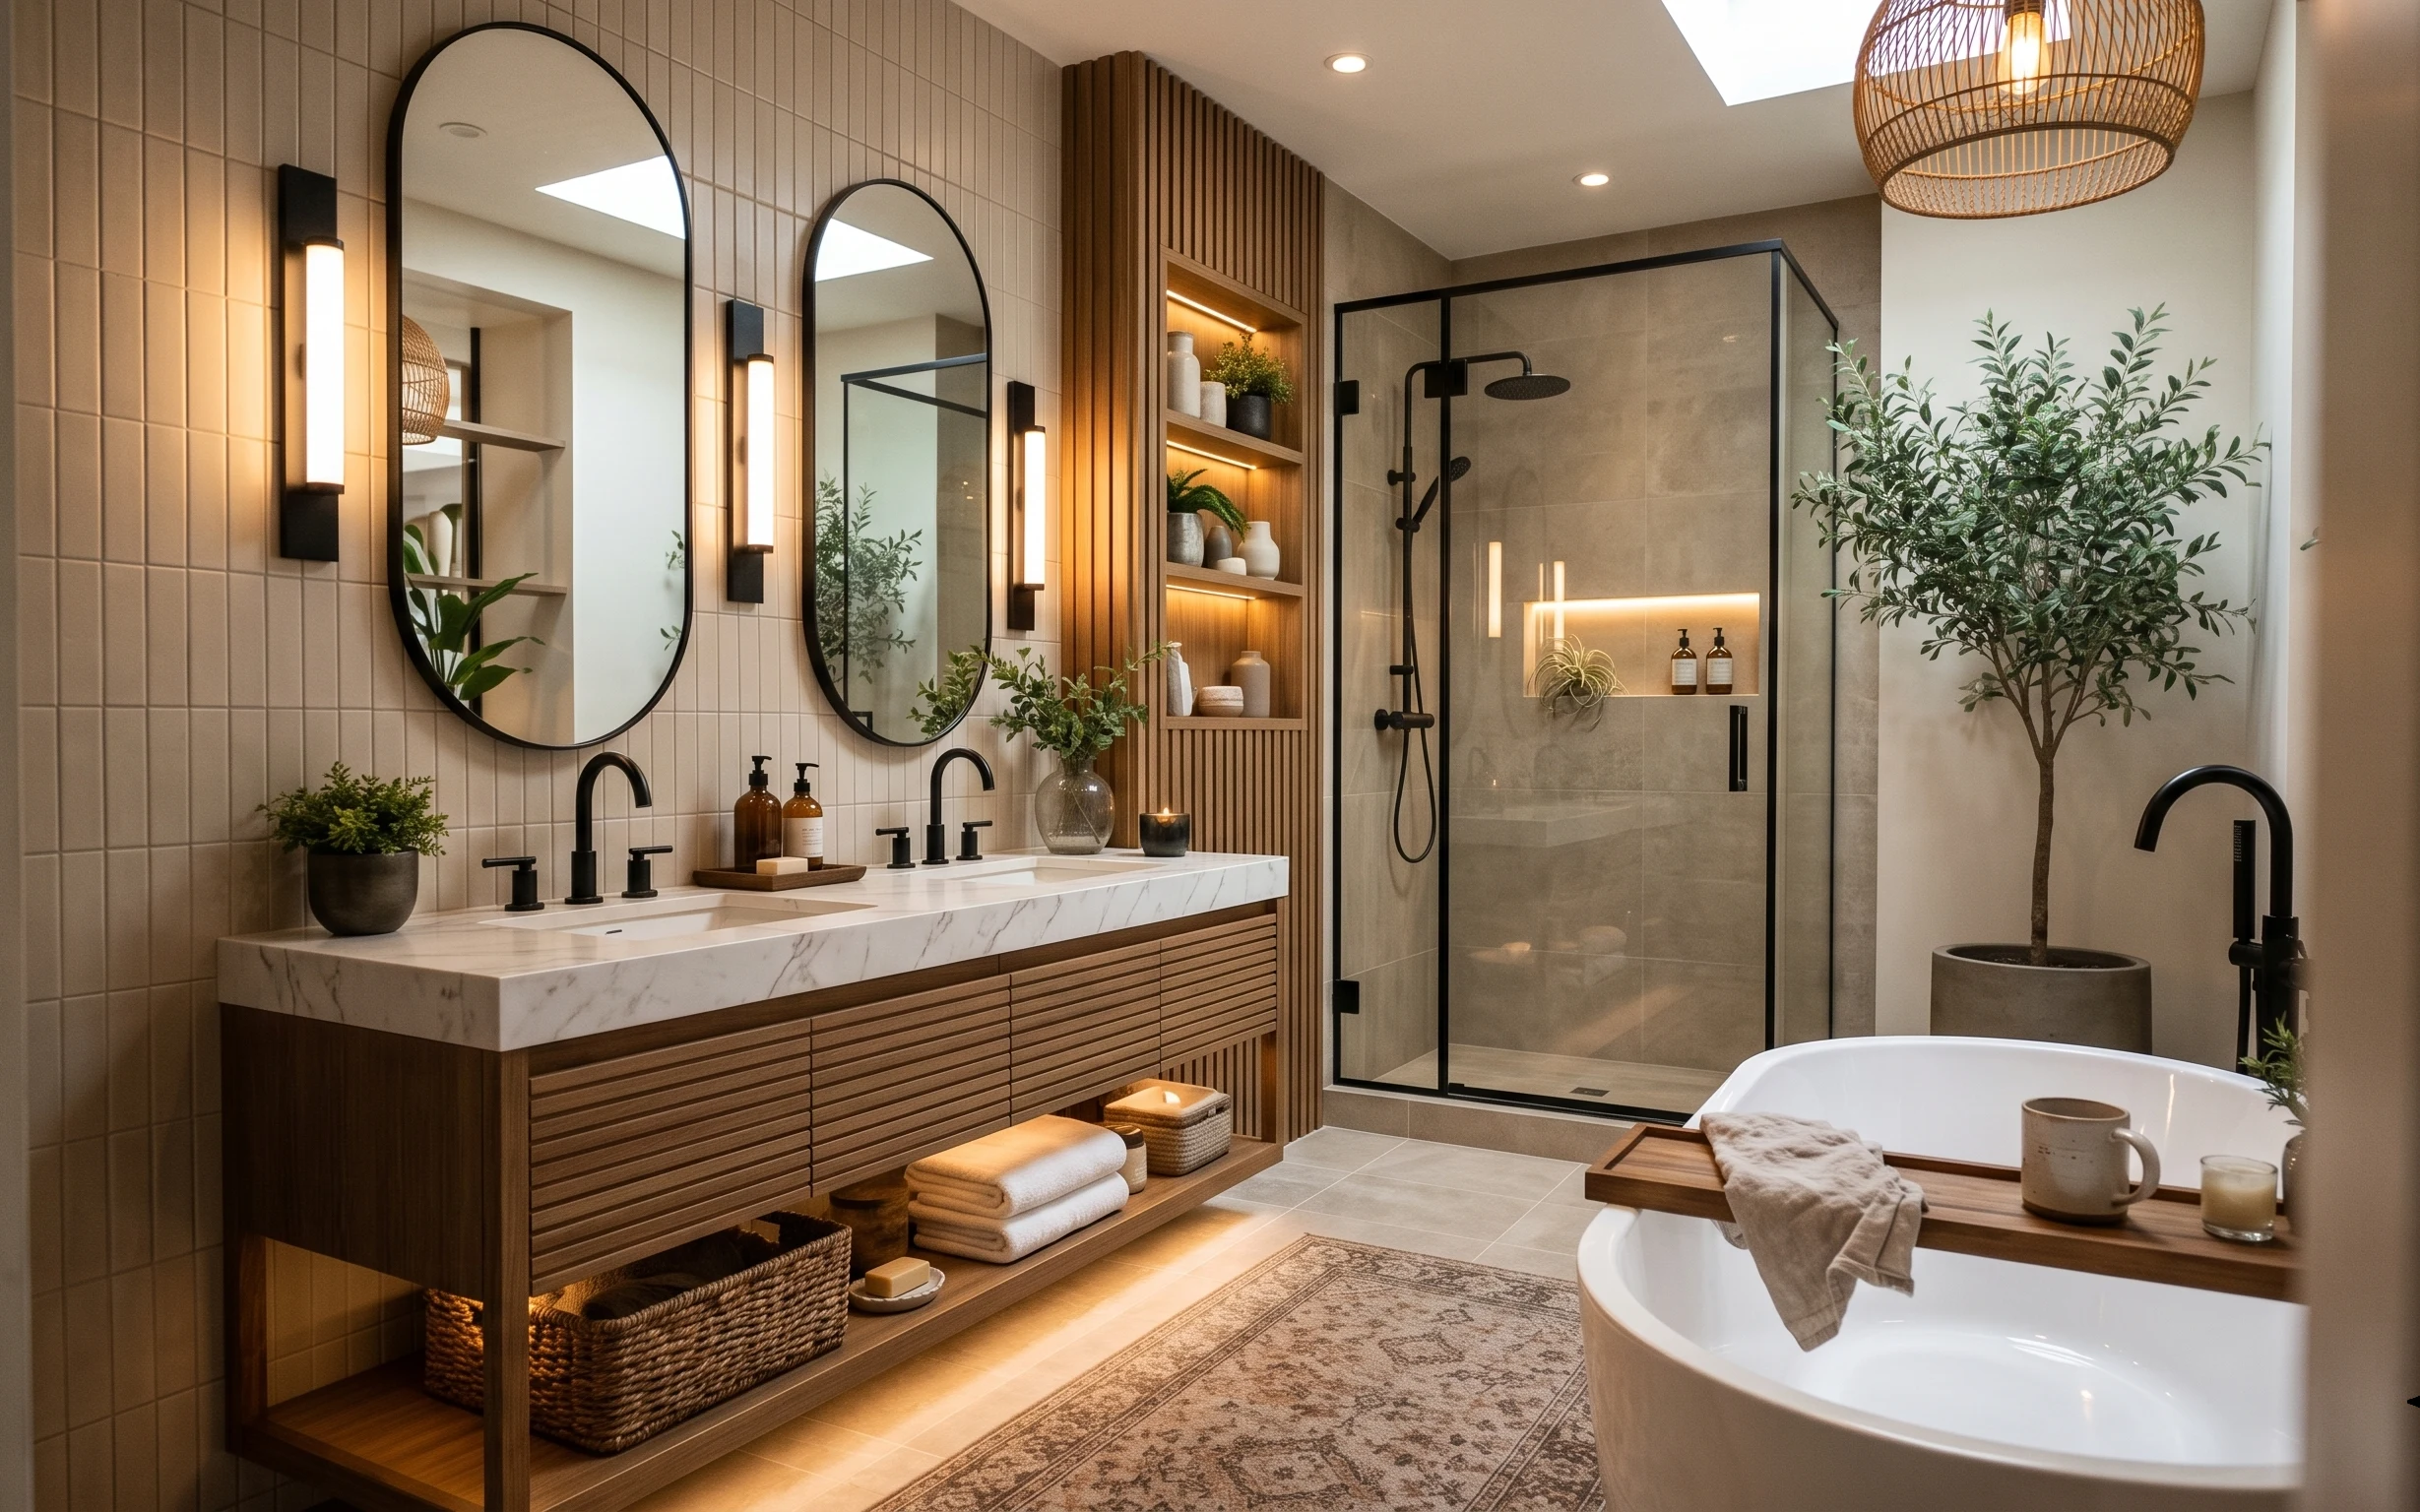
In the photo, the whole mood comes from contrast: dark charcoal tiles underfoot, warm gold lighting cues, and those seafoam teal basins paired with crisp white towels. What reads “expensive” is mostly texture—waffle-knit towel loops, a smooth wooden tray, and glossy green leaves that catch the light. I’ve done this exact move-friendly pattern in my own shared places: instead of fighting the fixed elements, you style around them. For renters and roommates, that’s the fastest path to a spa feel that still packs flat.
My first instinct was always to “fix” the room by upgrading the hardware. Then I realized the boring truth: what really changes how a bathroom feels is how you dress the space—towels, placement, and greenery—because those are portable. Here, the towels are layered at different heights, the tray gives a landing spot for small items, and the plants soften the hard lines of the tile. That’s the version that survives a move.
Layer 1 — Gray waffle bath towel ($25) adds texture without bulk
That gray waffle towel is the small-but-important texture note: the waffle pattern reads dimensional even in bright daylight, and it doesn’t fight the darker floor tiles. I’d choose a medium-weight waffle cotton in the same gray family so it looks intentional with the seafoam teal tones. The trade-off is that waffle dries slower than smooth terry, so it’s best for the towel that stays in rotation, not the one used every single day. In a shared bathroom, it’s also easy to wash and re-fold into a flat stack for packing.
Use the same weave twice
Keeping waffle + terry in one palette makes the space feel styled without adding extra decor clutter.
Layer 2 — White bath towel draped over bathtub ledge ($25) creates clean visual contrast

The white towel draped over the tub ledge works like a frame: it brightens the corner and makes the darker wall panel feel less heavy. White also photographs well, which matters when roommates have different taste levels and everyone’s trying to “make it look nice.” I’d pick a towel with a little structure—like a towel that holds a soft fold—so it doesn’t look limp after a wash. The trade-off is that bright white shows water spots, but that’s solvable with quick drying and a routine swap.
Let it look slightly “styled”
A loose fold beats a perfectly straight drape, because it reads casual and spa-like at the same time.
Layer 3 — White towel on the wall-mounted towel stand ($15) balances height
That towel on the towel stand adds vertical rhythm, which is why the bathroom doesn’t feel flat even with bold tile. When your main textiles are on the counter or tub, a towel higher up keeps the eye moving and makes the wall area feel purposeful. The trade-off is that you’ll want to keep this one breathable, not overly damp, since towel stands can hold moisture if the bathroom is under-ventilated. For move-out days, towels are also the easiest items to pack: they roll, shrink, and don’t require hardware.
Avoid “decor towels” that won’t dry
If the fabric is too thin or synthetic-slick, it can feel nice once and then stay damp longer than you want.
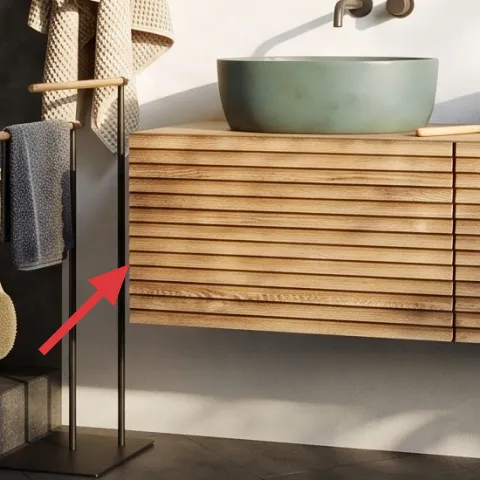
Layer 4 — Small wooden tray on the vanity counter ($15) gives one intentional landing spot
The small wooden tray is the organizing trick in this look: it creates a single visual “island” on the counter so the styling feels curated, not accidental. I’d use a shallow tray in warm wood to echo the lighter wood tones in the room and keep the seafoam teal from feeling too cool. The trade-off is that trays collect items—so the benefit only lasts if it stays a one-category surface (think: a soap + one accessory, not five random bottles). For shared housing, that discipline is what makes the space feel clean even when life is messy.
Pick one “category” for the tray
Soap + a tray buddy (like a brush holder or small candle) keeps the bathroom looking intentional.
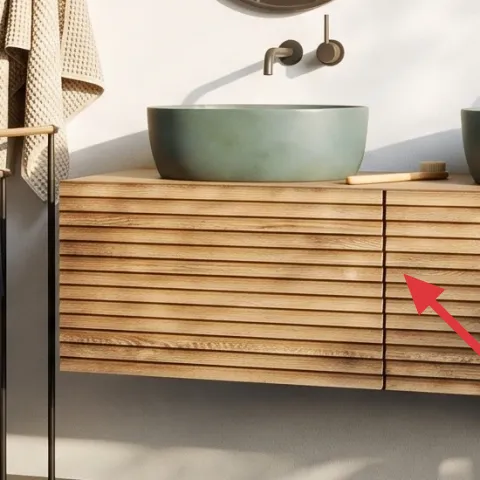
Layer 5 — Potted leafy plant in hammered metal pot ($35) softens the tile lines
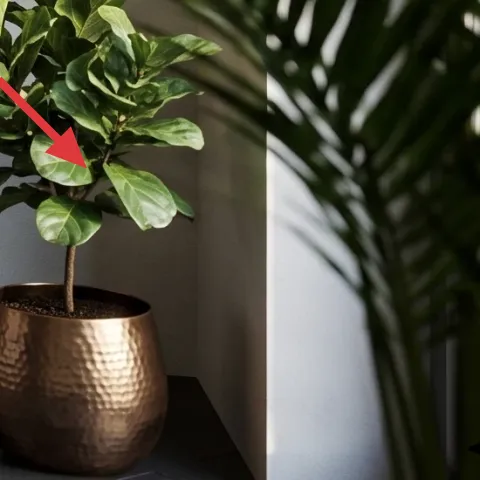
The hammered metal pot brings that sculptural, spa vibe—shiny enough to feel luxe, but still neutral against the dark floor. The leaves do the heavy lifting for softness: they break up the geometry of tile and mirrors, and they add a little color that sits between the seafoam teal and the warm gold tones. If you’re choosing for a shared bathroom, prioritize a plant that tolerates humidity swings and bright-but-not-blasting light. The trade-off is watering frequency, but the plant is easy to lift and pack compared to bulky decor.
Match the pot weight to the room
A heavier pot looks stable on tile and holds up better in a high-traffic bathroom.
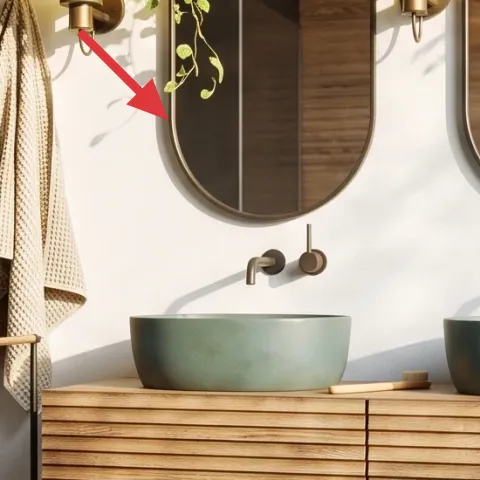
Layer 6 — Arched mirror towel styling setup (mirror reflection accent) ($40) brings the look into focus
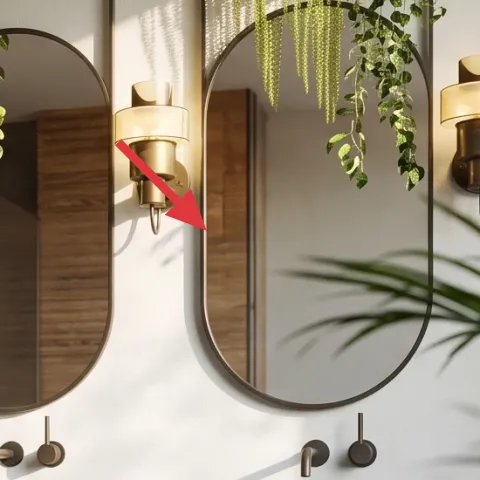
This layer is about reflection staging: the arched mirror shape makes whatever sits near it feel “designed,” so styling in the mirror’s line reads bigger than the actual objects. A simple move-friendly trick is to swap in a small set of painted terracotta planters as a visual accent near the mirror area (and then lift it out when you move). The trade-off is that terracotta can look slightly different from the hammered metal, so the paint color should be chosen to echo the seafoam teal—muted, not neon. Done right, it makes the bathroom feel cohesive without replacing anything fixed.
Make it instead of buying it
Paint a small terracotta planter set in a seafoam-leaning tint so it reads like the mirror-area accent, then reuse it wherever the next bathroom layout lands.
Materials
- Terracotta planter set (3 small) — assorted sizes — craft store — $18
- Acrylic paint (seafoam/green + white) — 2 bottles — art store — $10
- Matte acrylic sealer — 1 can — craft store — $7
Steps
- Lightly rinse terracotta to remove dust, then let it dry fully.
- Base-coat with a pale mix (white + a touch of seafoam) in thin layers.
- Let each coat dry until it looks matte, not glossy.
- Add a slightly deeper seafoam stripe or wash for dimension.
- Let the paint cure enough that it won’t smear when touched.
- Seal with matte acrylic sealer, following the can directions for coats.
- Dry again completely, then assemble and style near your mirror.
Total DIY cost: $35 — saves about $5 over buying.
Layer 7 — Hanging leafy plant above the mirrors ($30) adds movement and height
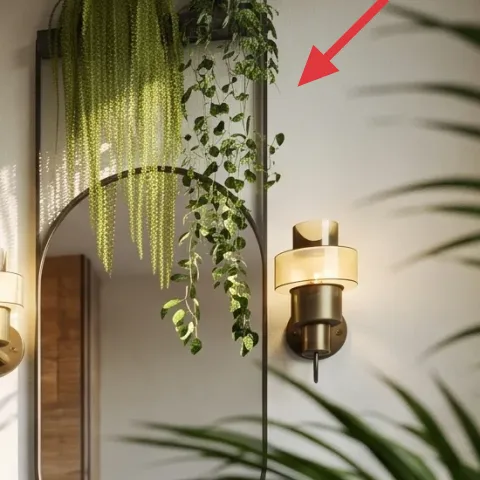
The hanging leafy plant is what turns “styled bathroom” into “spa bathroom”: it pulls greenery up into the mirror zone, so the ceiling-height view feels intentional. In this photo, the leaves spill down and catch light, which makes the whole setup feel lighter than it would with only towel textures. For shared housing, go for a plant that can be moved as a unit—something you can detach and pack without tools. The trade-off is managing tangles when transporting, but it’s easier than moving heavy furniture or changing fixed fixtures.
Keep vines contained
When you put it away, loosely braid or band the stems so the next move is a quick reset.
The cost, layer by layer
| Layer | Item | Cost |
|---|---|---|
| 1 | Gray waffle bath towel | $25 |
| 2 | White bath towel for tub ledge | $25 |
| 3 | White towel for wall towel stand | $15 |
| 4 | Small wooden tray for counter styling | $15 |
| 5 | Potted leafy plant in hammered metal pot | $35 |
| 6 | Painted terracotta planter set (DIY) | $40 |
| 7 | Hanging leafy plant above mirrors | $30 |
| Total | $185 | |
If you need it cheaper, keep the plants and swap just one towel for a thinner cotton option. A smaller wooden tray and a single terracotta accent also cut cost while keeping the same seafoam-and-brass balance.
What worked, what didn't (across the whole room)
The strongest wins here are the layered textiles and the greenery placement: towels at multiple heights and plants that soften hard tile. The wooden tray adds order, which helps the counter stay tidy in a shared bathroom. The only part that can feel off is when the towels all match too closely—texture variety is what makes the look feel intentional.
What worked
- Waffle texture on the gray towel reads richer than smooth terry in bright daylight.
- White towel contrast keeps the dark tile corner from looking heavy or closed-off.
- Vertical towel placement makes the wall area feel finished without adding furniture.
- A small wooden tray consolidates small items into one visually calm zone.
- Leafy plants soften geometry and make the mirror zone feel taller and more alive.
- Mirror-area styling makes small decor choices look more “designed” than they are.
What didn't
- Too much damp towel time can make some fabrics feel clammy in humid bathrooms.
- If towels are all the same weave, the room loses the spa-like layered texture contrast.
- Plant styling can get tangled during a move if stems aren’t bundled for transport.
- Without a tray boundary, counter styling spreads and looks cluttered fast.
What we'd skip if we did it again
Skip replacing fixed bathroom fixtures. Even when the room “needs it,” those upgrades are expensive, not move-friendly, and they don’t pack into boxes. Instead, dress what’s already there with textiles, a tray, and greenery that can travel to the next lease.
Skip buying a full matching towel set in one fabric only. One towel should bring waffle texture, another should bring a brighter smooth contrast, and the rest should balance height. That mix looks intentional and still stays affordable in shared housing.
Skip decorative items that can’t handle humidity. If it’s delicate, paper-based, or fussy to dry, it will degrade faster than the overall look. Choose washable textiles and sturdy plant pieces so the spa feeling lasts beyond the first week.
Frequently asked
How long does this bathroom refresh take?
Plan for about 60–120 minutes. The textiles are the fastest part because you’re just swapping towels and re-folding them in place. The plant staging takes another 15–30 minutes depending on whether the hanging plant needs untangling. If you’re doing the painted terracotta set, budget one extra dry time in the day and store it safely until it’s fully cured.
Is this renter-safe for shared housing?
Yes—everything in the layers is either a textile or a portable object. There’s no drilling, no replacing fixed fixtures, and no wall-to-wall installs. Even the mirror-area styling relies on freestanding pieces that lift out when leases change. The only “system” change is how items are staged: towel height, tray boundary, and plant placement.
What if my bathroom is smaller than the photo?
Keep the same plan but scale down the “area” objects. Use one towel with a strong texture and keep the other towel simpler. If you don’t have space for a hanging plant, place the potted plant on the floor corner or counter edge instead. The key is repeating the same color thread (white + seafoam + warm metal) so the room still feels cohesive.
What if my bathroom has different colors—can I still copy the look?
Absolutely. The underlying idea is contrast and texture: a light towel against darker surfaces, a warm wood accent tray, and greenery for softness. If you don’t have seafoam in your fixtures, choose one muted color in your textiles (sage, dusty teal, or soft gray-green) and paint the terracotta planters to match that thread.
Where should I shop for these items on a budget?
For towels and trays, start with discount home stores, big-box seasonal sections, and kitchen/bath aisles at thrift stores for lightly used options. For plants, look for the cheapest healthy specimens rather than the most decorative planters—you can style the container with the terracotta paint DIY. If you need hammered metal-podge, search for “decorative plant pot” and reuse it in other rooms.
Biggest mistake to avoid in a shared bathroom?
Overfilling the counter. In shared spaces, products multiply fast, and without a tray boundary the room looks messy even when everything is technically “neat.” Pick a single landing spot (the tray), keep one category there, and rotate towels weekly. The spa feel comes from restraint plus a few high-texture pieces.
More in Bathroom

What $200 buys: a move-ready spa bathroom feel
A spa bathroom refresh on a $200 budget that stays renter-safe: swap textiles, add plant life, and use a reflection-friendly styling trick.…
7 renter-friendly bathroom swaps for a spa corner, $250
A warm, spa-like bathroom look is achievable in a rental by swapping towels, mats, and small-counter accessories—no drilling or fixture cha…
Under $500: renter-friendly bathroom vanity and shower corner refresh
A move-friendly bathroom vanity and shower corner refresh that leans on warm, no-drill details—starting with an area rug, folded towels, an…