- Best for
- Shared housing kitchens and peninsula seating
- Time
- 1–2 afternoons
- Total cost
- $232 (about $250 budget)
- Renter-safe
- No drilling or permanent changes
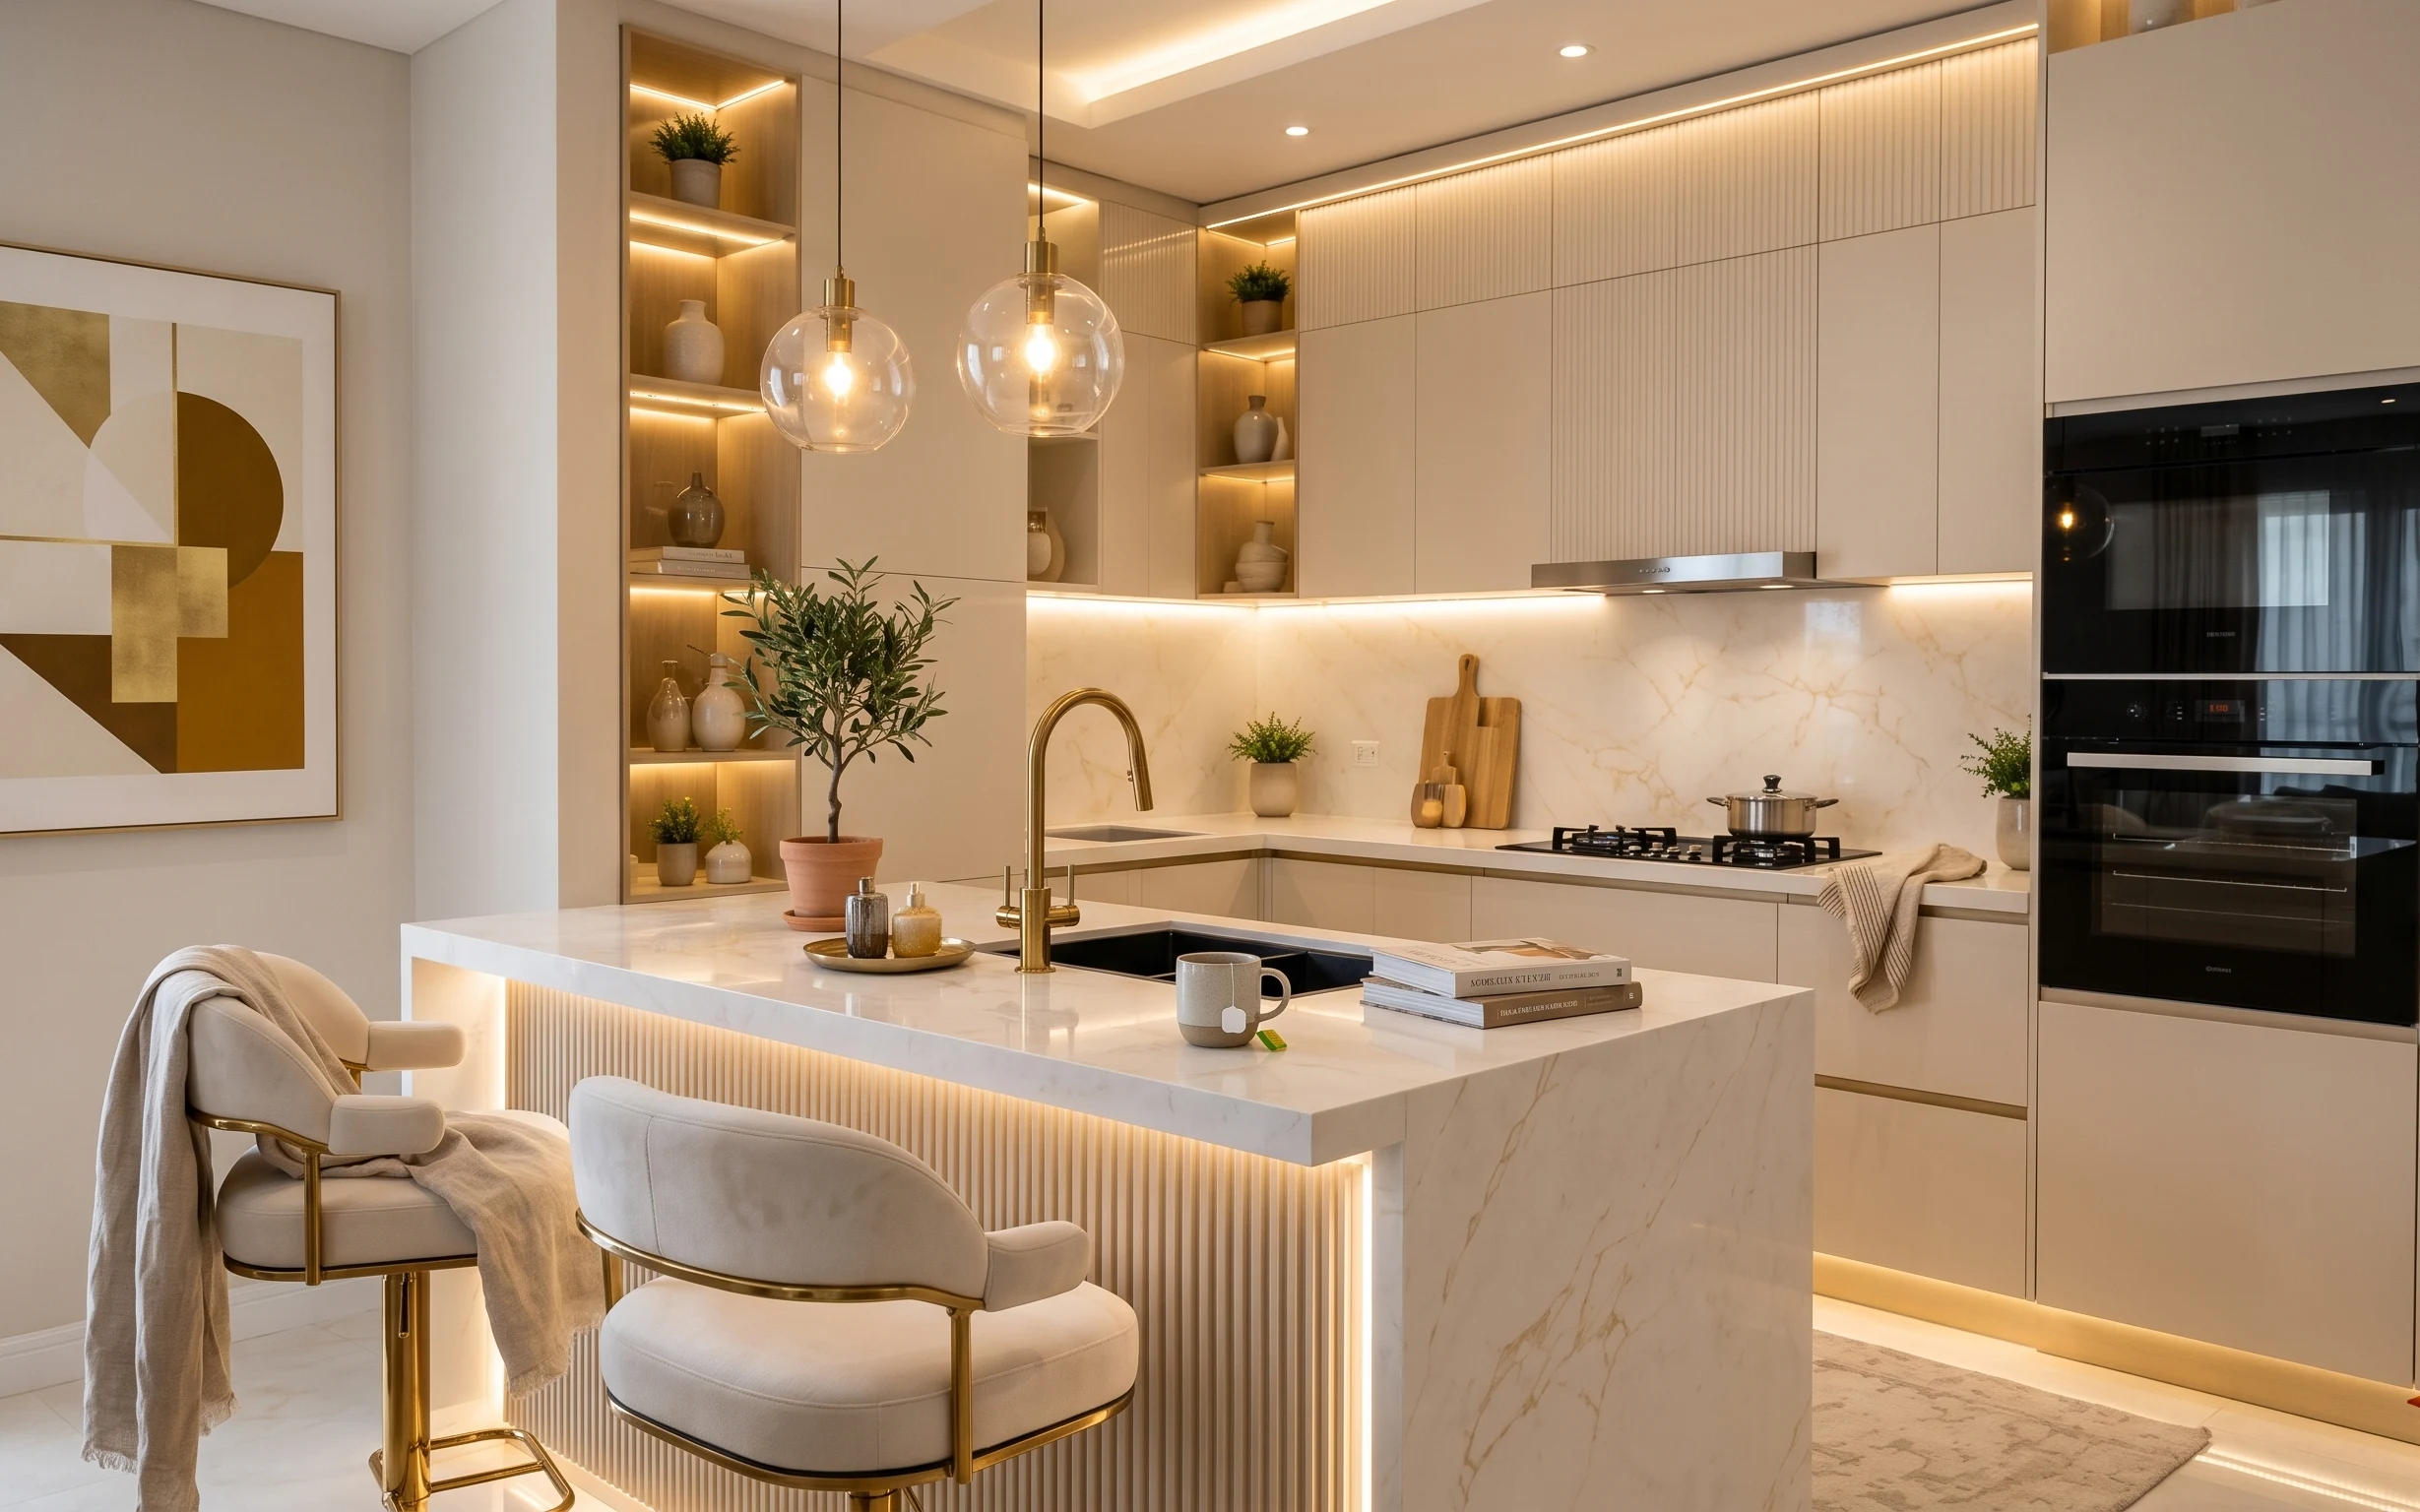
Why warm cream-and-wood peninsula nook is the peninsula nook of 2026
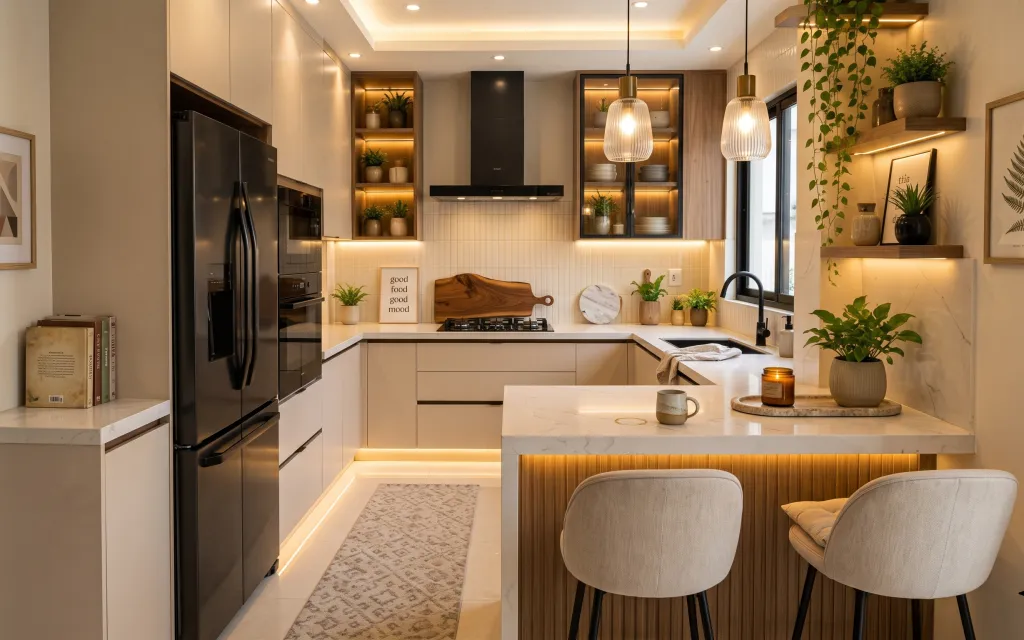
The starting point here is a clean white tile backsplash and light wood shelving—so the styling has to be soft, not busy. I’m focusing on the textures you can move: the light gray patterned runner underfoot, the matte warmth of a round wooden tray on the marble-like countertop, and greenery that makes the shelves feel lived-in. This is achievable for shared housing because every swap is freestanding or wall-hanging artwork that can come down without repair work.
I used to overbuy “kitchen decor” and then realize it didn’t actually read from the stool height. The change for this kind of peninsula nook is simple: keep the visual anchors at counter and wall height, and repeat the same tones—cream, warm wood, and a little gray. When I do that, the space feels intentional even when the rest of the apartment changes next year.
Layer 1 — runner rug with light gray pattern ($80) Grounds the peninsula for daily walking
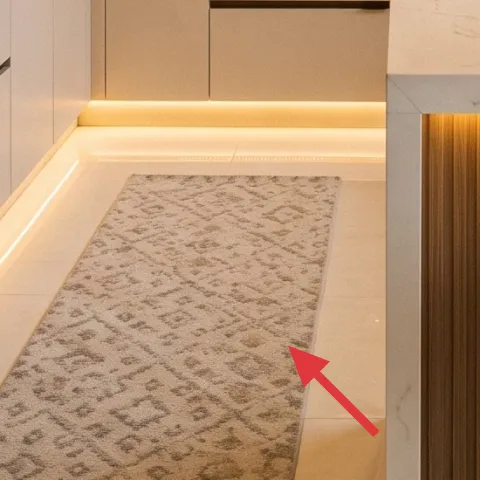
A runner rug with a light gray pattern turns bare tile and polished floor into something that feels softer underfoot. It also gives the countertop area a “landing zone” that still looks styled when your counter moment is messy (because shared roommates will be roommates). The trade-off is that a runner needs occasional vacuuming, but that’s easier than trying to cover the entire kitchen floor. Compared with adding a bigger rug, a runner is cheaper and much easier to roll up into the same box as mugs and frames.
Keep the pattern subtle
Light gray with small marks hides everyday splashes better than a solid cream runner.
Layer 2 — framed abstract print on left wall ($25) Adds a calm “frame” to the left side
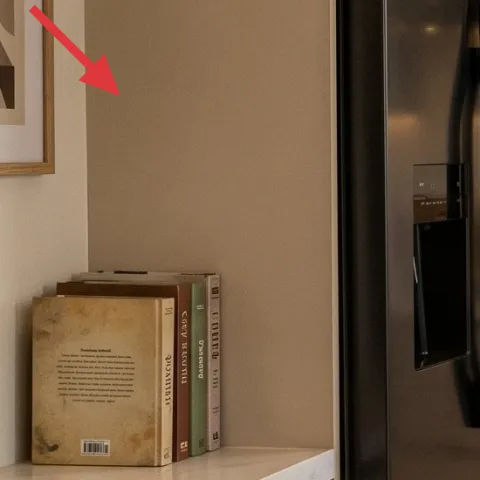
The framed abstract print on the left wall balances the strong vertical lines from the tall appliance zone and shelves. Because it’s flat artwork, it’s also one of the most packable upgrades you can make in a shared kitchen—especially if you’re planning to move. The frame color matters here: it echoes the warm wood tone in the floating shelves instead of competing with it. A common mistake is choosing art with high-contrast colors; this print keeps the palette cohesive with the countertop and rug.
Match the frame width
Small frames read best when you can’t control the rest of the fixed kitchen layout.
Layer 3 — framed botanical print on right wall ($25) Brings the same plant mood to the walls
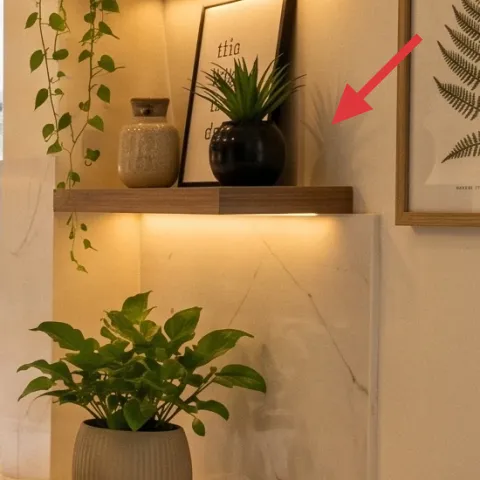
The framed botanical print on the right wall keeps the greenery feeling “intentional,” especially next to the potted vine plant on the shelf. Even though plants are the obvious move, wall art is what makes the whole peninsula nook feel styled from across the room. The trade-off is that framed prints take up wall space you can’t rearrange later, so it’s worth choosing something neutral-toned that won’t age badly. This also helps if your countertops change seasonally—your art stays a constant.
Repeat one leaf shape
If your live plants have wispy leaves, keep the illustration botanical rather than geometric.
Layer 4 — large potted vine plant on right shelf ($30) Adds height without extra clutter
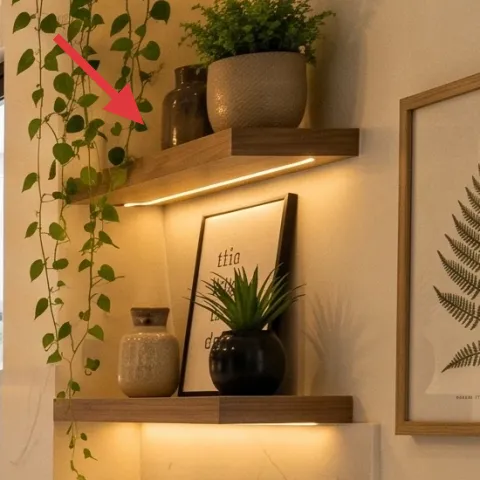
The large potted vine plant on the right shelf adds vertical movement and a gentle, organic texture that pairs with the clean white tile backsplash. It’s doing two jobs at once: making the shelf feel finished and softening the kitchen’s harder materials. I like it more than a small plant alone because the nook reads “designed” even when someone’s rushing in for coffee. The trade-off is you’ll need to rotate the pot occasionally so the leaves don’t lean, but that’s far simpler than maintaining a full herb setup.
Don’t let it block the shelf line
Place it so the leaves drape inward, not outward—otherwise it interrupts sightlines and becomes a mess.
Layer 5 — round wooden tray on countertop ($25) Creates a portable “landing spot”

The round wooden tray on the countertop is the little organizer that makes everything else look like it belongs together. It gives the glass jar candle and ceramic pieces a shared base, which is what reads as “styled” when you’re sitting on a bar stool. I chose wood here because it matches the warm tone in the floating shelves and keeps the peninsula nook from feeling too cool or too shiny. A tempting alternative is a metal tray, but the warm wood is what links to the rug and framed prints without adding more color.
Use the tray like a container
When you move, lift the whole tray as one unit—mugs, candle, and small decor included.
Layer 6 — glass jar candle on countertop ($35) Makes the counter moment warm after dark
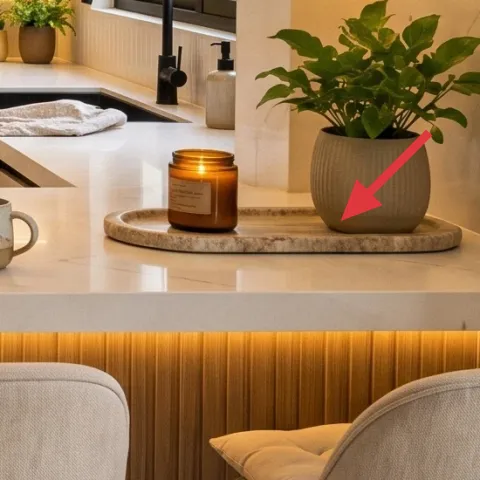
That glass jar candle on the countertop adds a warm focal point right where you naturally pause—between the mug, the tray, and the plants. It also creates soft, directional light that doesn’t rely on swapping any fixed fixtures. The trade-off is the obvious one: you have to replace it, and scent choices can be personal in shared housing. That said, a candle moment is easy to pack and easy to replace if roommates have different preferences, which is why it works for this kind of short-term setup.
Make it instead of buying it
This candle pour DIY recreates the jar-candle look on the tray, using pour-and-wick supplies you can haul in one tote.
Materials
- Soy wax — enough for 1 jar candle (about 1 lb) — $16
- Candle wicks + centering tabs — 1 set — $4
- Candle fragrance oil — small bottle (enough for 1 candle) — $4
- Candle dye (optional) — 1 small color — $3
Steps
- Warm the wax in a heat-safe container until fully melted, stirring gently.
- Attach the wick to the jar using centering tabs so it stays centered while you pour.
- Add fragrance oil (and dye if using) and stir for even distribution.
- Pour the melted wax into the jar slowly, keeping the wick straight.
- Let it cool at room temperature without moving the jar.
- Trim the wick to about a quarter-inch before lighting.
Total DIY cost: $27 — saves about $8 over buying.
Layer 7 — ceramic mug on countertop ($12) Adds one small “everyday” touch
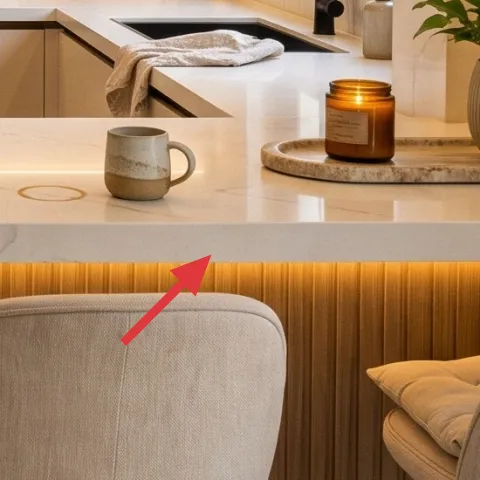
The ceramic mug on the countertop is the detail that stops the peninsula nook from looking like a showroom. It looks intentional because it’s placed on the round wooden tray, not randomly on the marble-like surface. I prefer a mug to something decorative and bulky because it visually connects to daily use—coffee, tea, or even a quick water glass—so it never feels like extra clutter. The trade-off is that mugs can chip, but that’s an easy fix compared with buying larger decor that feels risky in a shared kitchen.
Pick one neutral glaze
A cream or soft stone glaze keeps the palette aligned with the rug and shelf wood.
The cost, layer by layer
| Layer | Item | Cost |
|---|---|---|
| 1 | Runner rug with light gray pattern | $80 |
| 2 | Framed abstract print on left wall | $25 |
| 3 | Framed botanical print on right wall | $25 |
| 4 | Large potted vine plant on right shelf | $30 |
| 5 | Round wooden tray on countertop | $25 |
| 6 | Glass jar candle on countertop (DIY ~$27) | $35 |
| 7 | Ceramic mug on countertop | $12 |
| Total | $232 | |
If you need a cheaper variant, swap the runner rug for a smaller patterned mat and choose thrifted framed prints; the tray-and-candle vignette still reads “finished” even with fewer items.
What worked, what didn't (across the whole room)
This peninsula nook stays calm because the upgrades repeat the same warm-neutrals logic: rug for softness, art for structure, plants for height, and a single tray vignette for focus. The biggest win is how packable each piece is for shared housing. The only part that requires attention is keeping plants from looking lopsided over time.
What worked
- The light gray runner rug makes the tile feel less slippery and more lived-in during daily commutes.
- Two framed prints balance the fixed shelves, so the peninsula doesn’t feel like an afterthought.
- The large potted vine plant adds height and movement without cluttering the countertop zone.
- The round wooden tray clusters candle, mug, and small ceramics into one readable moment.
- The glass jar candle improves nighttime ambiance without changing any fixed lighting.
- The ceramic mug detail makes the counter feel useful, not staged for a photo.
What didn't
- Trying to use only small plants left the shelves looking flat from bar-stool height.
- Using bright, high-contrast prints fought the warm wood tones in the floating shelves.
- Overfilling the tray with extra ceramics made the peninsula nook feel busy fast.
- Leaving the candle jar without a base tray looked randomly placed instead of intentional.
- Skipping the runner rug made the whole walking path feel harder and colder.
What we'd skip if we did it again
Skip swapping any fixed kitchen parts (like fixtures or cabinetry) for temporary decor. In shared housing, you’ll lose time to the permission-to-install reality, and the payoff won’t pack as well as rug, art, plants, and countertop vignettes.
Skip a tray that’s too reflective or too busy. A mirror-like metal tray can clash with the warm wood shelves and make the glass jar candle feel harsher instead of cozy.
Skip “too many” countertop items. If the peninsula nook has a tray candle moment plus a mug plus a plant, that’s enough; beyond that, it stops looking curated and starts looking like storage.
Frequently asked
How long does this kind of peninsula nook refresh take?
If the walls already have your prints framed and you’re using lightweight, movable decor, plan on 1–2 afternoons. The main time sink is choosing where the rug sits so it looks centered with the bar-stool area. Plants also take a little testing time—moving the potted vine plant a few inches can change how the whole shelf reads.
Is this renter-friendly for shared housing—what about moving it later?
Everything in this refresh is either freestanding (runner rug, plant pots, tray) or a framed wall print that can come down without rebuilding the wall. The easiest packing hack is treating the tray vignette as one unit: lift the round wooden tray with candle and mug together, then wrap it. The runner rug rolls; framed prints go flat in a box.
What if my kitchen peninsula is smaller or narrower?
Go smaller with the runner rug footprint and keep the tray centered on the counter so it doesn’t feel crowded. You can also use just one framed print if the wall is tight, but keep the plant height with a potted vine plant for the same visual lift. The goal is one anchor per height level: floor (rug), wall (art), shelf/counter (plants + tray).
Where can I shop for these pieces without overthinking it?
For quick wins, start with the runner rug and framed prints from big-box home sections or thrift—neutral patterns and simple frames are easiest to match. Plants are usually easiest at local nurseries or garden sections, and you can choose a large potted vine plant that’s already trained. For the tray and mug, look for natural wood and cream glazes so the palette stays cohesive.
What’s the biggest mistake people make in a kitchen peninsula nook?
The most common mistake is decorating the countertop like a desk: stacking too many small objects and losing the “one readable moment” effect. Another frequent miss is picking a candle or art color that clashes with the warm wood shelves and the cream tones. Use fewer items, then repeat warm-neutrals—cream, warm wood, and a little gray from the runner.
Can I swap the candle for something else if shared roommates don’t want scent?
Yes—keep the tray, but change what sits on it. A night-light candle vibe can be replaced by an unscented jar candle in a neutral color, or even by a ceramic bowl for keys and little morning essentials during the day. The tray does the styling work; the wick-and-scent part is the only flexible variable.
More in Kitchen & Dining

7 renter-friendly ways to style a peninsula nook for $250
A warm, japandi-style peninsula nook for shared housing—built from a gray patterned runner, two framed prints, plants, and candlelight. Thi…
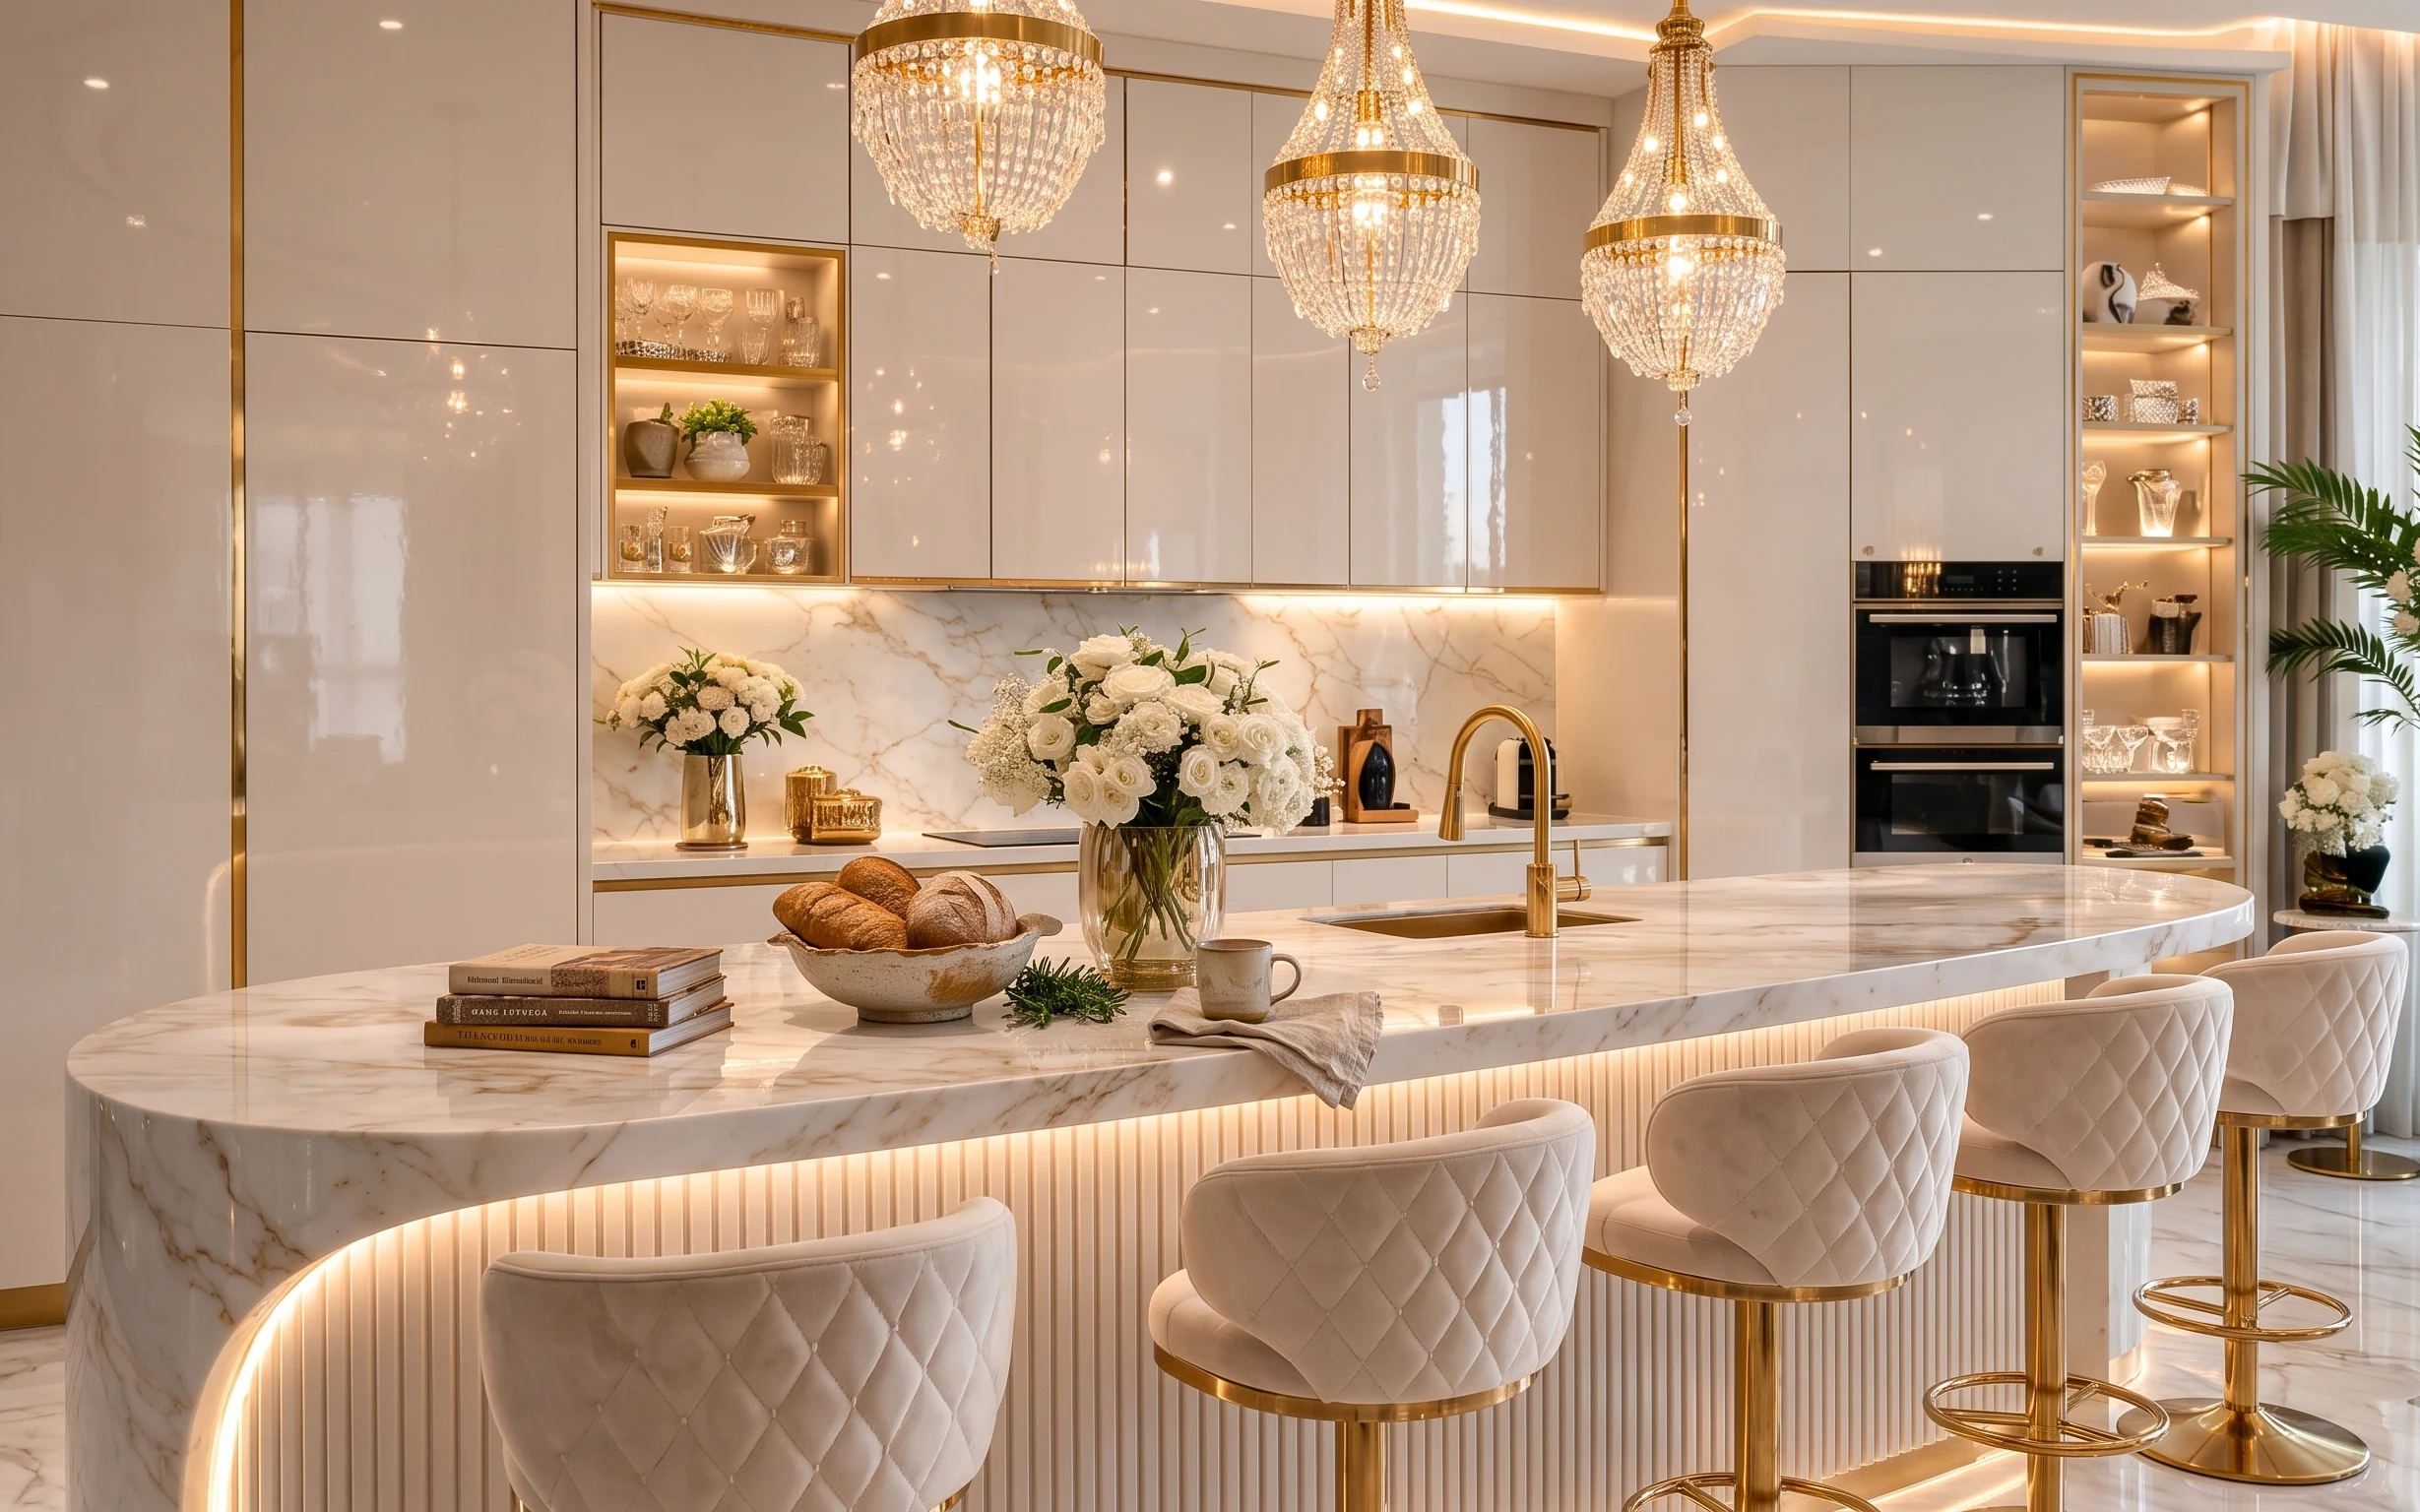
7 swaps for a brass-and-ivory kitchen island for $300
A bright, warm kitchen island look that moves with you: curtains, flowers, a folded cloth, and a few small styling objects. This $300 plan …
7 kitchen island tweaks for a $400 renter-friendly refresh
A warm modern kitchen island seating nook—built with no-drill swaps—using a jute-style rug, framed art, a draped throw, and styled island d…