
- Best for
- Warm, spa-like ambiance on a weekend
- Cost
- $480 total for the layered look
- Difficulty
- Confident DIY
- Renter-safe
- Yes (no demo required)
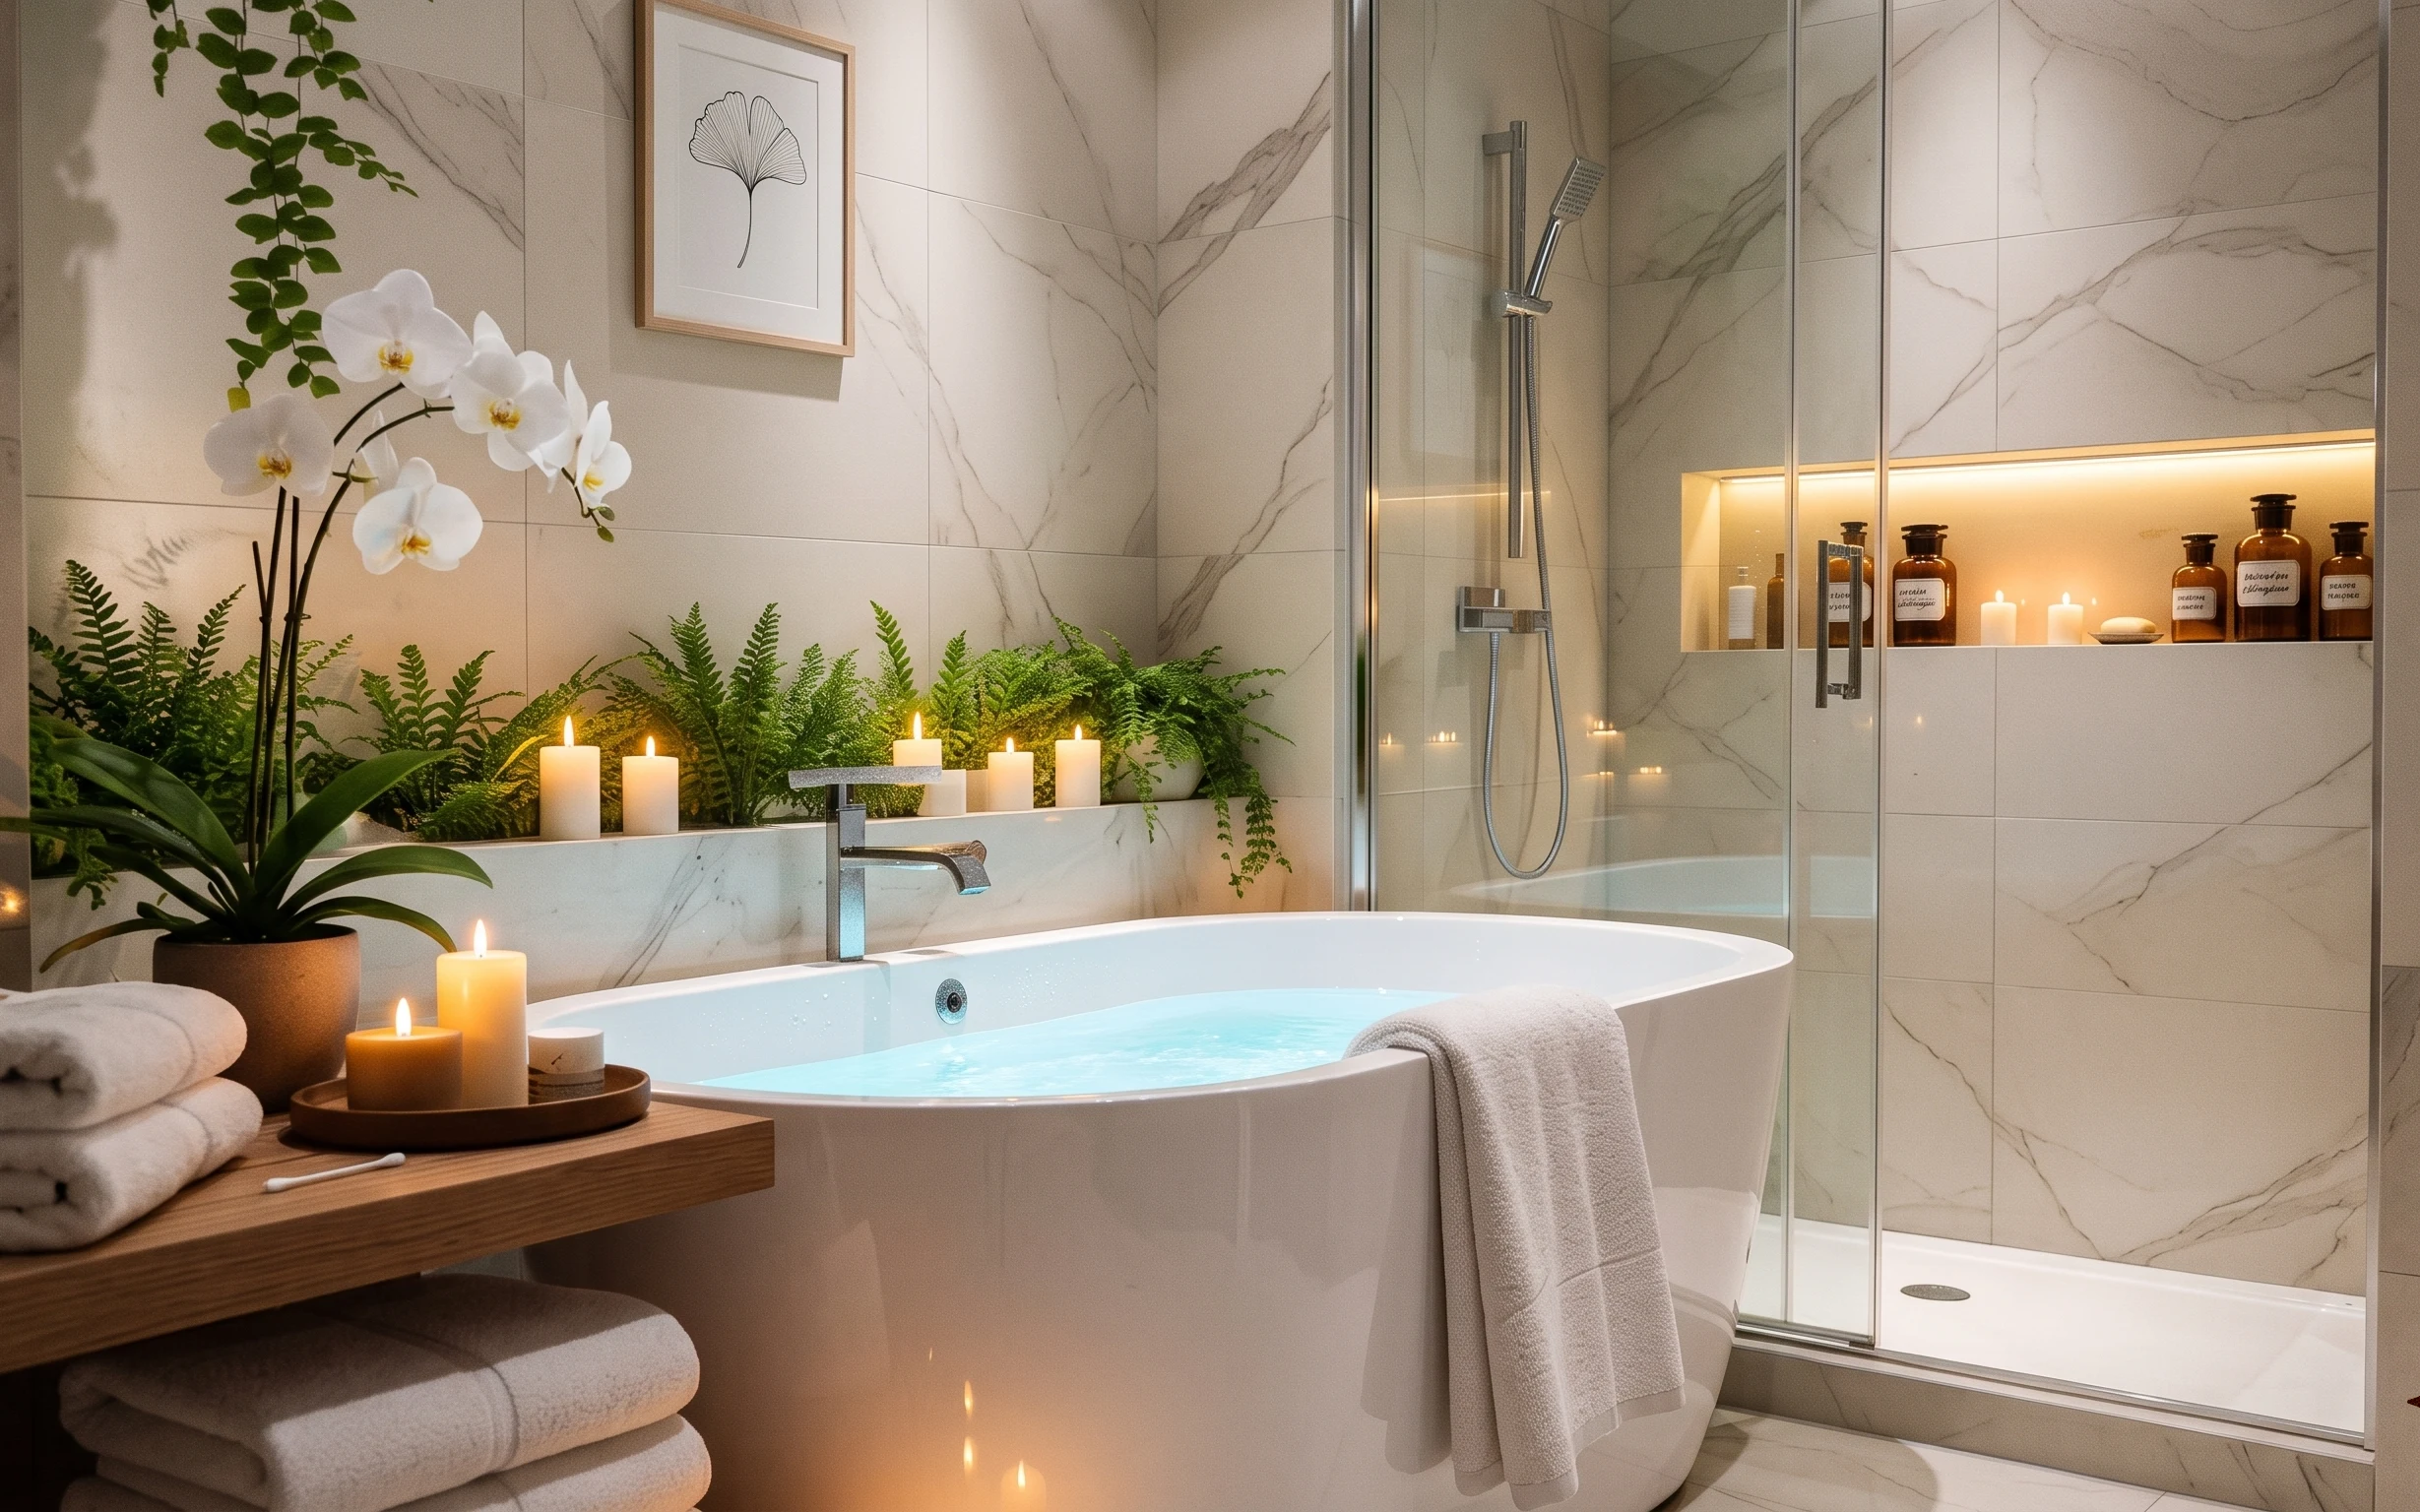
Why botanical calm is the bathtub nook of 2026
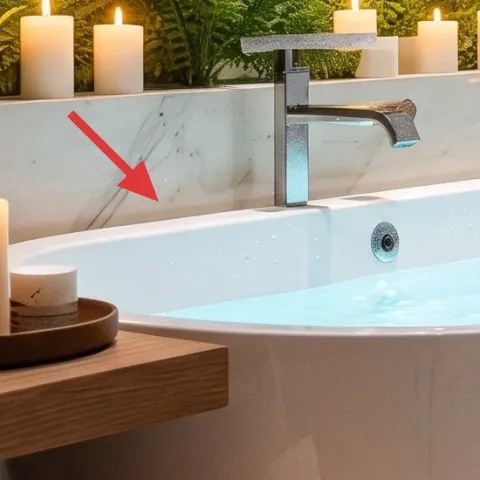
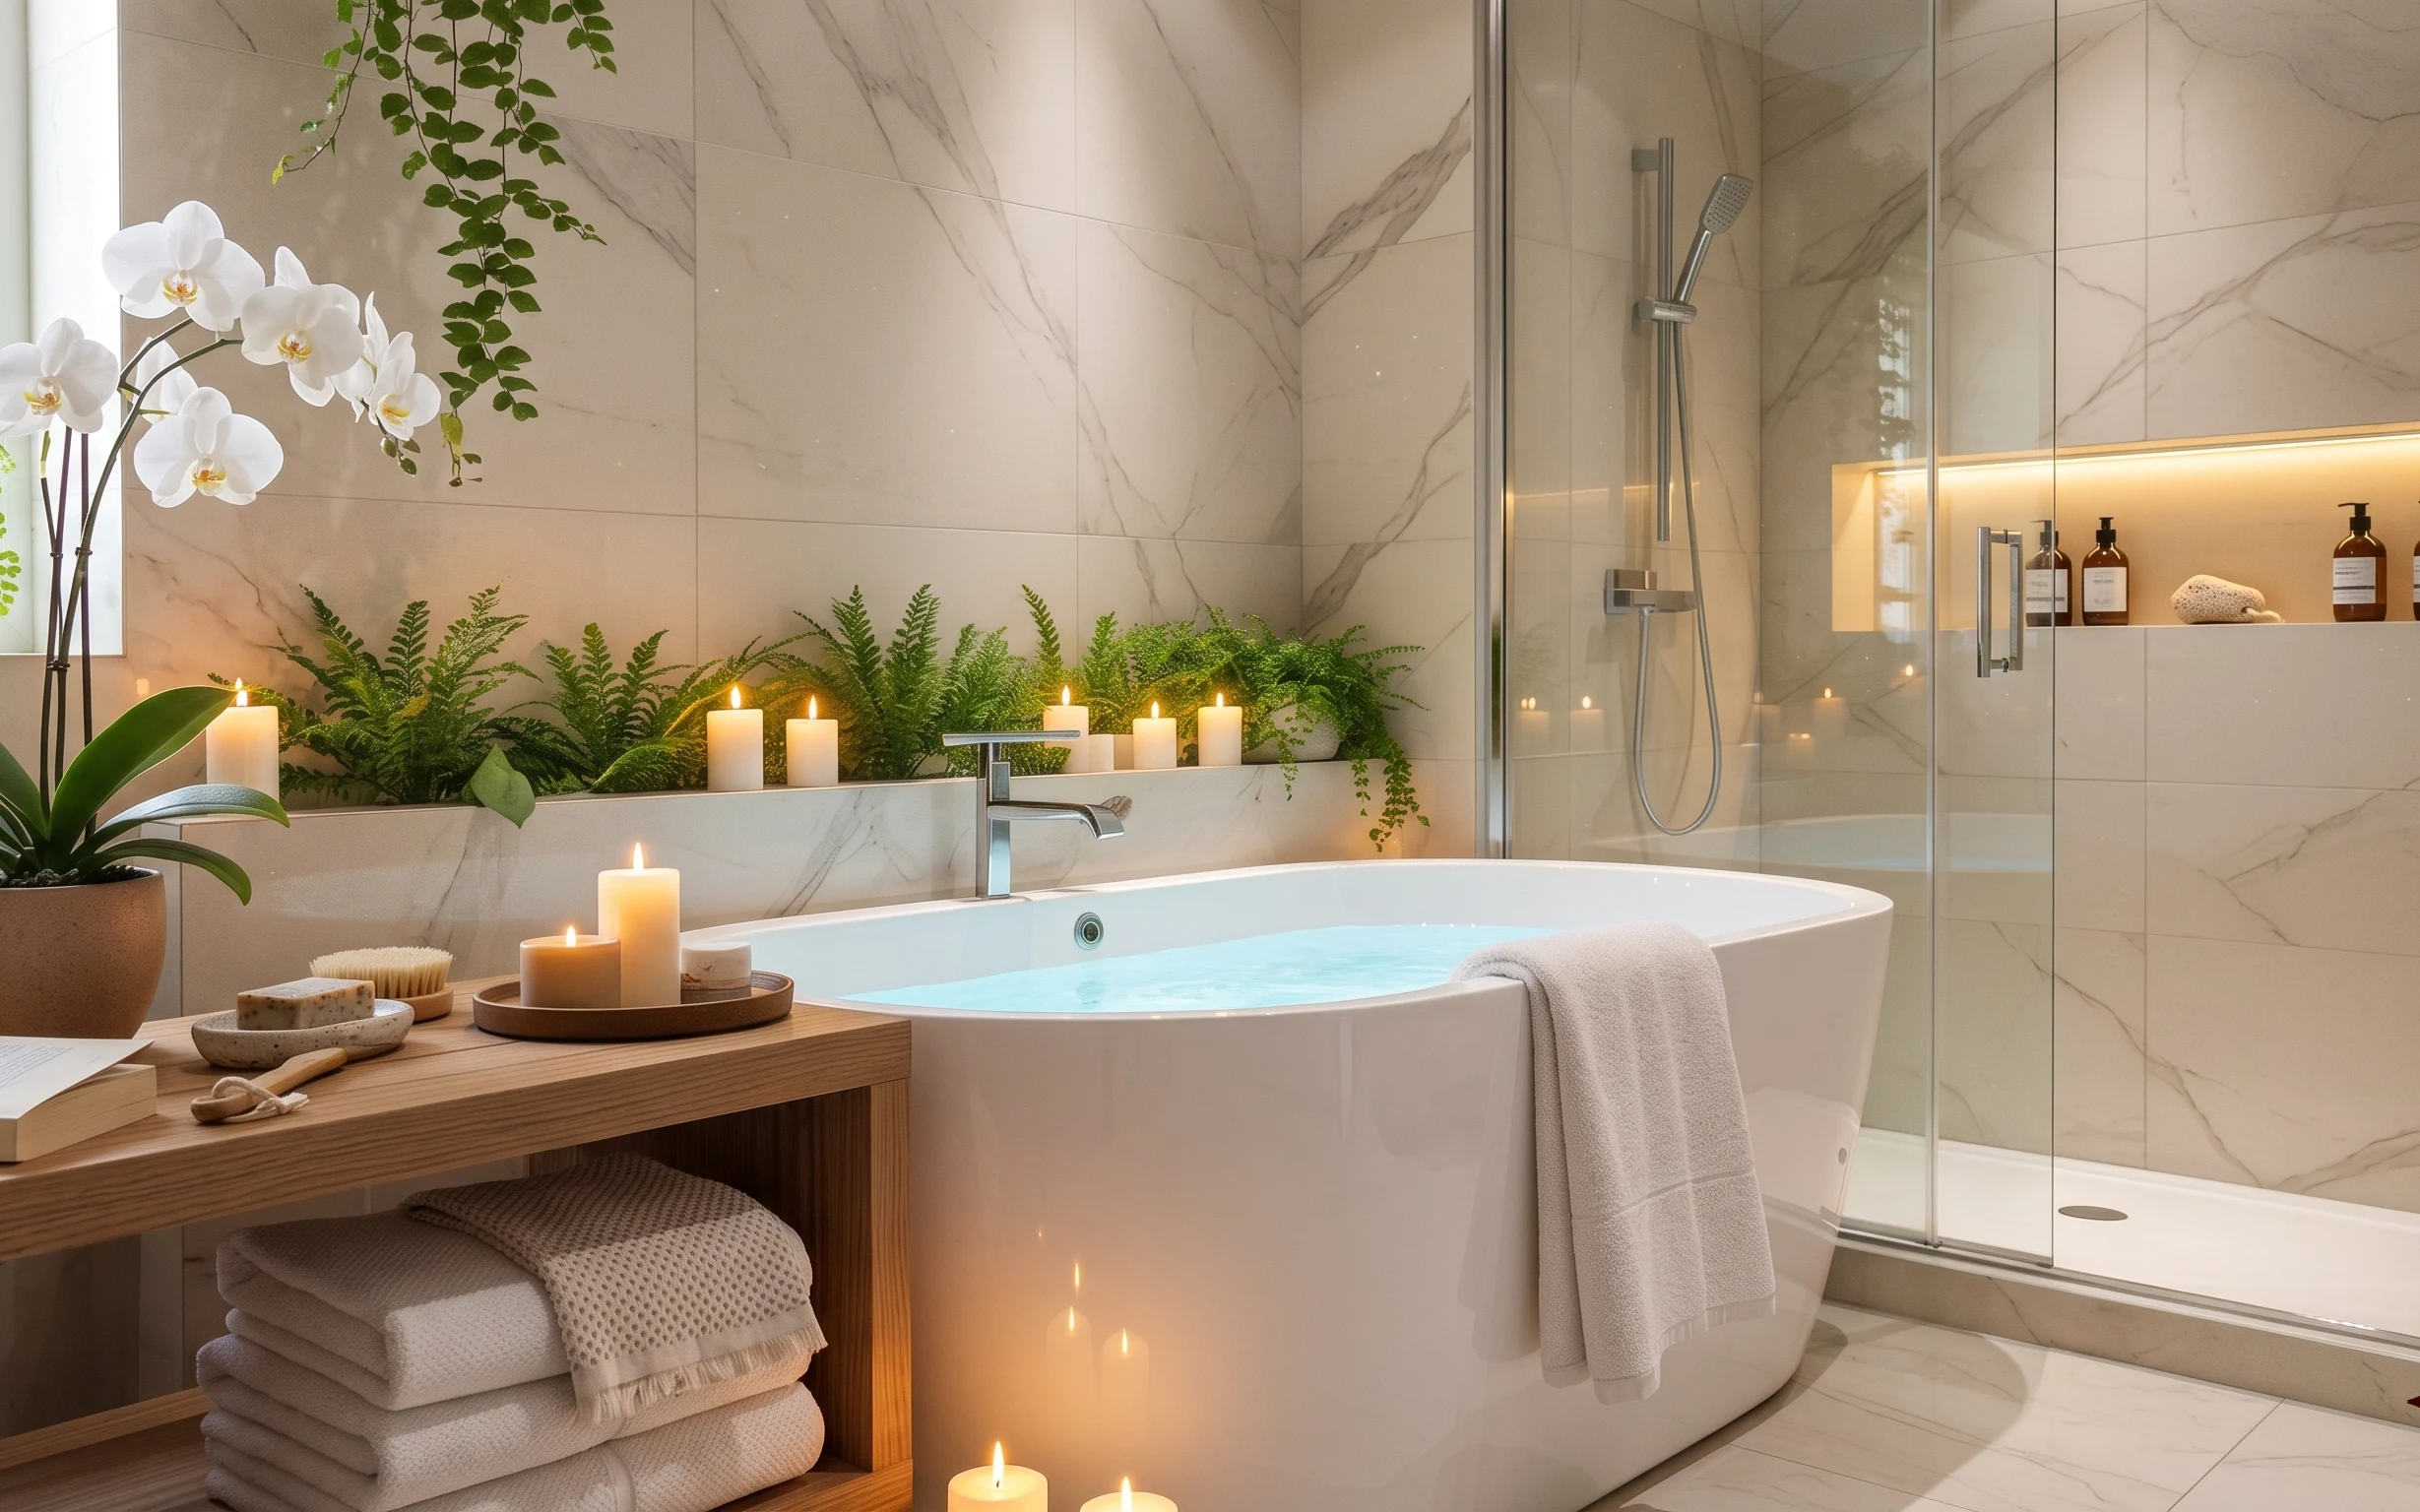
The fastest way to make a bathroom feel intentional is to treat it like a small stage: one framed botanical print, greenery at counter height, and a tight cluster of pillar candles. In this photo, the white marble-look tile and glass panels set a clean backdrop, while the terracotta planter and fern fronds add lived-in texture. The brushed-metal faucet gives you the sleek line, and the warm candlelight does the mood work after dark. For US homeowners working on a weekend, this kind of “styling-first” refresh is achievable without touching anything structural.
I once overbought “spa” decor and ended up with random objects that didn’t read as one story. What changed my mind was noticing how the best bathrooms repeat shapes and materials—here: warm clay + leafy greens + a framed botanical line drawing. When the textures match (candle wax, fern texture, orchid petals), the room stops looking staged and starts looking calm. It’s a small shift, but it’s the difference between pretty and believable.
Layer 1 — framed botanical print ($60) Line-art that matches the plants
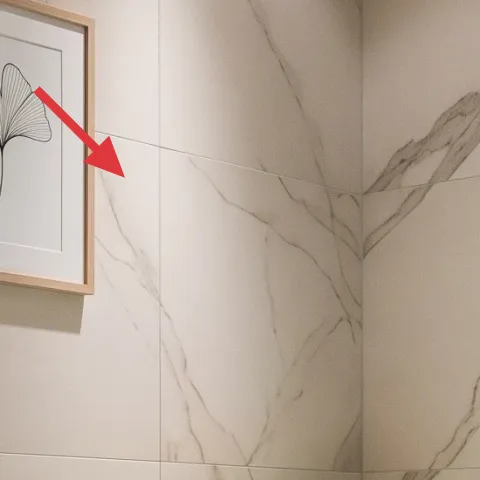
This framed botanical print sits above the tub wall and gives the whole vignette a focal point you can see from across the bathroom. I like line-art specifically because it works with busy tile patterns—marble-look walls already have movement, so a simple black-and-white drawing keeps the eye from getting overwhelmed. The trade-off is that it won’t add bold color; instead, it reinforces the botanical theme with a clean, graphic rhythm. If you try a full-color poster here, the green plants and warm candlelight can compete. Choose a mat look that reads crisp against the white tile.
Make it instead of buying it
DIY a botanical line-art print (watercolor-wash style) so it lands in the same black-and-cream family as the photo.
Materials
- Watercolor paper (1 sheet) — A4/letter size — craft store — $18
- Black archival ink/marker — fine tip — craft store — $7
- Light cream gouache (small tube) — craft store — $5
- Paper towel + mixing palette (disposable) — basics — $6
- Thrift frame (used) — 8×10 or 11×14 — secondhand shop — $10
Steps
- Sketch a simple leaf-and-flower silhouette in pencil with light pressure.
- Ink only the main stems and petal outlines, keeping line weight slightly varied.
- Use cream gouache sparingly on a few background washes, mostly leaving white space.
- Let the paper dry fully, then place the print in the thrifted frame.
- Wipe the glass, hang at eye level above the tub zone, and check alignment straight-on.
Total DIY cost: $46 — saves about $14 over buying.
Hang it where the eye already lands
Center the print over the tub so it visually “anchors” the candle-and-plant grouping below.
Layer 2 — wood tray on the counter ($70) A base for the candle cluster
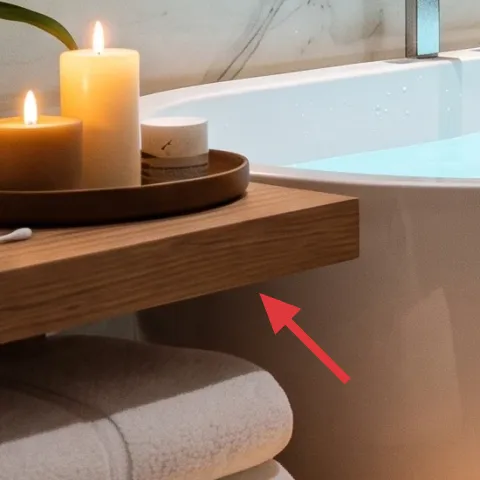
The wood tray on the counter turns scattered candle styling into one intentional vignette. In the photo, the warm wood color softens the white tile and keeps the warm candle glow from looking too stark. A tray also makes practical sense: you can lift and move the candles without smudging or making wax messes permanent. The trade-off is choosing a tray with sides high enough to catch drips; a flat shallow tray can get messy fast. If you’re shopping, look for a medium size that fits multiple pillars with a little breathing room.
Why it works with marble-look walls
Wood reads “natural” next to tile, so the room feels spa-like instead of sterile.
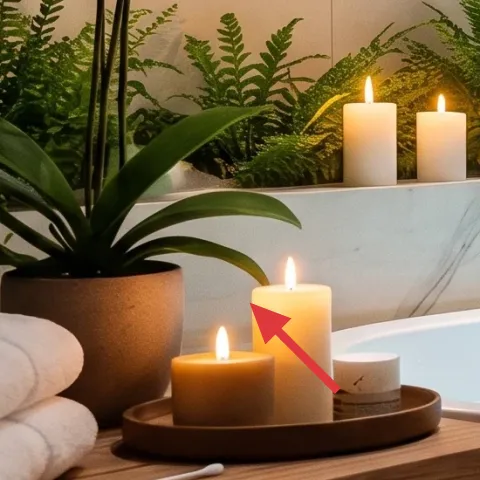
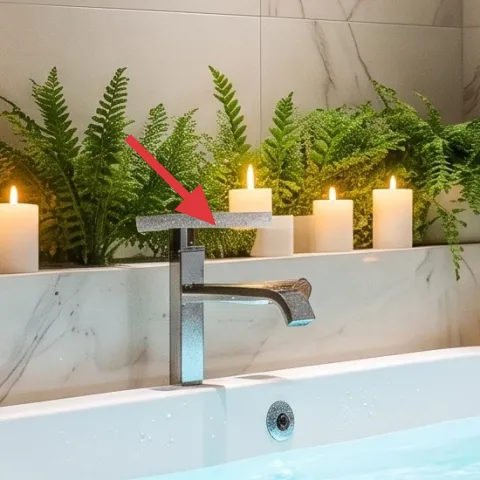
Layer 3 — pillars candle cluster ($60) Warm light that photographs well
These pillar candles are doing two jobs: real nighttime ambience and a styling rhythm across the counter. Because they’re all the same height family, they look cohesive instead of random. I’d choose pillar candles over taper candles in a bathroom because the wax stays contained and the flame looks steadier in a humid space. The trade-off is that you need a tray and a little care—burn time is shorter when airflow is inconsistent. For the most “photo-ready” result, cluster 5–7 candles together so the light reads as one warm pool.
Don’t stack too tight
Leave a small gap between pillars so they don’t overheat or melt wax into one big puddle.
Layer 4 — medium terracotta planter pot ($80) Heat in a mostly white space
The terracotta planter adds the warm, clay tone that keeps the bathroom from feeling all white and cold. It also gives the greenery a grounded “base,” which makes the orchids and ferns feel like a designed arrangement rather than cut stems. This layer matters because terracotta sits between the cool tile and the warm candlelight—so it makes both look richer. If you swapped it for a white pot, the arrangement would blend in too much with the wall. The trade-off is that terracotta can show water marks, so position it where candle drips won’t land directly.
Choose a pot with a matte finish
Matte clay reflects less and keeps the glow soft instead of shiny.
Layer 5 — white orchid blossoms ($80) The statement flower
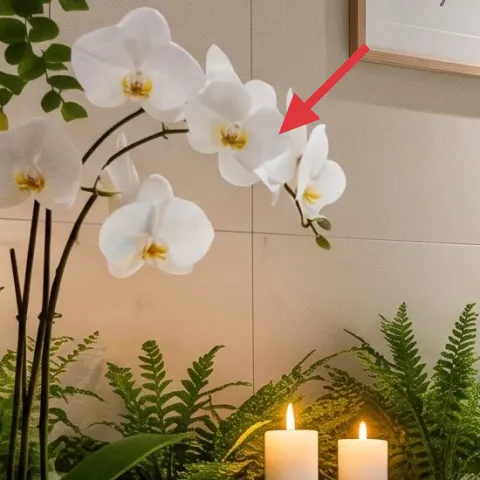
White orchids bring that “spa boutique” moment: clean petals, an elegant stem, and a light color that echoes the tile. In this photo, the orchid is tall enough to rise above the fern line, so it creates vertical movement and keeps the vignette from flattening. I’d go with orchids (real or high-quality faux) over a lower bouquet because orchids read intentional even when placed slightly to the side. The trade-off is that they need visual space; don’t cram them into a tight corner where they’ll look crowded against the glass door. Let them be the tallest element in the cluster.
Pair height with texture
Orchid stems give height, and ferns give texture—together they look layered instead of themed.
Layer 6 — green fern greenery ($70) The fill that makes it look abundant
The fern greenery fills the mid-layer between the pot and the candles, which is what makes the arrangement feel lush instead of minimal. Ferns also have lots of small fronds, so they soften the straight lines of the tile and tub edge. I like using fern greenery in bathrooms because it reads full even when you’re working with a shallow counter area. The trade-off is keeping it tidy—ferns can shed or look messy if they’re not shaped. Fluff the fronds and keep the densest part centered so the outer edges don’t look sparse.
Shape it into a gentle mound
A soft mound silhouette lets candles sit in front without blocking the green.
Layer 7 — decorative bottles/jars on wall shelf ($60) Small “utility” that reads as luxury
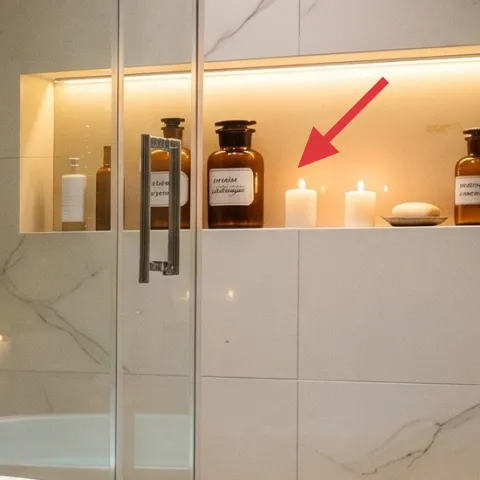
The decorative bottles on the wall shelf add structure to the right side of the scene, balancing the greenery on the left. Even though they’re small, the repeated shapes and labels give the photo a designed look—like everything belongs to the same bathroom set. This works best when the bottles are similar in scale and color family, so warm amber glass doesn’t clash with the candlelight. The trade-off is that you may need to curate—one random bottle can look like clutter. For shopping, aim for a cohesive label style and group the bottles in a neat row across the shelf.
Let labels be your pattern
If the tile is busy, repeating label fonts keeps the shelf from feeling visually noisy.
The cost, layer by layer
| Layer | Item | Cost |
|---|---|---|
| 1 | Framed botanical print (buy retail equivalent) | $60 |
| 2 | Wood tray on the counter | $70 |
| 3 | Pillar candle cluster | $60 |
| 4 | Medium terracotta planter pot | $80 |
| 5 | White orchid blossoms | $80 |
| 6 | Green fern greenery | $70 |
| 7 | Decorative bottles/jars on wall shelf | $60 |
| Total | $480 | |
If you want a cheaper version, swap the orchid for high-quality faux greenery and buy a smaller framed print on sale—keep the candles, terracotta pot, and fern texture so the composition still reads as “designed.”
What worked, what didn't (across the whole room)
This bathroom looks expensive because every item supports the same palette: white tile, warm wood, terracotta clay, and layered botanicals. The warm candle cluster is the only “light source,” so it has to be intentional—where it sits matters as much as how many you use.
What worked
- The framed botanical print gives the scene a clean focal point against busy marble-look tile.
- The terracotta planter brings warmth that makes candlelight look softer on white surfaces.
- Orchid height prevents the arrangement from reading flat in a wide bathtub zone.
- Ferns add “fill,” so the setup looks abundant without adding clutter.
- The wood tray keeps candles contained and makes the styling feel intentional, not accidental.
- Matching bottle shapes on the wall shelf balance the left-side greenery.
What didn't
- If the candles are too spread out, the light reads as random instead of a single warm pool.
- Using only white decor pieces would flatten the composition and weaken the spa-like contrast.
- If greenery is messy or overgrown, the arrangement looks neglected instead of curated.
- Too many different label styles on the shelf can make the bottles feel like clutter.
What we'd skip if we did it again
Skip buying a whole “spa set” of matching items from one brand. Curated mismatch beats full sameness here—one or two coordinated elements plus layered botanicals look more believable than a single themed kit.
Skip adding more flower types. Orchids plus fern greenery already give height and texture; adding another bloom can fight the white marble-look tiles and makes the counter feel crowded.
Skip tall candles without a tray and without spacing. A tray and a little breathing room keep wax contained and protect the counter surface, especially in a steamy bathroom.
Frequently asked
How long does this kind of bathroom refresh take?
For most homeowners, the styling portion takes about 2–4 hours: set up the tray and candles, place the terracotta pot, then shape the ferns and orchid so the heights read right. If the framed botanical print is DIY, add another 1–2 hours for sketching and drying, plus framing time.
What if I’m a renter and can’t change anything permanent?
This photo’s look is mostly made from movable decor: a framed print, a tray, candles, and plants. If your space has different wall height or no shelf, place the bottles on a counter tray or basket instead. The key is keeping the same material palette (warm clay + green leaves + warm wood/candle glow).
My bathroom is smaller—can I still do this?
Yes, but scale down the candle cluster and keep fewer stems. Aim for one tall orchid moment and a smaller fern layer so you don’t crowd the tub edge. Choose a smaller framed print (or keep the same one but hang slightly higher) so the vignette reads tall, not wide.
Where should I shop for these items without overspending?
For the framed print and decor bottles, consider thrift stores, discount art shops, or home goods resale. Candles and plants are best bought once—choose quality pillar candles and a full fern bunch so the arrangement looks abundant from day one.
What’s the biggest mistake people make on a botanical spa bathroom?
They buy “more stuff” instead of building a hierarchy. Tall orchid + mid fern + low candles on a tray is the structure here. When everything is the same height, the arrangement looks flat and busy. Follow the height layers and the look comes together fast.
More in Bathroom
7-swap bathtub nook refresh for a $500 weekend
A warm botanical bathtub nook refresh with candle glow, green fern texture, and a framed print—built on a $500 weekend budget. This photo s…
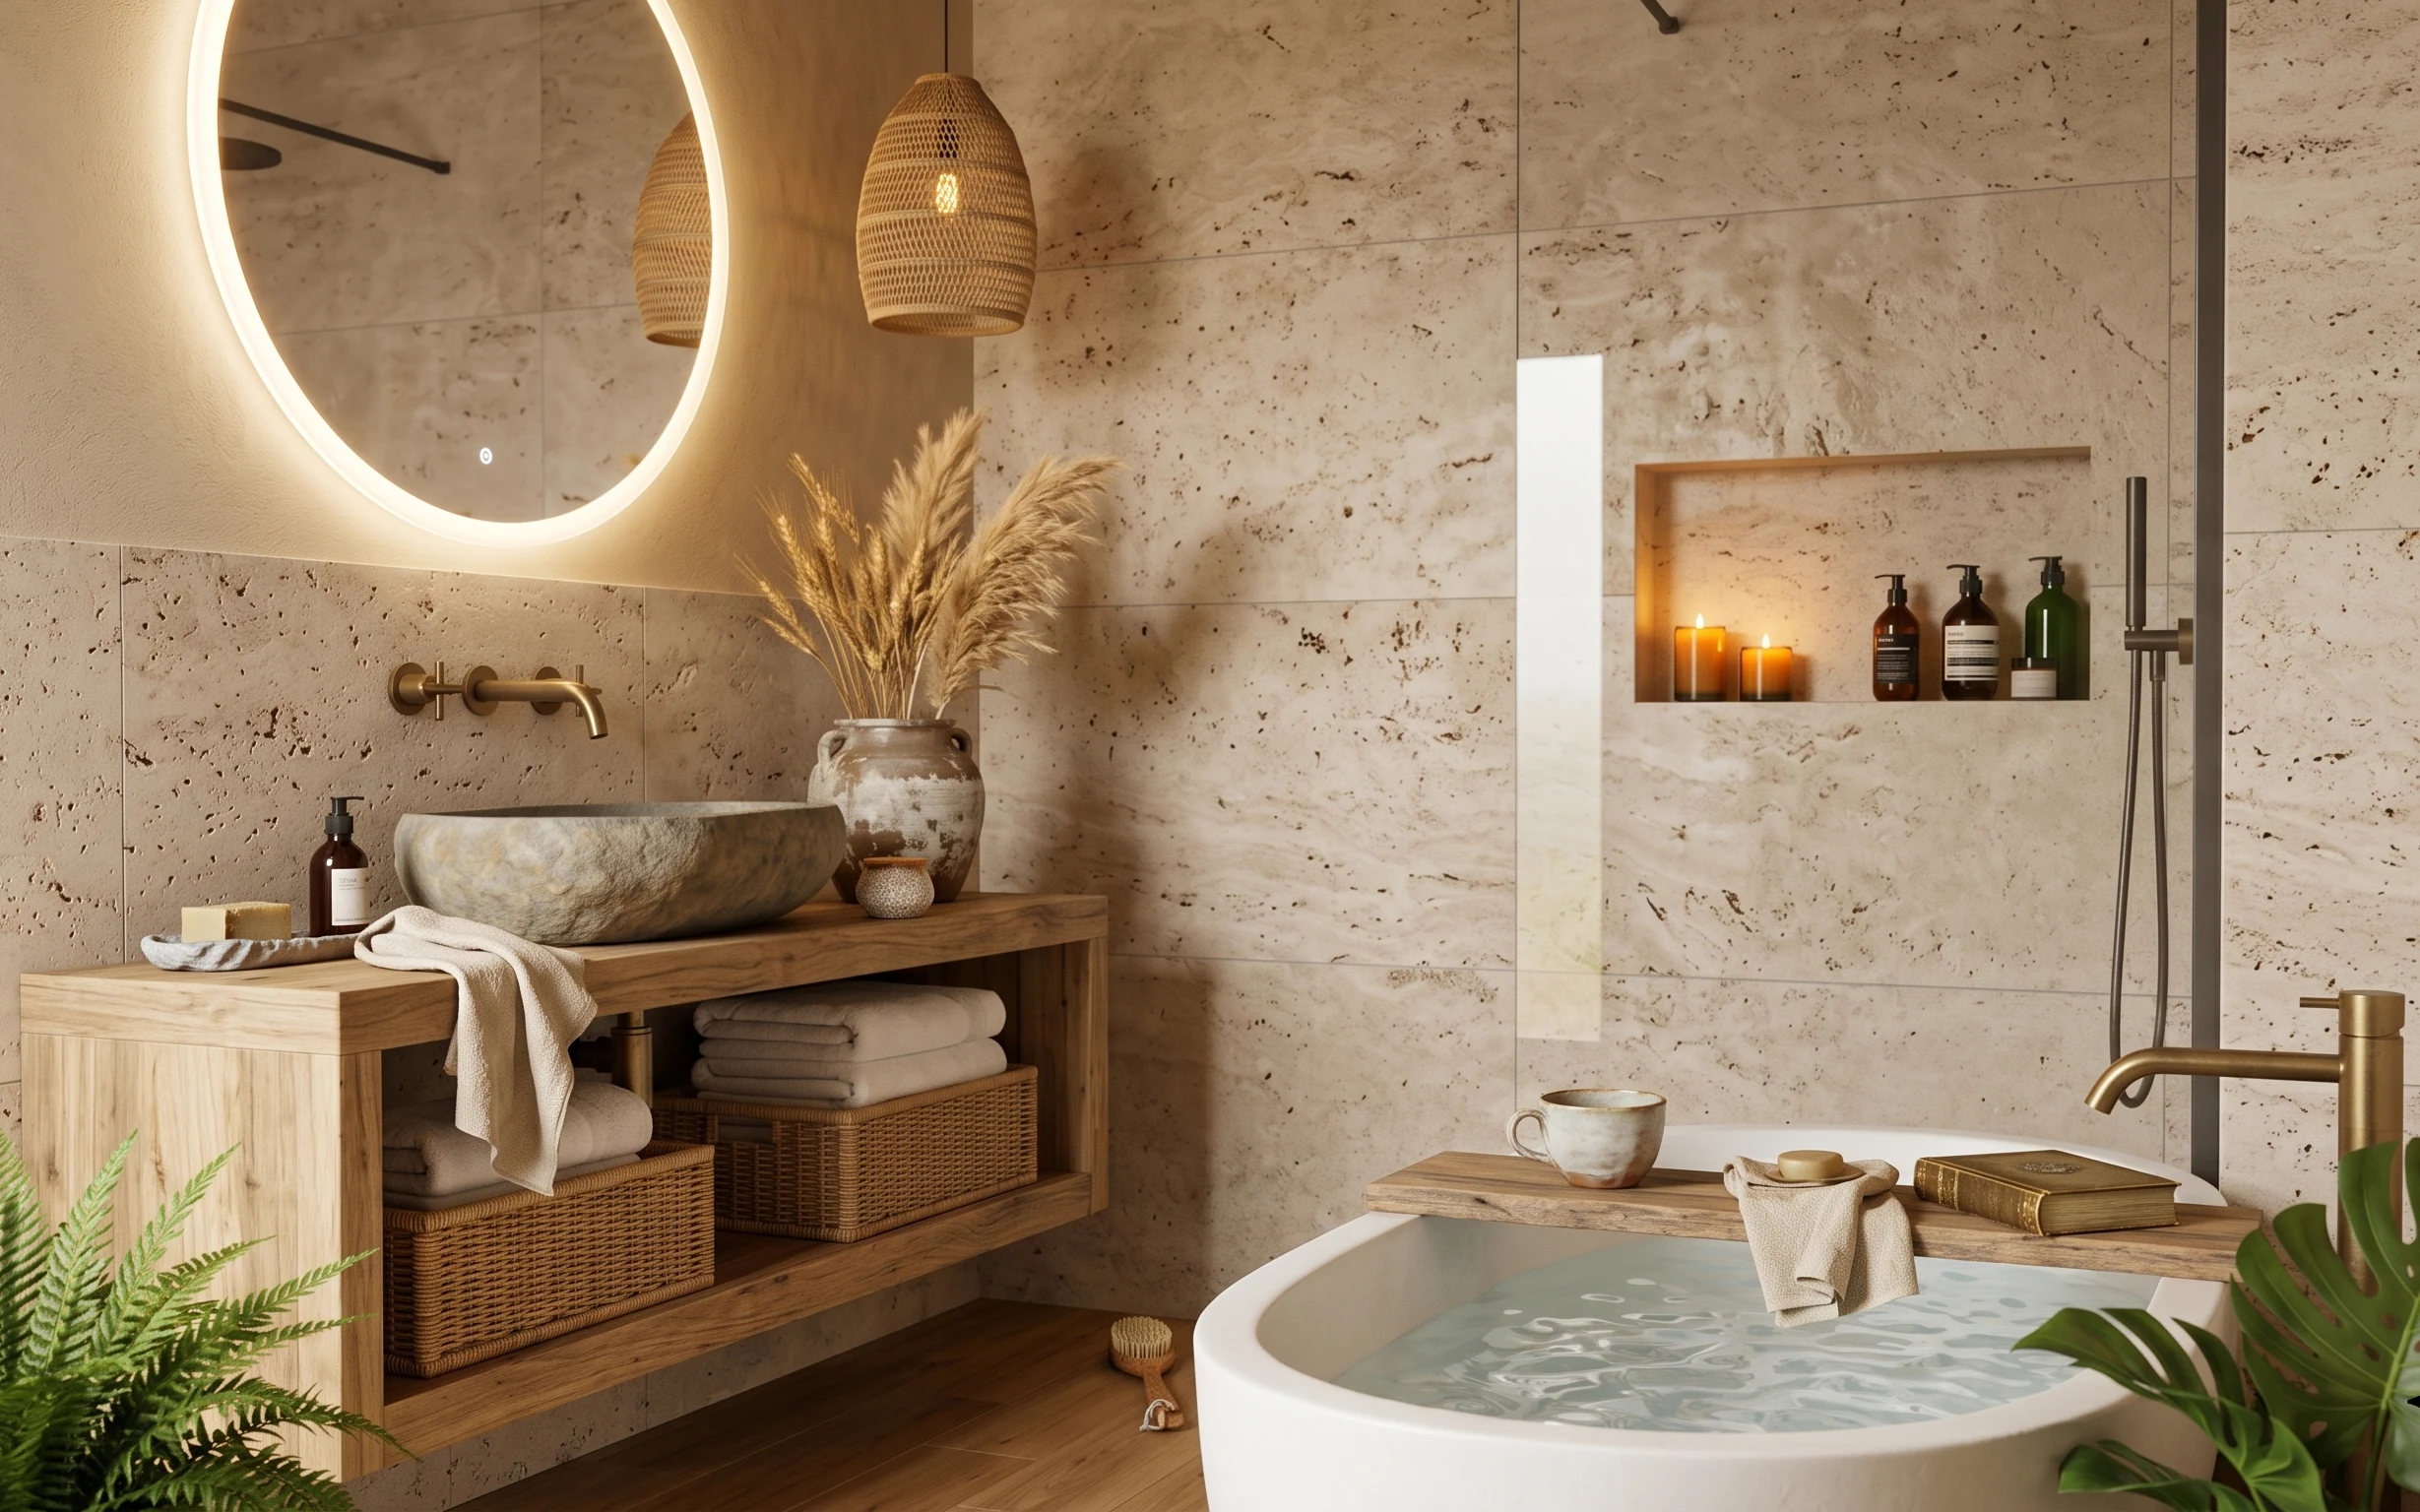
Texture-first spa bathroom refresh, $400
A warm, renter-safe spa bathroom refresh for shared housing on a $400 budget. Focus stays on moveable textiles and tabletop details—throw, …
4 no-drill ways to soften a bathtub nook
A calm bathtub nook on a $400 refresh budget—built with candles, a painted planter pot, layered greenery, and a faucet update. The result f…