- Best for
- Renter-safe kitchen dining nook styling
- Cost
- $485 total plan
- Difficulty
- Beginner-friendly
- Time
- About 1 weekend
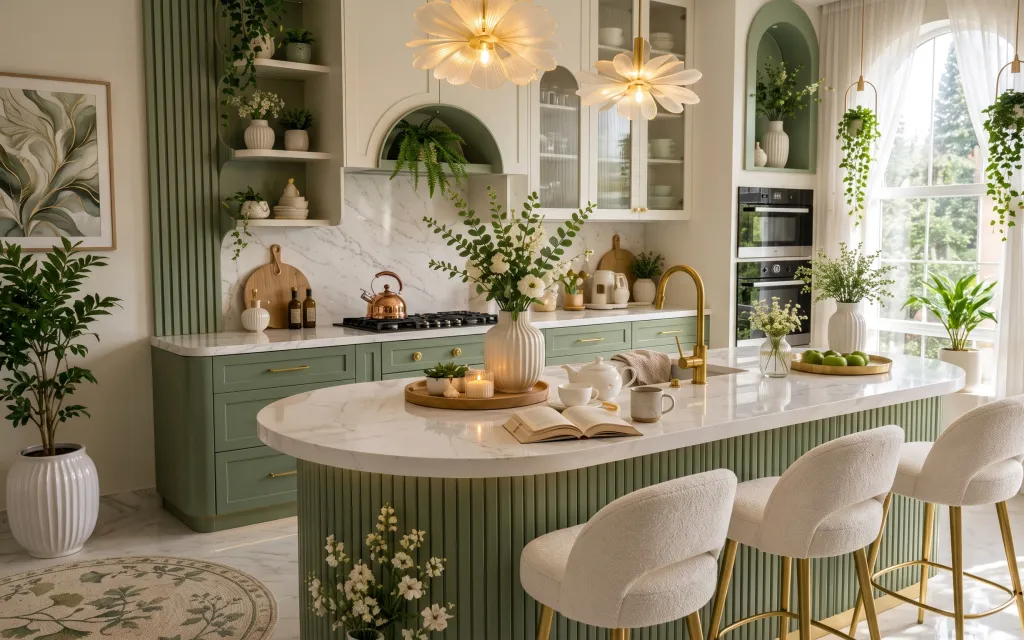
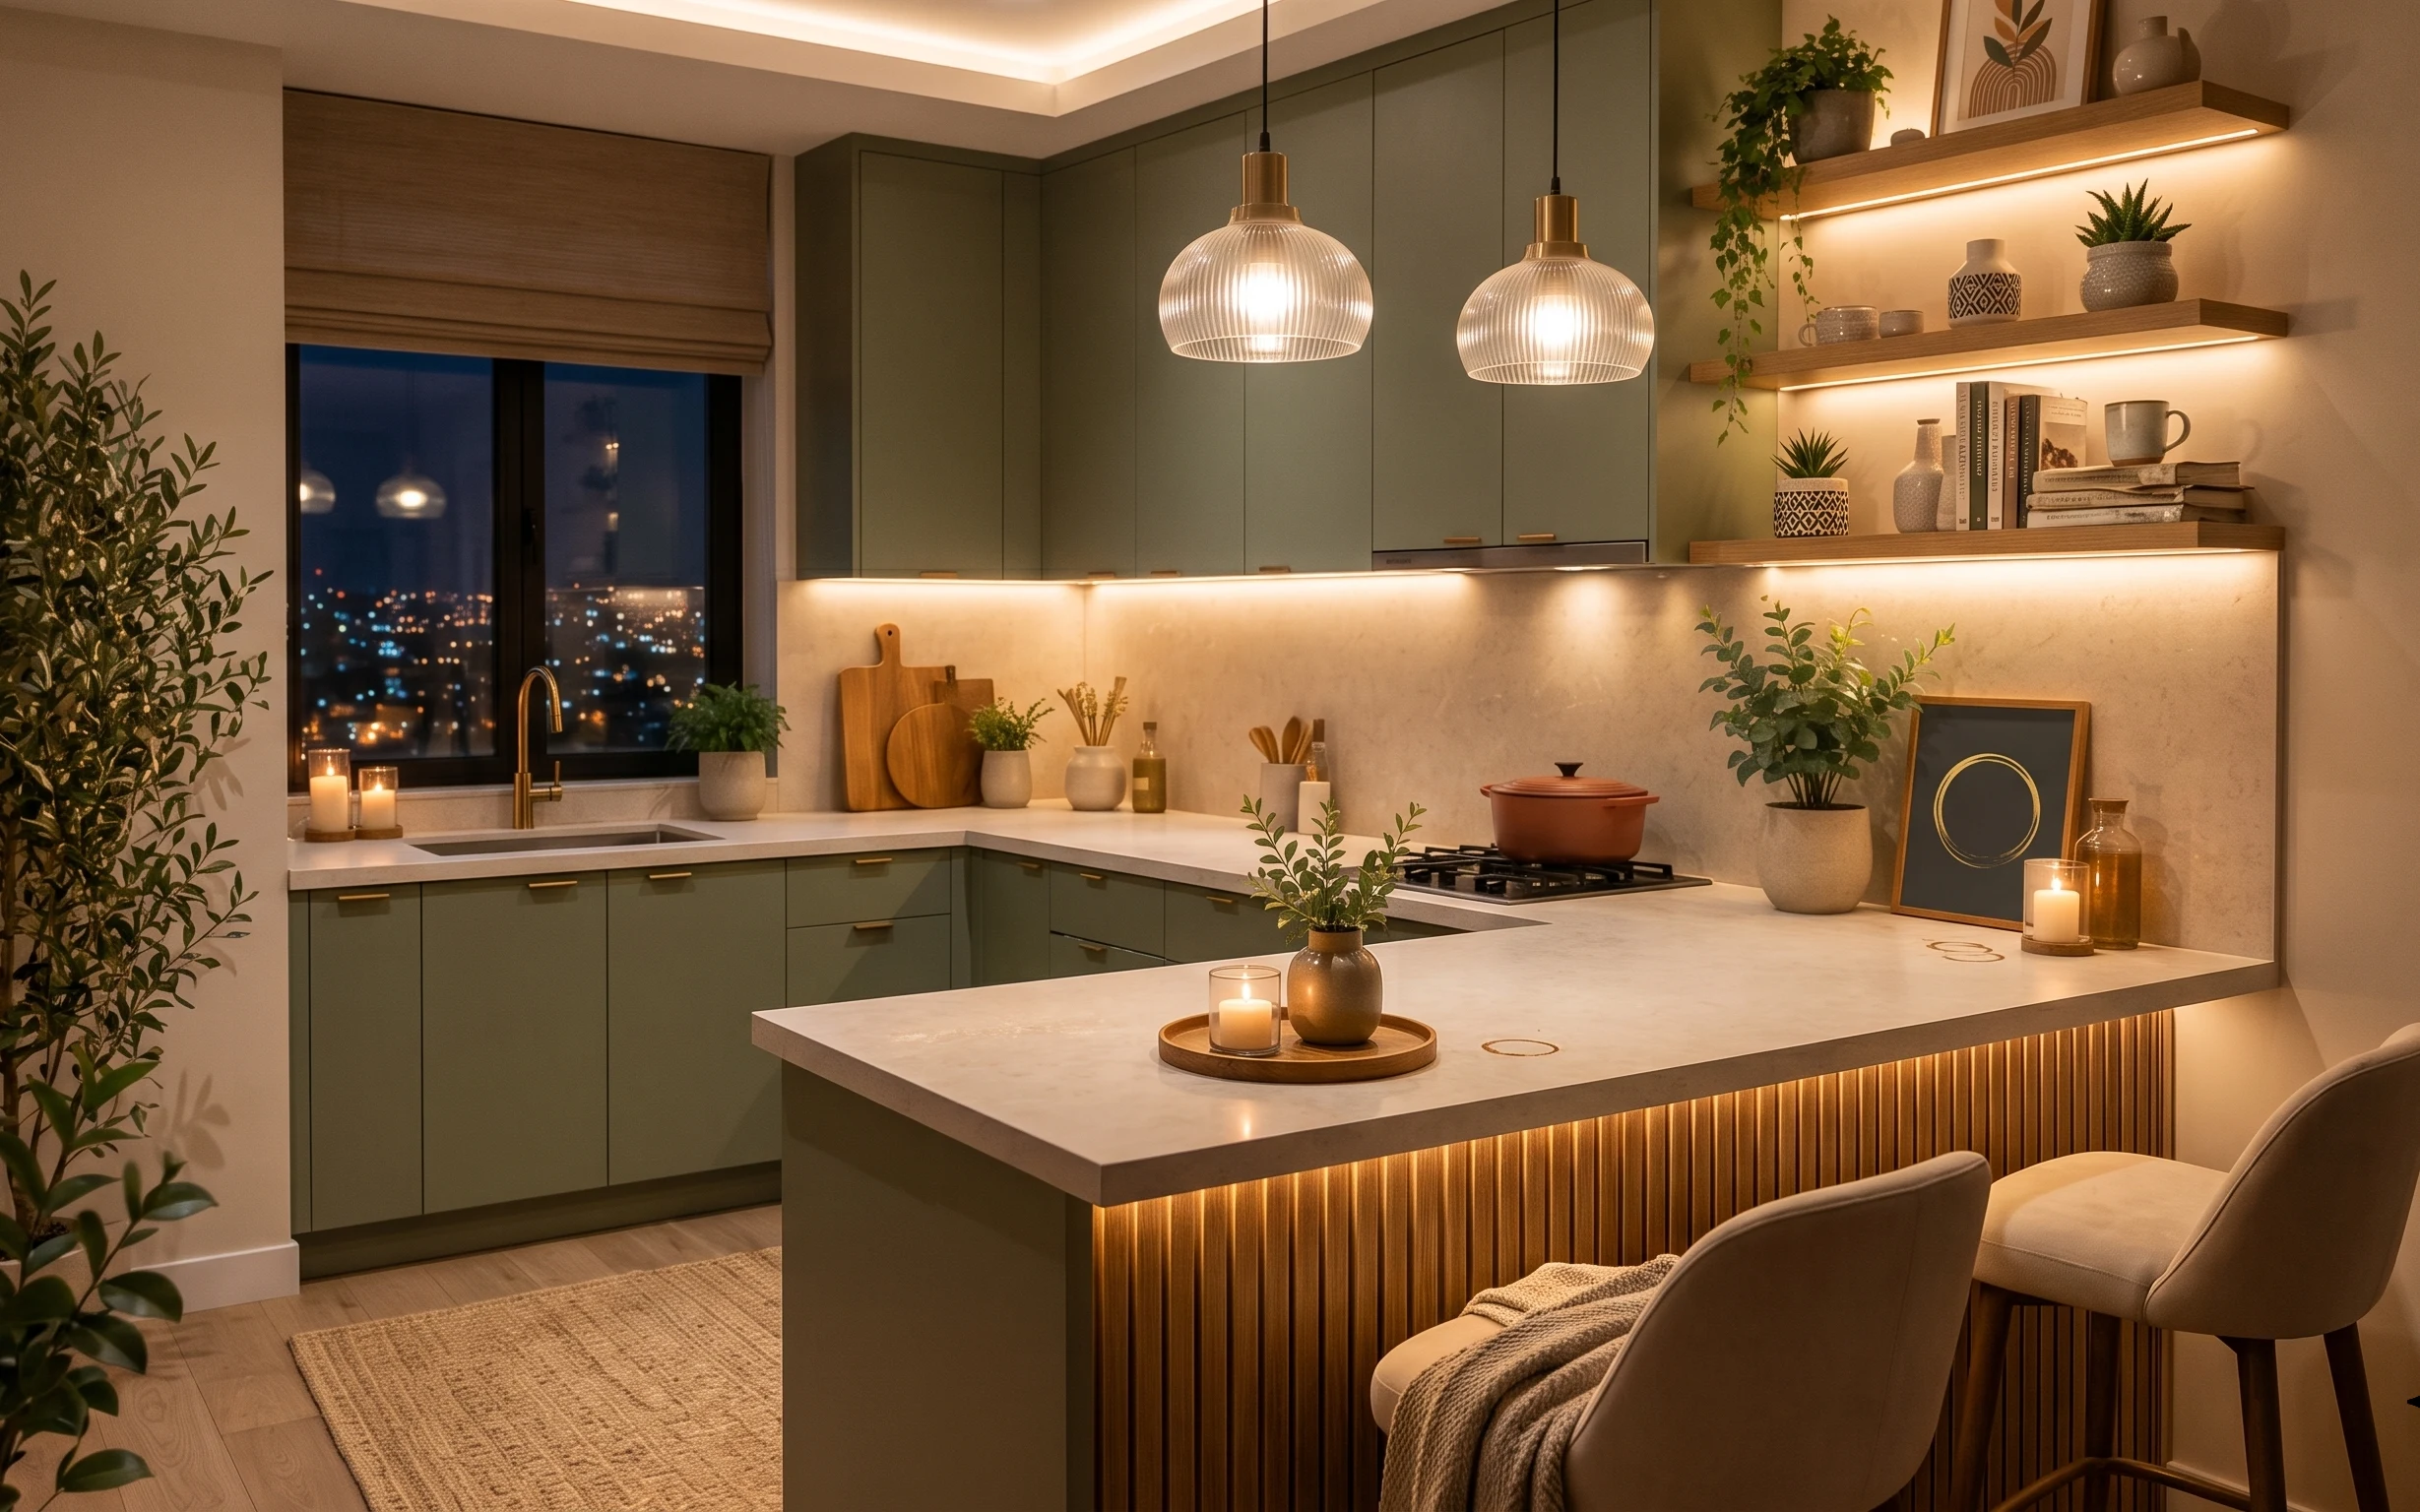
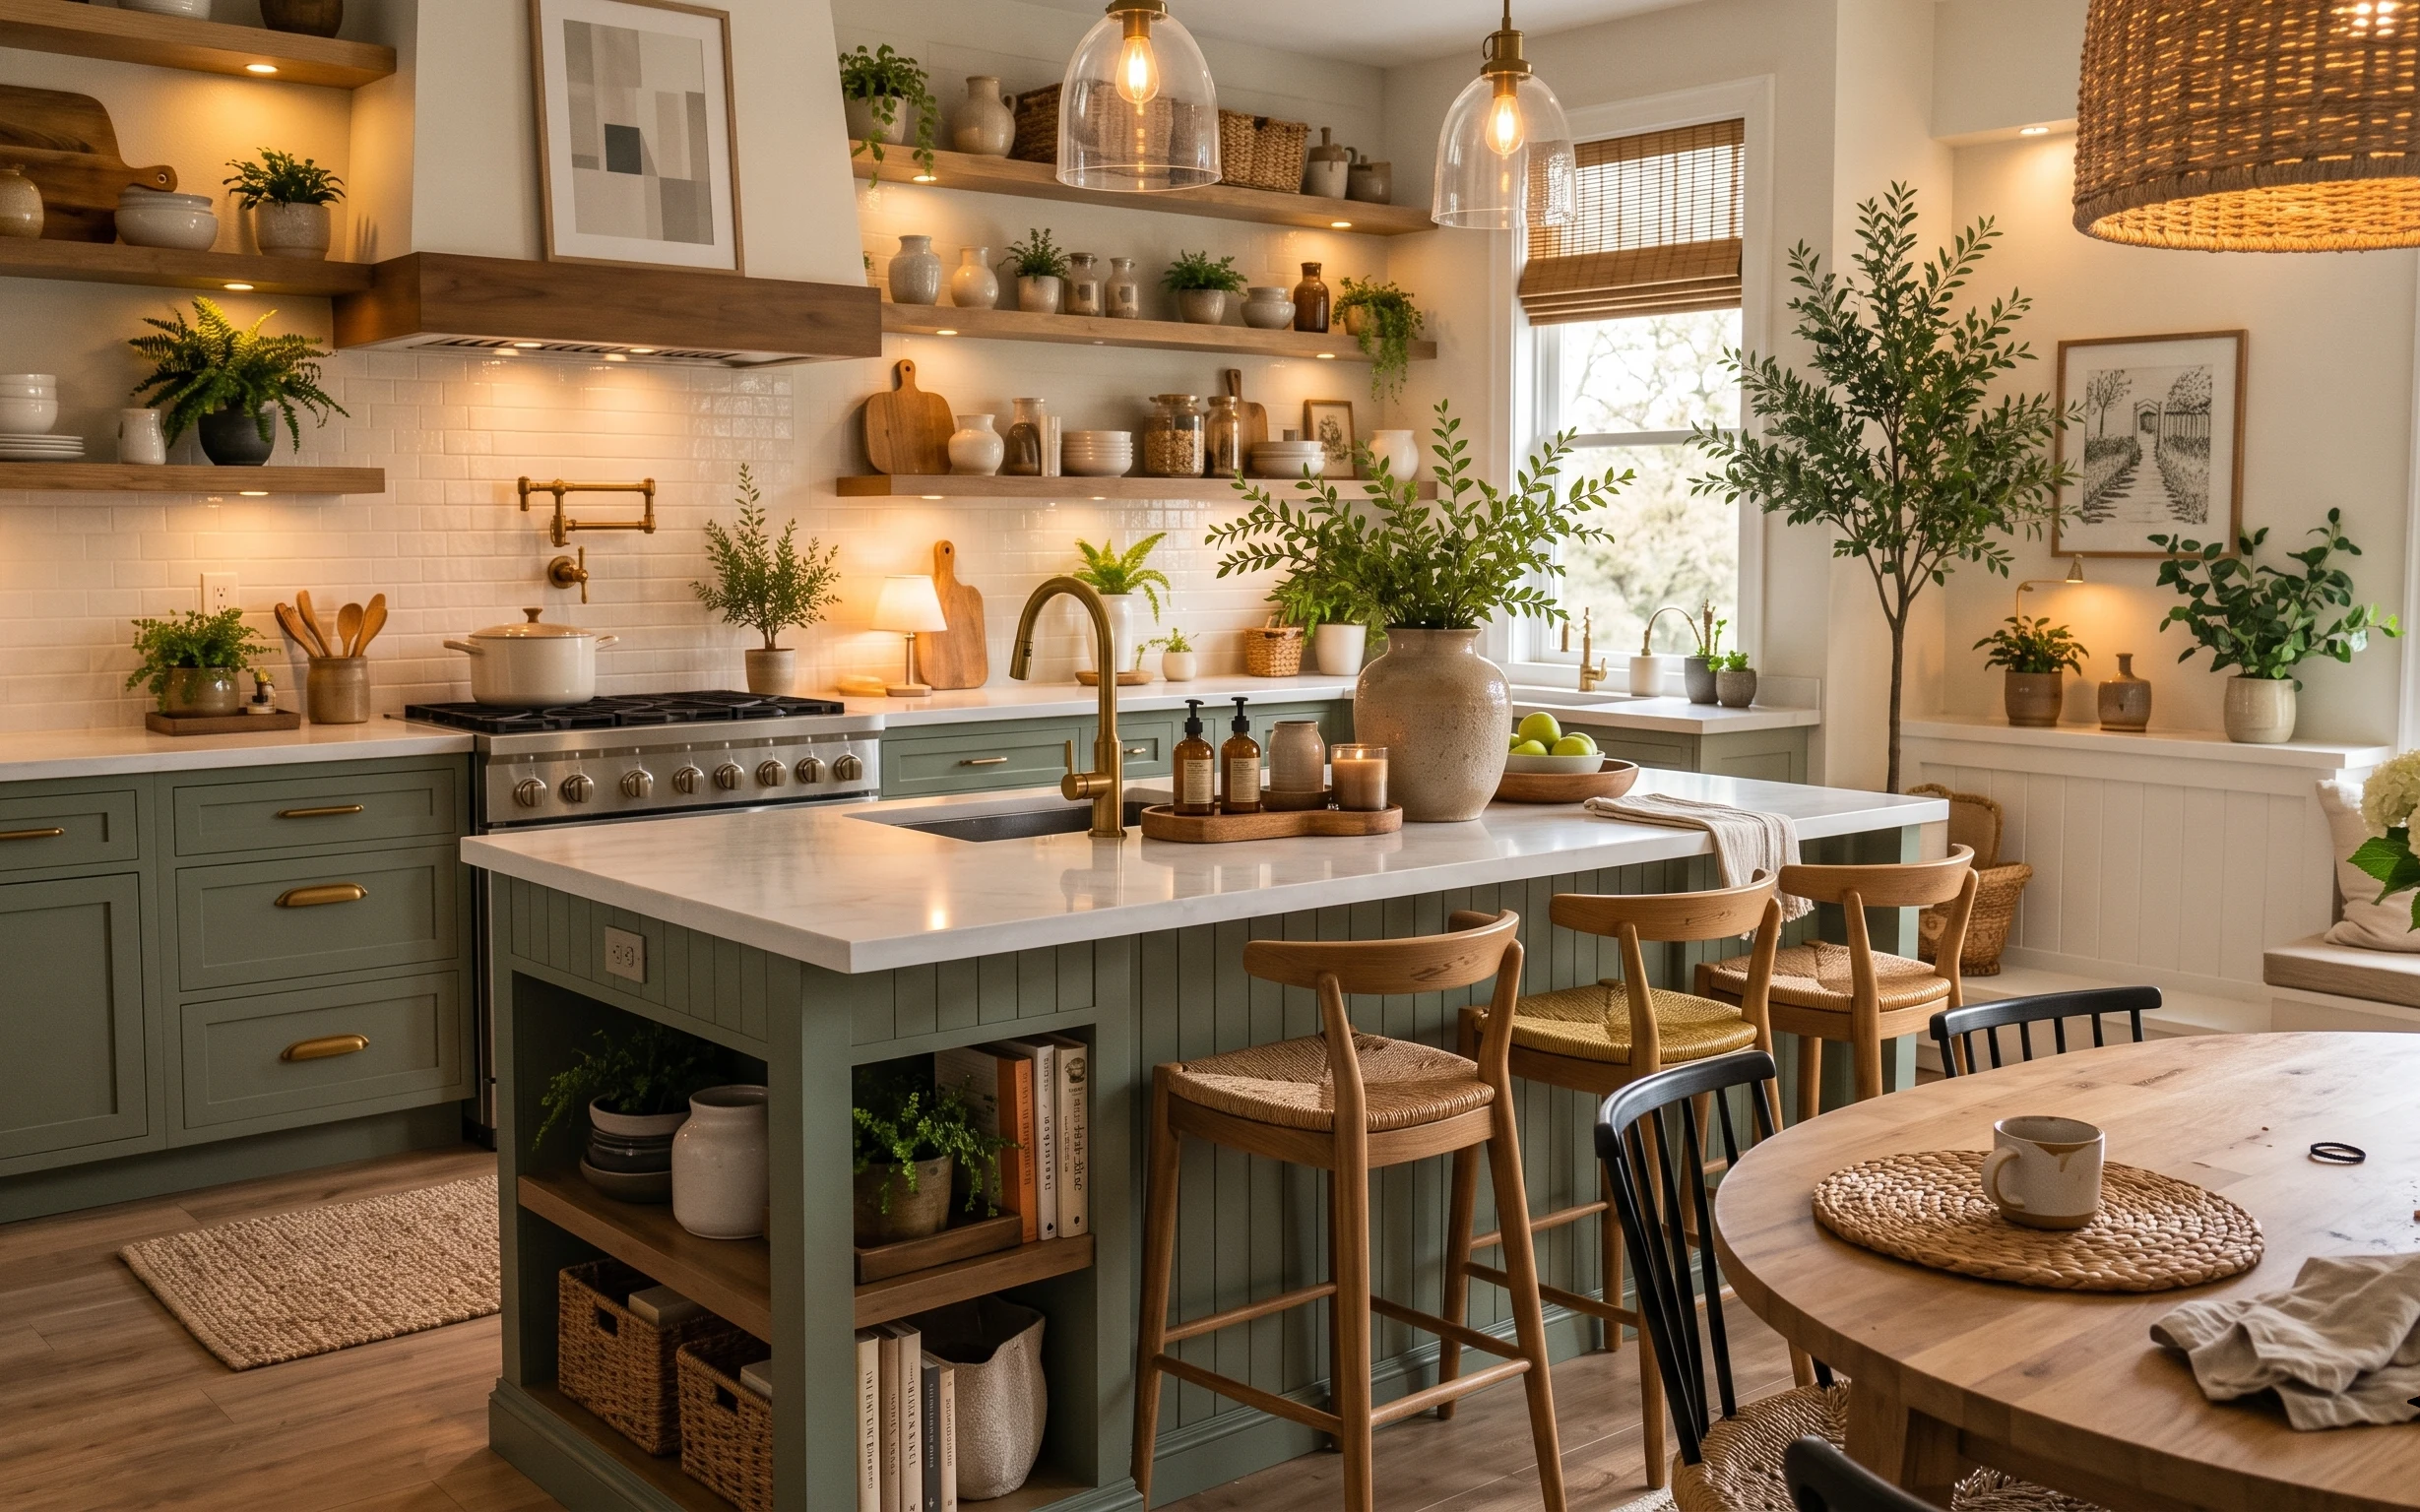
Why green-and-gold botanical styling is the kitchen dining nook of 2026
The trick here is layering “soft” and “structured” materials in the same zone: a grounded rug underfoot, sheer white curtains filtering the daylight, and that crisp framed botanical print. In the photo, the sage-and-white palette reads calm against the marble countertop sheen, while the brass accents pull it toward warm modern. For shared housing, I love how most of it is textiles and freestanding objects—no one piece feels precious or permanent. This look also nods to japandi restraint, then breaks it with extra greenery for a lived-in finish.
One mistake I used to make in shared kitchens: I’d decorate only the countertop and ignore how the floor and window dress the whole room. The first time I added a rug that was wide enough to “own” the seating area, everything stopped feeling like it belonged to the landlord and started feeling like it belonged to me. Here, the curtain panels and framed art do that same job—they add a backdrop so the plants and candles look intentional instead of accidental.
Layer 1 — Area rug ($200) grounded texture that keeps the island zone calm
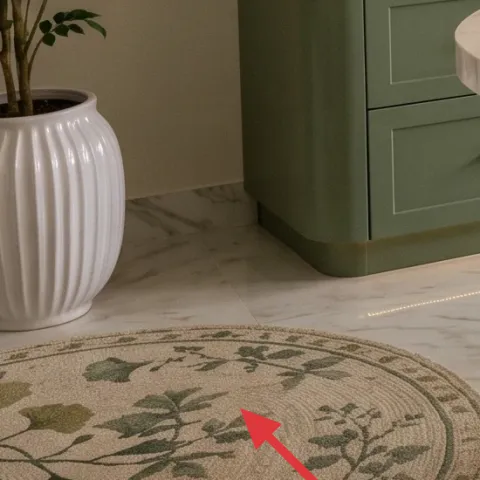
An area rug is the easiest way to make a kitchen dining nook feel designed, and this one’s muted botanical pattern gives you color without shouting. The weave reads substantial enough to handle foot traffic, which matters when your “dining area” is also the hallway for roommates, takeout, and quick coffee pauses. If you went with a plain solid rug, you’d lose that leafy connection to the greenery everywhere else. The trade-off: rug sizes can be tricky in rentals, so measure the walking path first and pick a size that sits under the front legs of the chairs.
Size the rug to the chairs, not the countertop
Even a couple inches of overlap under the chair fronts makes the whole zone feel pulled together.
Layer 2 — White curtain panels ($80) soft daylight that flatters every plant
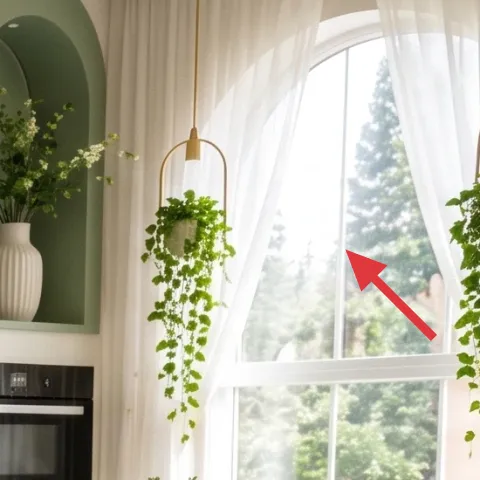
These white curtain panels add a gentle screen between the window glare and everything on the table, which is why the plants look lush instead of washed out. The texture is light and airy, so the room keeps its bright, open feel—japandi warmth without the heaviness. Going with roller shades or thicker drapes would block the daylight and make the island feel more “hallway” than “habitable.” The trade-off is upkeep: sheer panels show dust sooner than you want, but they clip or fold, pack flat, and travel easily between leases.
Sheers work best when the color stays crisp
Keep curtains bright white (not cream) if your palette already has sage green and brass gold.
Layer 3 — Framed botanical wall art ($80) a repeatable pattern that matches the greenery
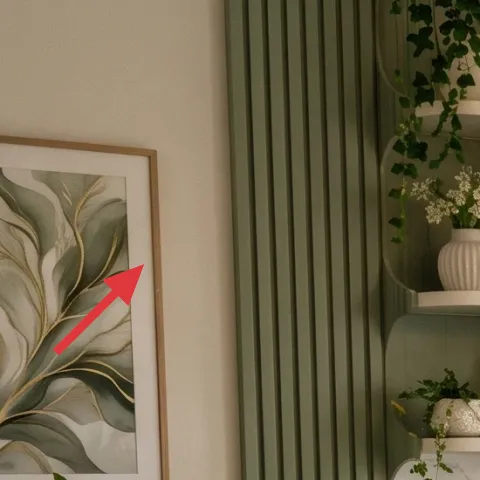
That framed botanical wall art is doing a lot of quiet work: it repeats leaf shapes on a vertical surface, so the room doesn’t feel like “only plants” at table height. The frame keeps the composition feeling clean and intentional, while the botanical illustration mirrors the plant textures—fern-like greens and airy blooms. If you tried to rely only on tabletop vases, the look would feel lopsided and low. The trade-off is budget: a single print won’t cover a blank wall forever, so pick one bold enough to read from across the room.
Check removable hardware before you commit
For plaster or painted drywall, use foam-core-backed hanging methods or a hook system that won’t pull paint.
Layer 4 — Decorative tray on the table ($35) a styling anchor for small objects
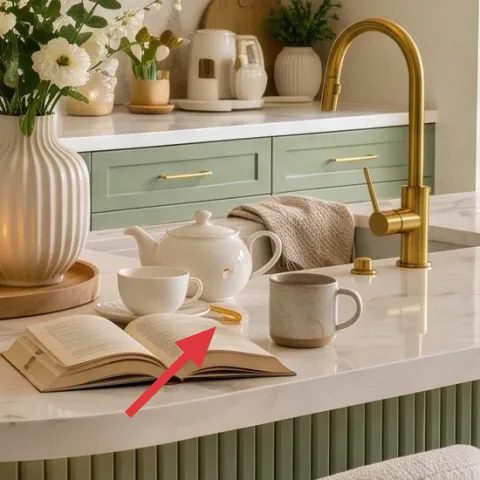
A tray is how you make kitchen counter decor look curated instead of cluttered, and this one’s warm, glossy finish pairs naturally with the brass tones. Notice how the tray gives the candle and small ceramics a “home base,” so you can rearrange without breaking the look. The alternative would be loose objects spaced out across the marble, which usually turns into a visual scramble when roommates add mugs, mail, or keys. The trade-off is you’ll need to lift and reset the whole cluster when you clean—still easier than dusting a dozen separate pieces.
Use the tray like a portable centerpiece
When it’s time to move, lift the whole tray cluster into one box.
Layer 5 — Tabletop vase with greenery ($30) height variation without extra bulky furniture
The tabletop vase with greenery adds organic shape and a mid-level focal point, which is exactly what a dining nook needs—something between chair height and wall art. This kind of mixed leaf texture also helps the sage-and-white palette feel fresh instead of flat. If you only used flowers, you’d get a single “moment” that wilts, then the table looks empty; if you only used leafy herbs, you’d miss the bloom-like softness. The trade-off is care time: change water or swap stems before they look tired, and keep a backup set of stems for busy weeks.
Green reads cooler than you think
In daylight, greens can go bright; balanced white ceramics keep the look steady.
Layer 6 — Large floor potted tree in a white vase ($25) drama you can roll into a corner
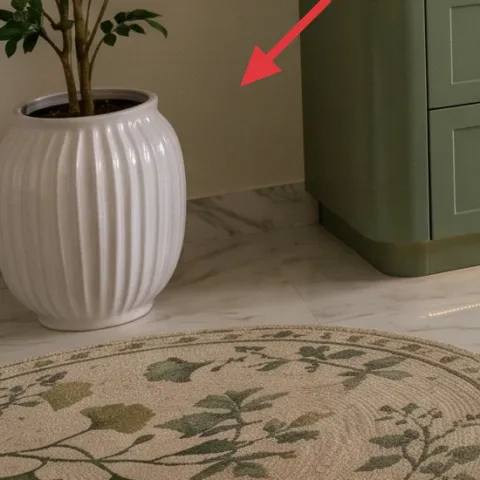
A tall potted tree in a white vase gives the nook vertical energy, making the window light feel intentional instead of purely functional. It also ties the room together with the hanging plants and table greenery—so the botanical theme feels designed, not random. The obvious alternative is using more small pots; that spreads attention everywhere and can make the kitchen feel busy. This choice has a practical trade-off: large plants can be delicate in moves, so plan to pack the pot in a box with paper padding and protect leaves with tissue.
Keep it near the brightest light
That’s where it’ll look full without needing constant repositioning.
Layer 7 — Candle ($35) warm focus point for evenings

Make it instead of buying it
This candle pour duplicates the same warm centerpiece role as the store-bought candle, but you can customize scent and reuse small heat-safe cups you already have.
Materials
- Soy wax — about 10 oz — craft store — $16
- Wick (cotton or wood) — 1 pair — craft store — $4
- Wick tabs or centering tool — 1 set — craft store — $3
- Scent oil (optional) — 0.5–1 oz — craft store — $5
- Small heat-safe jar/cup — 1 — thrift or craft store — $1
Steps
- Set up a clean work area and check the jar is level on a heat-safe surface.
- Measure wax by weight so you’re pouring enough for the candle height you want.
- Melt wax gently (low heat), stirring until fully liquid.
- Attach the wick to a wick tab/centering setup, then place it centered in the jar.
- Let the wax cool slightly, then mix in scent oil if using, stirring steadily.
- Pour into the jar and keep it still while the wax sets.
- Allow the candle to fully cure until the top looks smooth and firm.
- Trim the wick to about 1/4 inch before lighting.
Total DIY cost: $29 — saves about $6 over buying.
A candle is the easiest way to make a kitchen dining nook feel “evening-ready” without adding new fixtures. In the photo, it sits in the center styling cluster, and the flame picks up the warm brass tones so the whole palette feels cohesive. The store version is convenient, but it’s also one-and-done—burn, replace, repeat. DIY candle pour lets you match the scent intensity to your kitchen (light and fresh for daytime, cozy for dinner) and reuse compact cups that fit in a small moving box. The trade-off is time: you’ll need a few hours for melting, pouring, and curing.
Don’t place candles too close to curtains
Sheer fabric moves with airflow; keep a safe gap so the flame never “reaches” textiles.
The cost, layer by layer
| Layer | Item | Cost |
|---|---|---|
| 1 | Area rug | $200 |
| 2 | White curtain panels | $80 |
| 3 | Framed botanical wall art | $80 |
| 4 | Decorative tray on the table | $35 |
| 5 | Tabletop vase with greenery | $30 |
| 6 | Large floor potted tree in white vase | $25 |
| 7 | Candle pour (DIY) | $35 |
| Total | $485 | |
If you want to spend less, scale back the rug first (choose a smaller 5×7 or a plainer weave) and keep the curtain panels and botanical art—those three create most of the “finished” look per dollar.
What worked, what didn't (across the whole room)
This nook reads cohesive because the styling repeats leaf shapes at wall height, table height, and floor height. The mix of matte neutrals, glassy highlights, and warm brass keeps the botanical theme from feeling themed.
What worked
- The muted botanical rug pattern prevents the green accents from feeling too intense.
- Sheer white curtains soften daylight so the table styling looks intentional at all times.
- Framed botanical art connects the hanging plants to the countertop ceramics and vases.
- A tray keeps candles and ceramics grouped, so cleaning and packing stay easy.
- Tabletop greenery adds mid-level height, balancing the wall art and the tall plant.
- Warm candle light turns the island zone into a night-ready dining spot without fixtures.
What didn't
- If the rug is too small, chair legs sit “in midair” and the nook looks unfinished.
- Curtains that are the wrong length can bunch near the floor and look messy quickly.
- Overdoing the number of small pots makes the countertop feel cluttered even with pretty objects.
- Skipping wall art forces all pattern to happen at table height, which flattens the room.
What we'd skip if we did it again
Skip buying a second matching decor set (same vase shape, same candle size, same plant pot). In kitchens—especially shared ones—mixing textures looks more expensive and is easier to adapt to what’s available when you move.
Skip a bold “statement” print that fights the greenery. One botanical frame is enough; the plants already provide the organic variety, and competing patterns can make the nook feel busy.
Skip thick window treatments that block the daylight. This room’s mood depends on bright natural light, so choose airy white curtain panels you can pack flat and rehang at the next lease.
Frequently asked
How long does a refresh like this usually take?
For shared housing, plan for one weekend. Rug placement and curtain setup usually take the longest blocks of time because of measuring and getting the hang length right. Styling the table (tray, vases, and candle cluster) is fast once the rug and wall piece are in place. If you DIY the candle pour, add time for melting, setting, and curing—then you’re done.
If I’m renting, can I still do this look without drilling?
Most of these choices are freestanding or textile-based, so you’re not touching fixed fixtures. Use non-permanent hanging methods for the framed botanical wall art if needed, and keep everything else on the floor or tabletop. For curtains, pick a hanging method that matches the existing setup in the home. The goal is to avoid any hardware that risks wall damage when you move out.
What if my kitchen dining area is smaller than the photo?
Keep the same palette and repetition rules, but scale down the rug first. A 5×7 rug can still work if it sits under the front chair legs. Choose curtain panels that don’t overhang heavily, and keep table styling to one tray cluster with one main vase. One wall frame is enough—skip adding extra wall pieces.
What if my dining area is bigger?
Increase rug size to cover more walking space and consider two curtain panels that fully frame the window. Add a second tabletop vase only if it’s still organized on the tray—otherwise you’ll get clutter. For botanical repeat, keep wall art to one larger framed print, then let the plants handle the variation.
Where should I shop for the easiest versions of these items?
Start with textiles and wall art at home decor retailers that carry removable-friendly frames and rug sizes in-store. For plants, local nurseries and grocery floral sections are great for quick stem swaps. The candle pour ingredients can come from craft stores, and you can thrift simple jars to reuse as containers.
Biggest mistake to avoid in a kitchen dining nook refresh?
Over-decorating the countertop without giving the room a base layer. If the rug and wall art aren’t pulling attention, the table looks like a temporary set instead of a nook. The second most common issue is mismatch: if the colors drift too far from sage, white, and brass, the botanicals start to compete rather than coordinate.
More in Kitchen & Dining

How to style a green kitchen dining nook for under $500
A bright, botanical kitchen dining nook refresh you can pack up later—using a textured rug, sheer white curtains, framed botanical art, and…
7 renter-friendly swaps for a $400 kitchen island
A renter-friendly kitchen island refresh you can pack up when the lease ends—built around warm lighting moments, a soft rug, and styled cou…
A calmer kitchen island corner for $700
Refresh a kitchen island corner with 7 budget-friendly upgrades, including a statement ceramic vase, a jute-style rug, and warm glass dome …