- Best for
- a move-friendly kitchen island lounge
- Time
- 2–3 hours for setup + styling
- Difficulty
- Easy (mostly textiles + ceramics)
- Cost
- $280 total build (about $350 cap)
Why warm ceramics-and-green is the kitchen island lounge of 2026
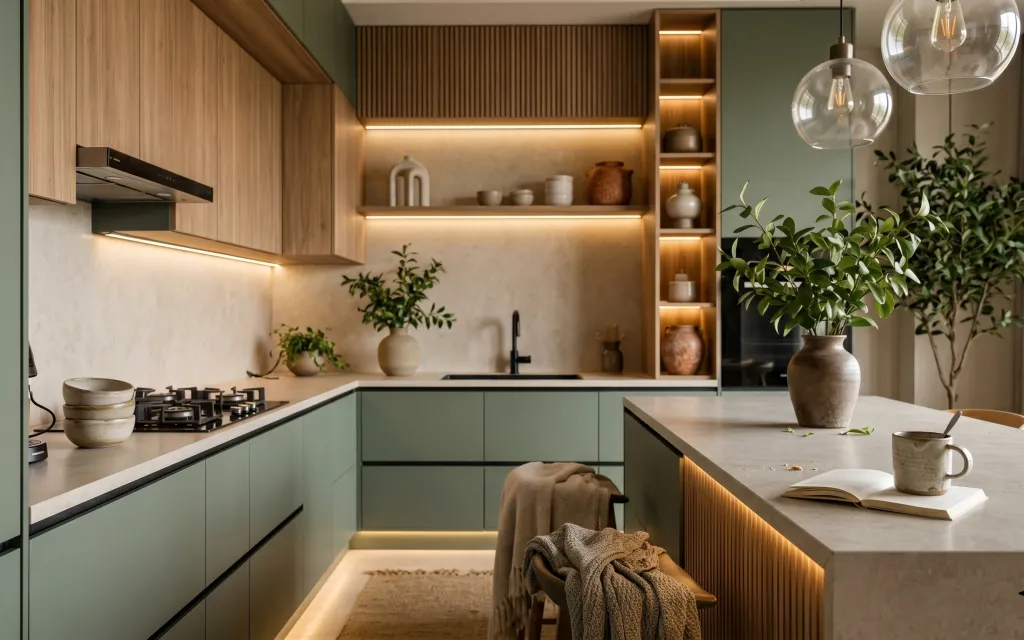
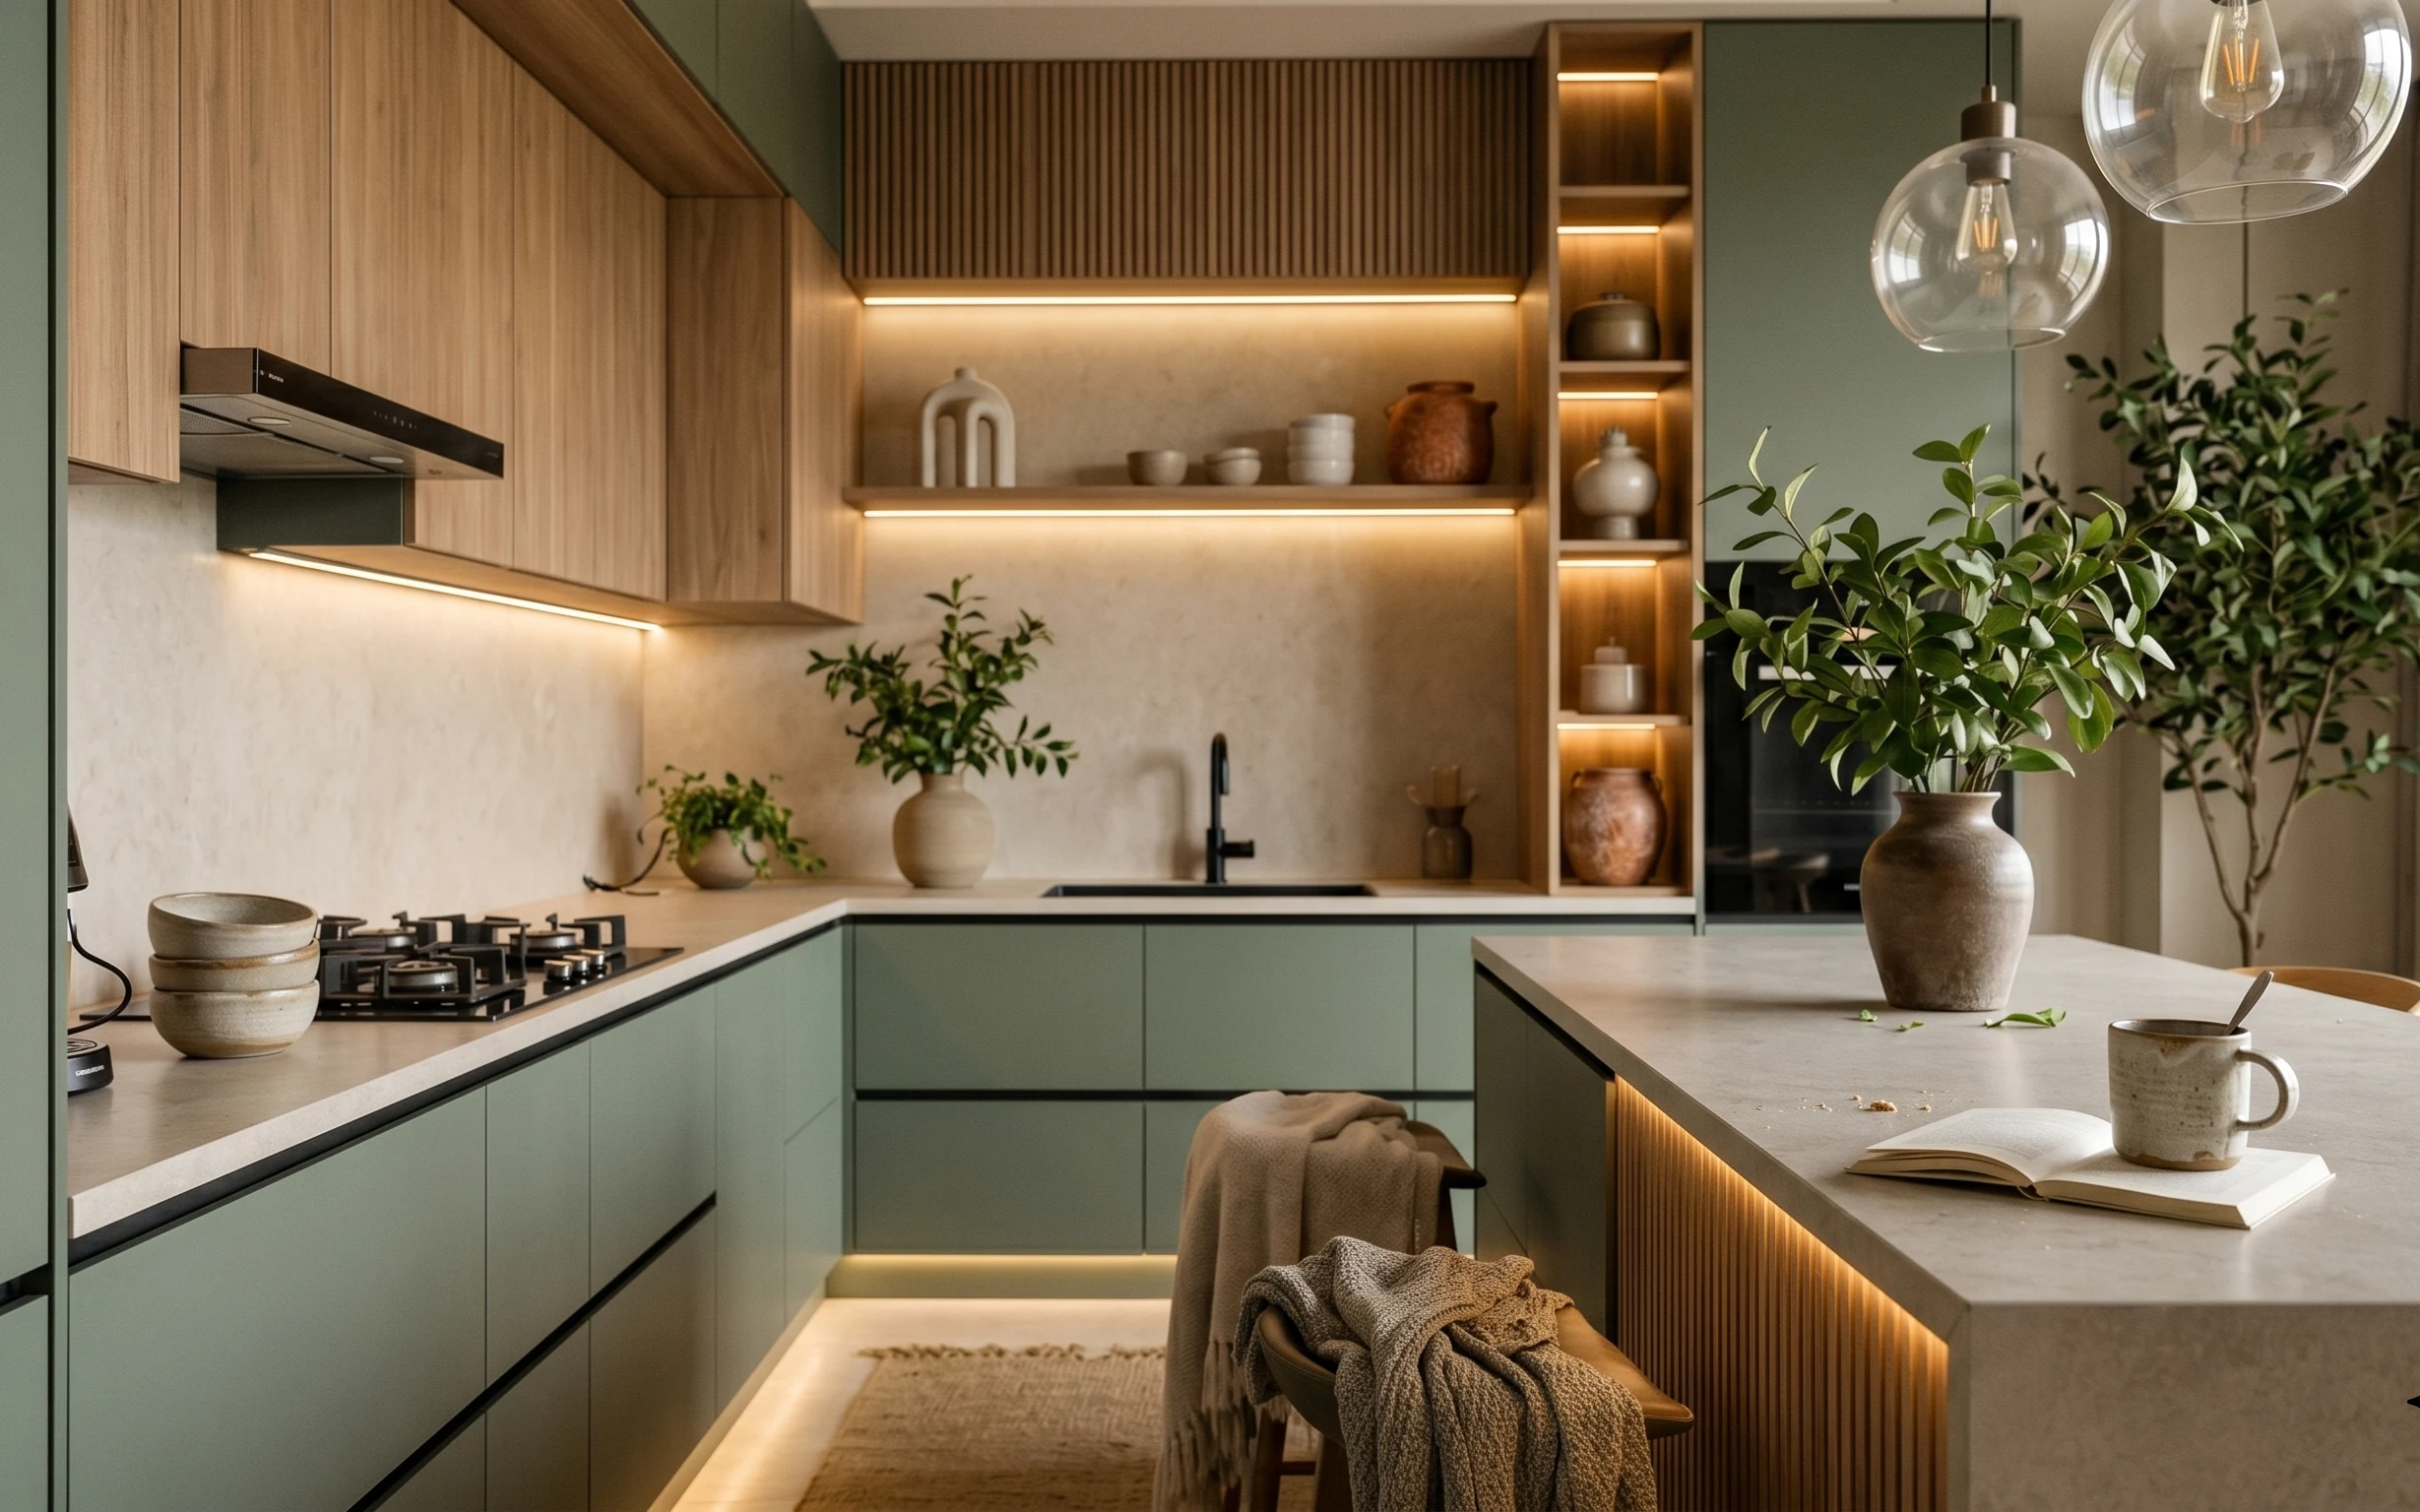
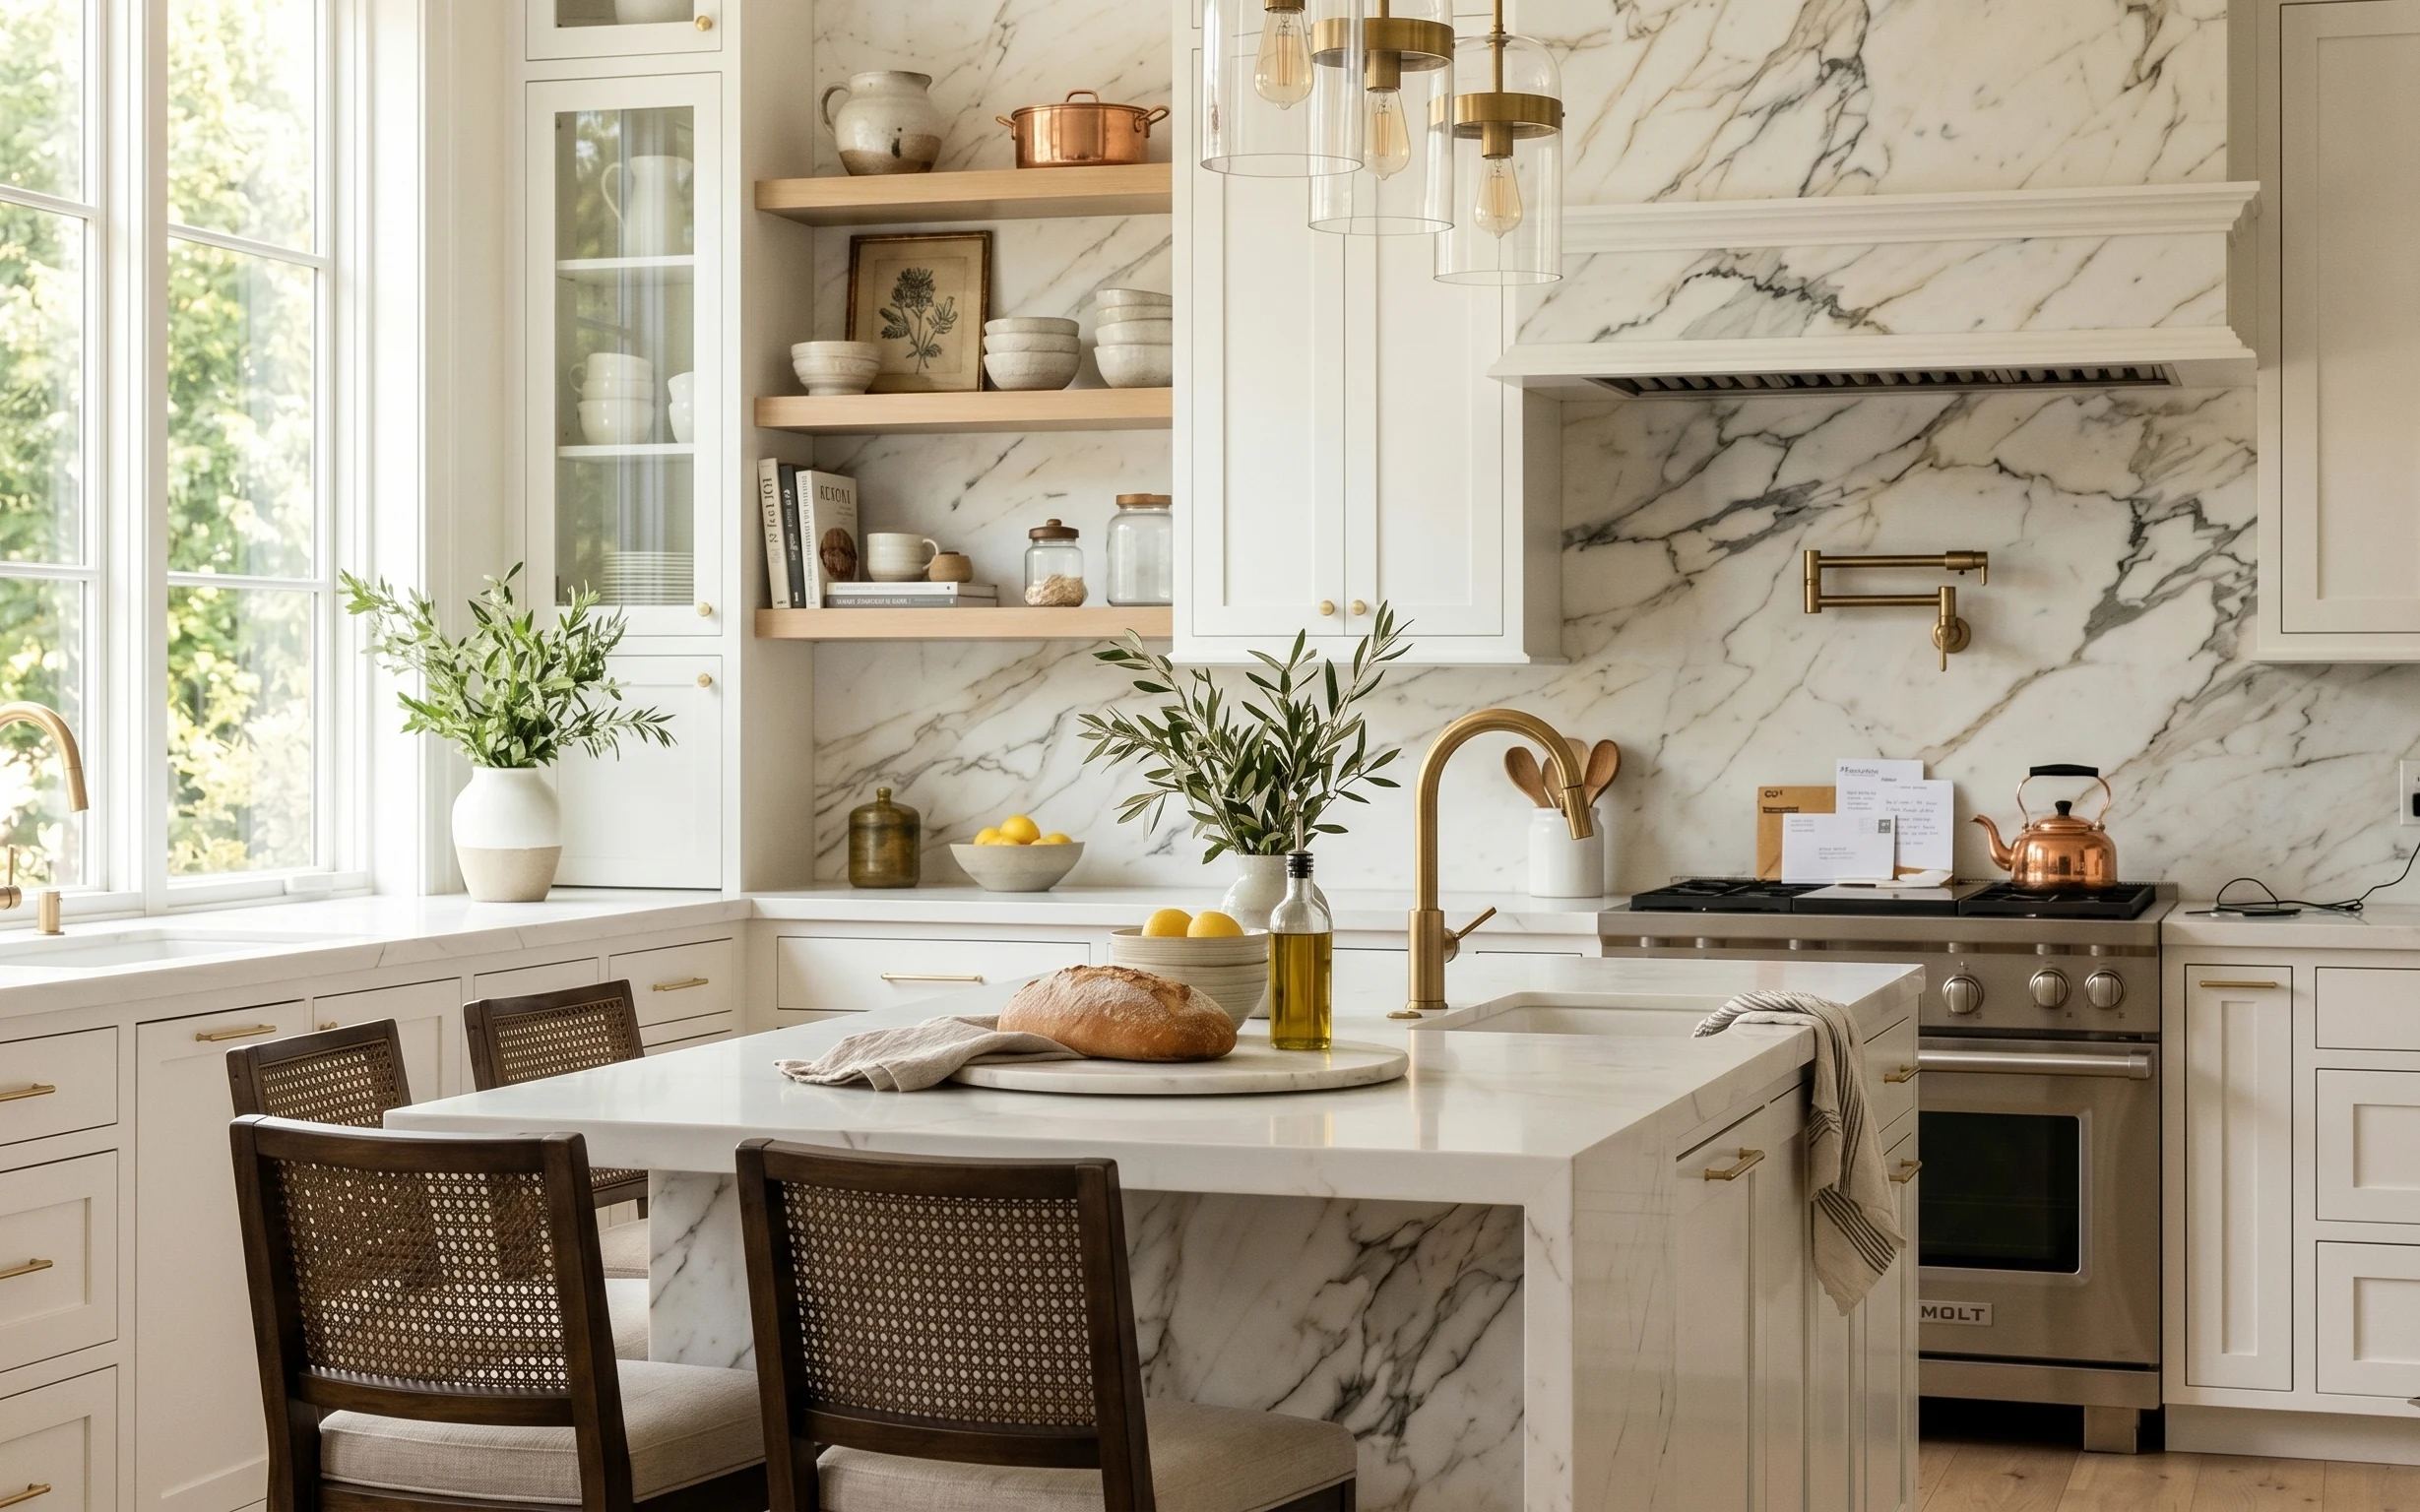
The trick in this photo isn’t the cabinetry or appliances—it’s the way soft textures and natural objects share the spotlight around the marble countertop. A beige area rug grounds the whole island zone, while a gray knit throw adds that slightly imperfect, lived-in softness. On the right, a large ceramic vase holds a big, leafy indoor plant that reads “designed” even when you’re just setting out daily coffee. For shared housing, that combination is achievable because everything here is portable and repeatable.
I used to over-plan kitchen styling like it was a permanent showroom. On my last lease, I packed away too many “special occasion” pieces and the island looked bare the minute life got busy. What changed my mind was realizing the island needs only a few tactile anchors—one rug, one cozy textile, and two plant/ceramic objects that you can keep using. Once those basics are consistent, the rest of the kitchen can stay functional.
Layer 1 — Beige area rug ($120) Pulls the island zone back to the floor
A beige area rug under the island keeps the whole scene from feeling like “hard surfaces only.” In this photo, the rug’s light tone works like a visual buffer between the marble countertop and the warm wood elements, so the place feels calmer when you’re cooking. The trade-off is that rugs show foot traffic, so this is a good choice only if you’re willing to spot-clean. If you tried to skip it, the styling would look like décor hovering above a bare floor, not a true island lounge.
Choose the size you can still roll
For move-outs, look for a 5×7 style you can roll tightly and slide into a trunk or pickup, not a thin mat that curls.
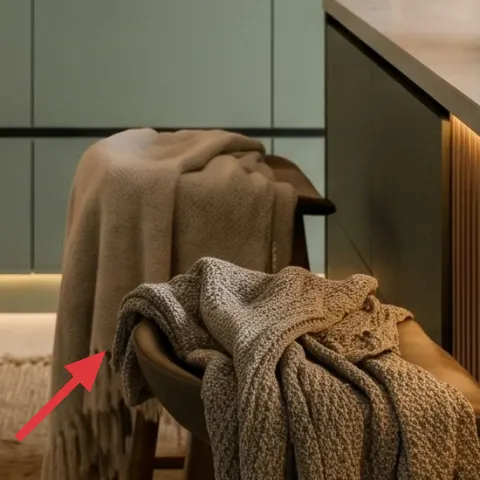
Layer 2 — Gray knit throw blanket ($30) Adds warmth you can tuck away
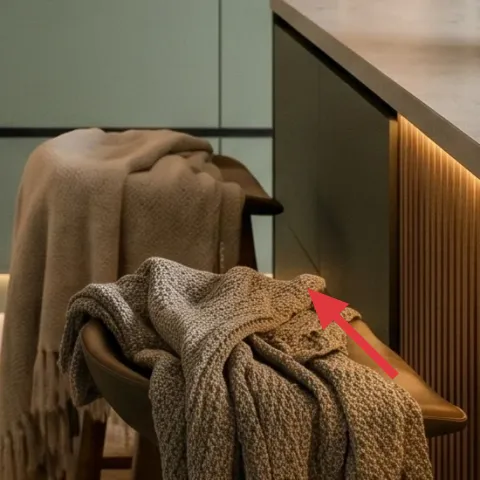
This gray knit throw draped over the nearby seat edge is one of those details that makes the kitchen feel less utilitarian. The knit texture reads cozy against the smooth marble and the linear cabinetry lines, and it instantly gives “sit down and stay awhile” energy without adding clutter. The benefit for roommates is that you can move it from seat to chair to floor depending on who’s home. The trade-off is that throws shed a little when new, so wash/dry once and keep it in rotation.
Drape height matters more than color
Keep the throw visible enough to catch light, but not so long it drags across the floor and gets snagged.
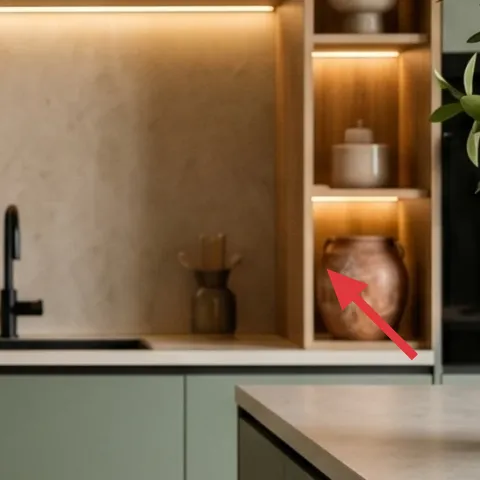
Layer 3 — Large ceramic vase ($35) A weighty shape for the countertop
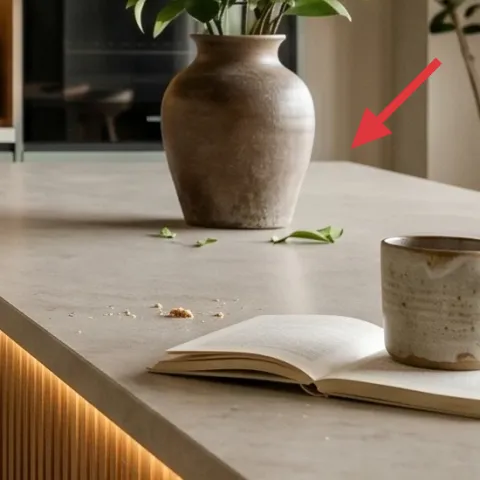
The large ceramic vase on the right side gives the island a grounded silhouette—rounded, earthy, and heavy-looking without being a bulky piece of furniture. It also pairs naturally with sage-green cabinetry tones, so you get contrast without going loud. If you replaced it with a small vase, the arrangement would feel like “decor scattered on a counter” instead of a styled moment. The trade-off is that ceramic is breakable, so it’s best packed with paper padding and kept toward the center of a box.
Pick a vase with a wide base
Wide bases handle small bumps from roommates and during moving day better than tall, narrow shapes.
Layer 4 — Large indoor plant with green leaves ($30) The living “vertical” that frames the island
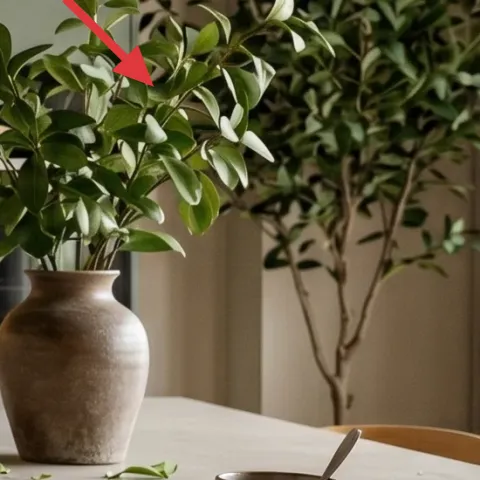
A big leafy indoor plant is doing more than “adding nature” here—it creates height so the countertop styling doesn’t feel flat. The green also softens the warm wood shelving and the cool marble surface, which makes the whole island lounge feel balanced. I’ve tried to mimic this with smaller plants, and it never lands the same; scale is what makes it look intentional. The practical trade-off is watering time, so if you travel often, choose a hardy variety or keep a simple schedule with a quick check.
Don’t crowd the plant against the backsplash
Leave breathing room so leaves aren’t constantly touching damp surfaces or collecting cooking splatter.
Layer 5 — Small indoor plant in tan ceramic pot ($25) A second plant makes the look feel layered

The small plant near the left side adds a second focal point, which is why the styling reads “composed,” not one-note. In this photo, the tan pot harmonizes with the warm wood and keeps the palette cohesive while the green leaves bring movement. The move-friendly advantage is simple: it’s a single object cluster you can bag and box without taking over anyone’s storage. The trade-off is that small plants can dry out faster than larger ones, so plan for quick watering access.
Make it instead of buying it
Use a painted terracotta planter set so the tan pot look matches this kitchen while still packing flat and breaking down into small boxes.
Materials
- Terracotta pots (2 small) — assorted sizes — home/online — $10
- Acrylic craft paint (earthy neutral) — 1 small bottle — craft store — $3
- Small foam brush — 1 pack — craft store — $2
- Painter’s tape — 1 roll — household — $0
- Newspaper/paper towels — enough for protection — household — $0
Steps
- Wipe the terracotta clean and let it fully dry.
- Mask any rim areas with painter’s tape for crisp lines.
- Apply one thin coat of acrylic paint, then let it dry to the touch.
- Add a second thin coat for coverage, especially on porous spots.
- Peel off tape carefully once dry.
- Let the pots sit for a full drying window before adding soil and your plant.
Total DIY cost: $15 — saves about $10 over buying.
Layer 6 — Small ceramic jar or vessel ($25) Tiny texture that reads expensive
That small ceramic jar or vessel adds texture and helps the countertop styling feel curated instead of “one big plant moment.” It also makes sense with the warm shelving light—ceramics pick up glow without needing anything hardwired. If you skip smaller objects and keep only the big vase, the left-to-right composition can feel lopsided. The trade-off is that small ceramics can look dusty quickly in kitchens, so it helps to wipe with a dry cloth during weekly resets rather than waiting for a deep clean.
Match the finish, not the exact shade
Look for matte or lightly speckled surfaces so they sit naturally next to the warm woods.
Layer 7 — Decorative book stack on countertop ($15) Gives the island a “pause” moment

An open book (or a small stacked set) is a subtle prop that makes the island lounge feel used, not staged once. In this photo, the book sits on the marble surface near the glass-and-ceramic drinking moment, so the styling supports daily routines. The benefit is that books are easy to pack and reuse across rooms, so you’re not buying a disposable décor object. The trade-off is keeping it tidy: if the book looks messy, it reads clutter, so close it or stack it whenever guests come over.
Pick one height, not three
Limit yourself to one book stack so the countertop stays functional for cooking and chopping.
The cost, layer by layer
| Layer | Item | Cost |
|---|---|---|
| 1 | Beige area rug | $120 |
| 2 | Gray knit throw blanket | $30 |
| 3 | Large ceramic vase | $35 |
| 4 | Large indoor plant with green leaves | $30 |
| 5 | Small indoor plant in tan ceramic pot (DIY retail-equivalent) | $25 |
| 6 | Small ceramic jar or vessel | $25 |
| 7 | Decorative book stack on countertop | $15 |
| Total | $280 | |
If you want an even cheaper variant, prioritize one plant + one ceramic vessel and swap the larger rug for a smaller jute-style rug. Keep the knit throw and book stack, because those do the most “lived-in” work per dollar.
What worked, what didn't (across the whole room)
This kitchen island lounge works because it layers soft texture with natural objects at three different “heights”: floor, counter, and vertical plant volume. The ceramics keep the palette cohesive, and the rug prevents the countertop styling from floating. The main risk area is keeping plant care and countertop clutter from sneaking in.
What worked
- The beige area rug makes the island feel like a zone, not just a work surface.
- The gray knit throw adds softness against smooth marble and keeps the space visually warmer.
- A large ceramic vase anchors the right side so styling feels intentional from across the room.
- The large leafy plant brings vertical balance, reducing the “flat countertop” problem.
- A small pot and a small vessel create a layered look without adding bulky items.
- The book stack turns everyday coffee time into a styling moment that’s still functional.
What didn't
- Skipping a smaller ceramic object makes the island look like one isolated centerpiece.
- Using only small plants can’t replace the scale needed for the vertical framing.
- A throw that’s too long drags visually and collects dust at the edges.
- Counter props pile up fast in kitchens, so anything more than one book stack looks cluttered.
- Plant pots that don’t match the warm palette can make the whole arrangement look “random.”
What we'd skip if we did it again
Skip buying multiple small décor items to “fill space.” In this kind of kitchen island lounge, one larger anchor (rug + vase or rug + plant) beats five tiny extras that compete for attention.
Skip the smaller-plant-only approach. If the goal is that framed, vertical feel around the island, commit to scale with the main plant, then add just one supporting plant.
Skip heavyweight, hard-to-pack décor. When shared housing means you’re moving soon, choose textiles and ceramic objects that wrap, roll, and box easily instead of anything fragile that needs special handling.
Frequently asked
How long does this kitchen island refresh take?
Plan for about 2–3 hours if you’re starting from a mostly blank kitchen island zone. Most of the time goes to rolling the rug, repositioning the plants and ceramics, and getting the heights to feel balanced from the doorway. If you’re painting terracotta planters for the DIY layer, add drying time for the pots before potting soil.
Is this renter- and shared-housing friendly if my lease says “no décor changes”?
Yes, because the upgrades here are portable: a rug, a knit throw, plants and ceramics, and a simple book stack. There’s no painting, no drilling, and nothing that replaces fixed kitchen hardware. The only “care” part is keeping plants watered and wiped, which is normal everyday upkeep rather than a lease change.
What if my kitchen is smaller or my island is narrower?
Keep the rug but scale down the shape choice—aim for the biggest rug size you can still roll without bending. For the plant moment, use one larger plant only if you can fit it without blocking prep space; otherwise, go slightly smaller on the vase and use the same vertical balance. The rule: match heights first, then worry about extras.
What’s the best place to shop without overpaying?
Start with textiles and basics: rug marketplaces, discount home stores, and thrift for the knit throw. For ceramics and vessels, look for sets at home goods retailers or small local shops, then choose one “anchor” piece that matches your wood tones. Plants can come from a nursery or grocery store, and you can buy planters empty and DIY-paint them.
What’s the biggest mistake people make with kitchen island styling?
They overfill the countertop or they mismatch scale. A busy island with multiple small items reads clutter-fast in kitchens where you constantly use the counter. Instead, keep a tight stack: one rug anchor, one textile softness, one main vase/plant, and one supporting ceramic or book. That’s how it stays calm.
Can I keep this look going across moves?
That’s the point. Rugs roll, throws fold, and ceramic objects pack with paper padding. Plants and planters are also easy to swap between homes—if a future space doesn’t get that same island light, the pieces move to a dining table or entry console and still work. The color palette (warm wood + sage + cream) is a forgiving repeat.
More in Kitchen & Dining
Under $350: kitchen island lounge swaps that pack up
A move-friendly kitchen island lounge refresh for shared housing with 7 renter-safe swaps, all doable for under $350. The biggest payoff: s…
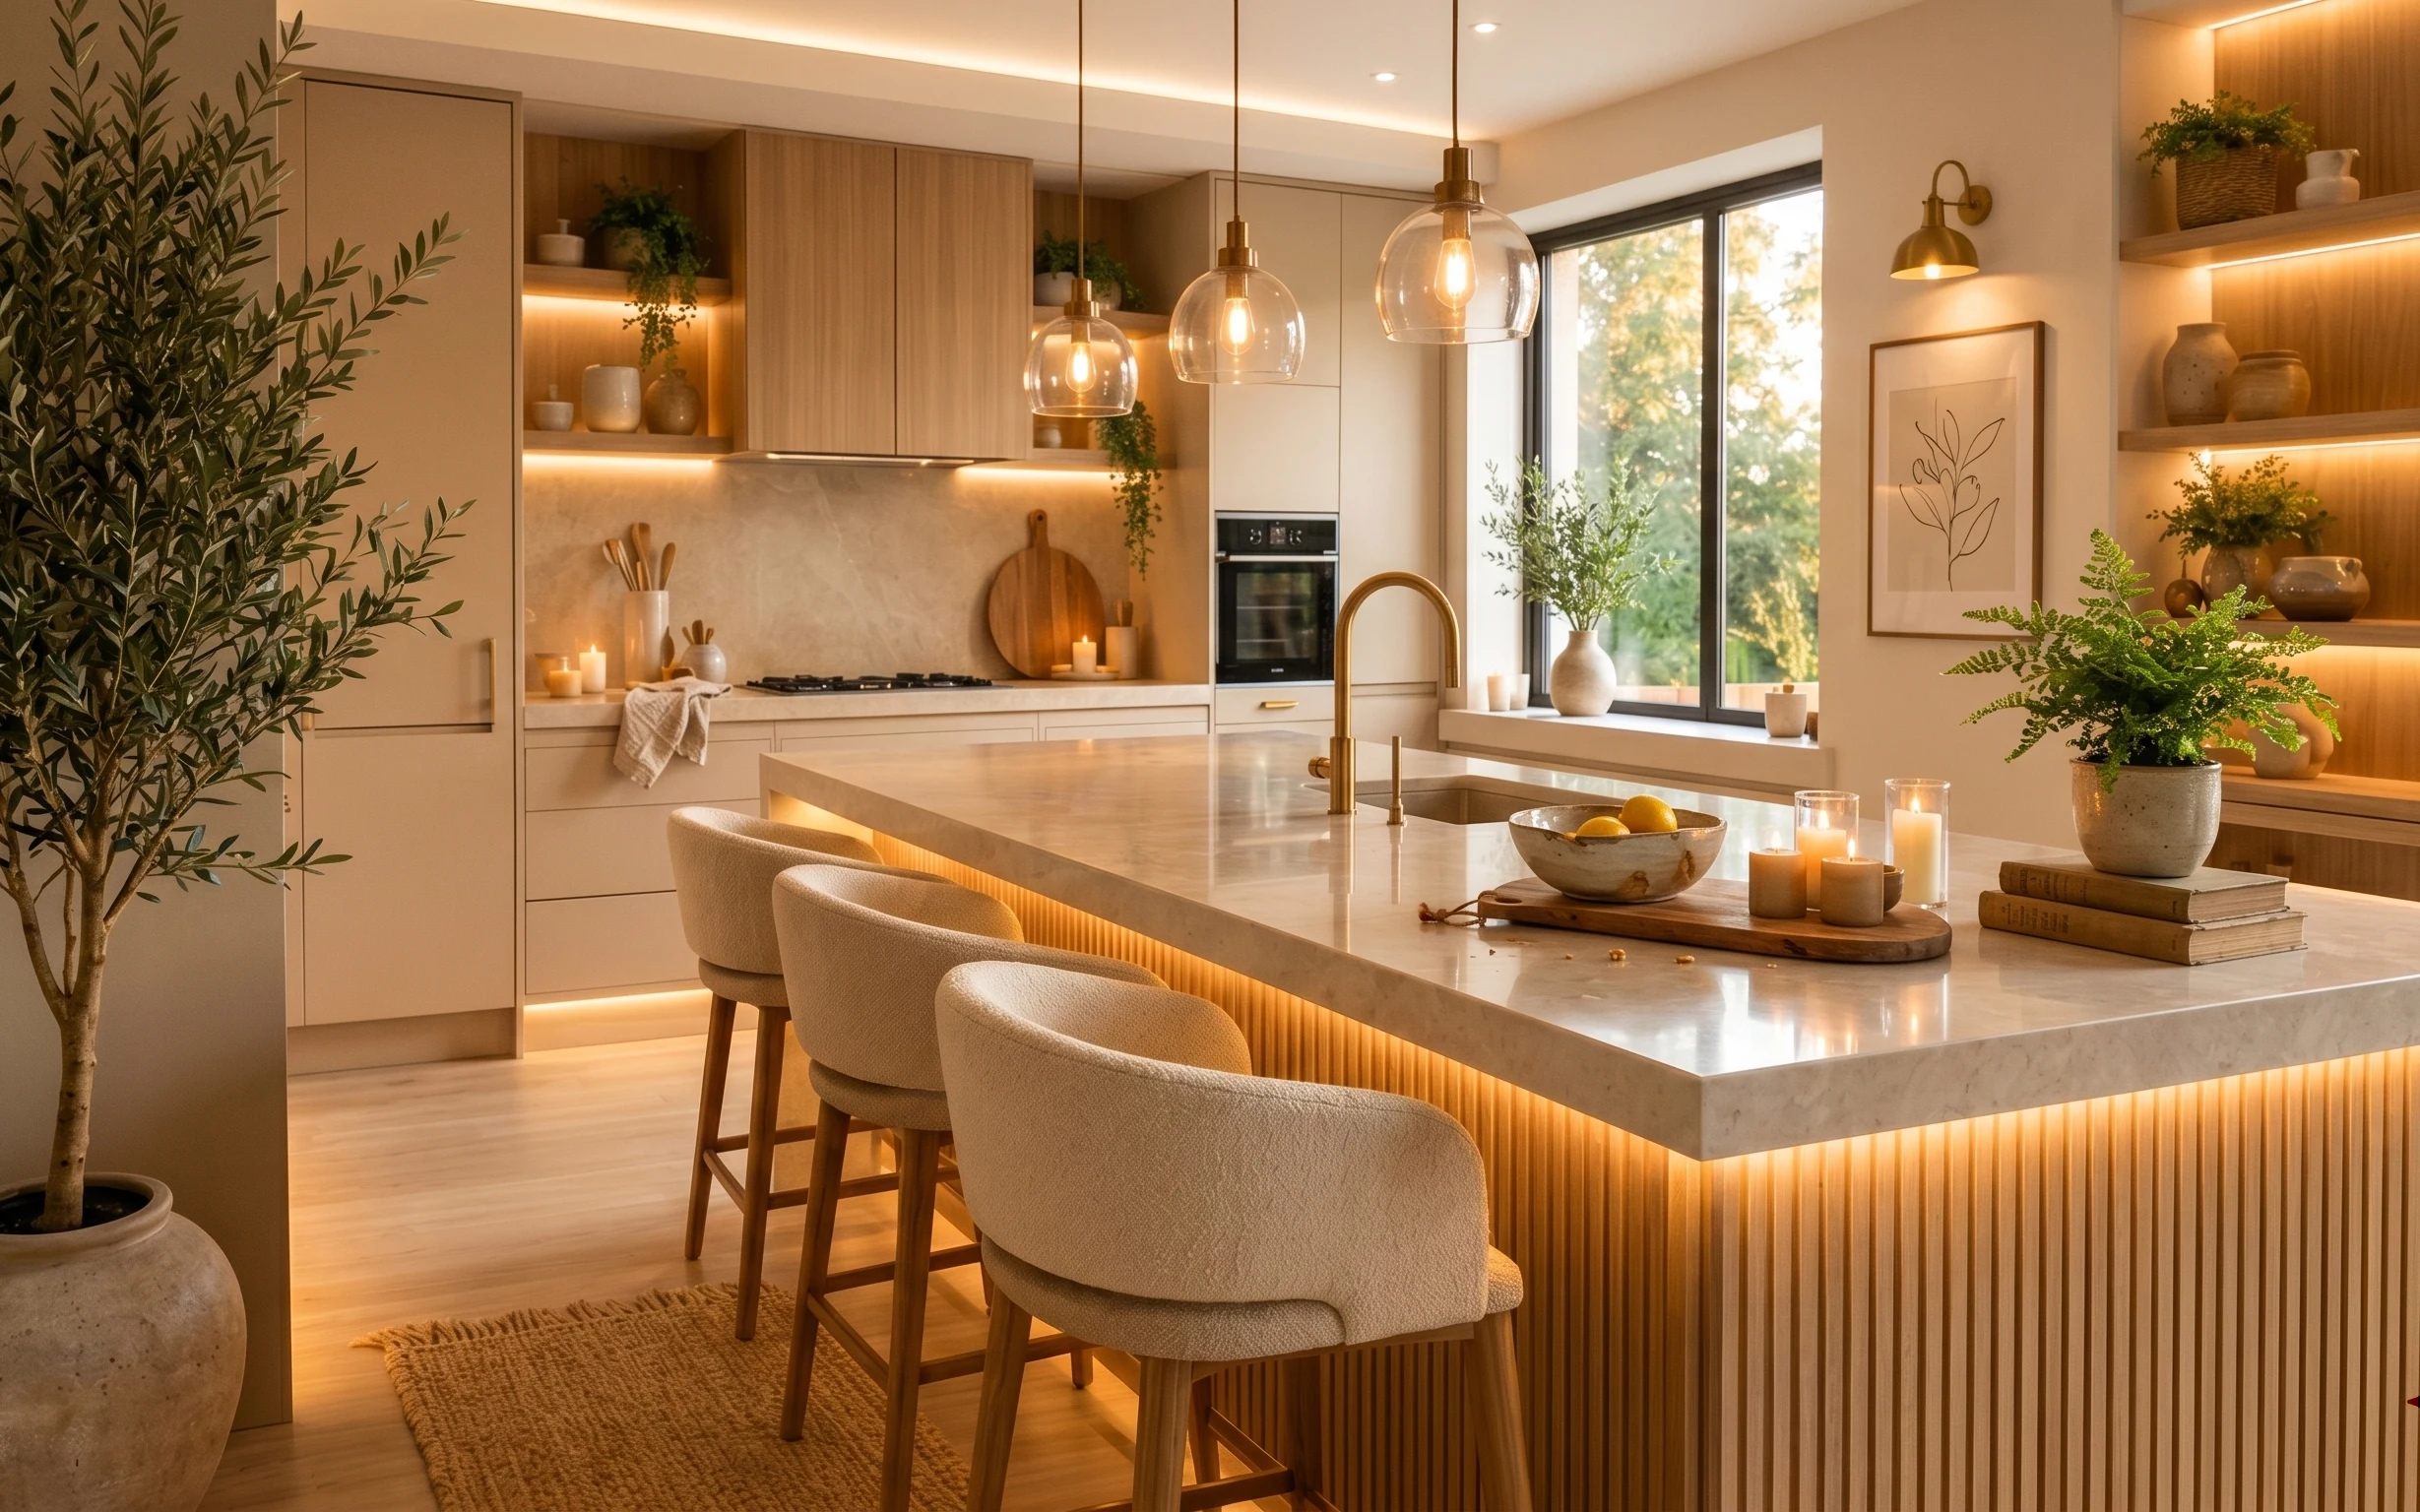
How to nail japandi kitchen island seating for $350
A warm japandi kitchen island seating look on a renter-friendly budget ($350). Use one grounded rug, a DIY candle pour, and small counterto…
A calmer, brighter kitchen for $700
This kitchen island refresh leans into white-and-brass contrast: a framed botanical print, two greenery accents, and a small textile swap. …