- Best for
- kitchen island seating styling
- Cost
- $333 total build (up to $350 ceiling)
- Difficulty
- easy—mostly shopping + one pour
- Time
- about 2 hours plus cure time
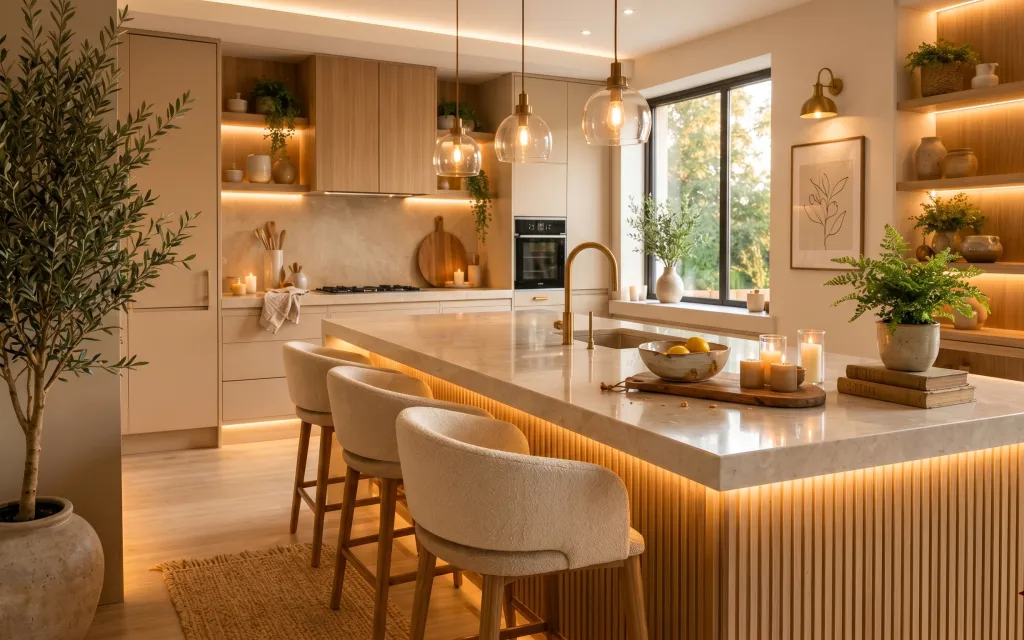
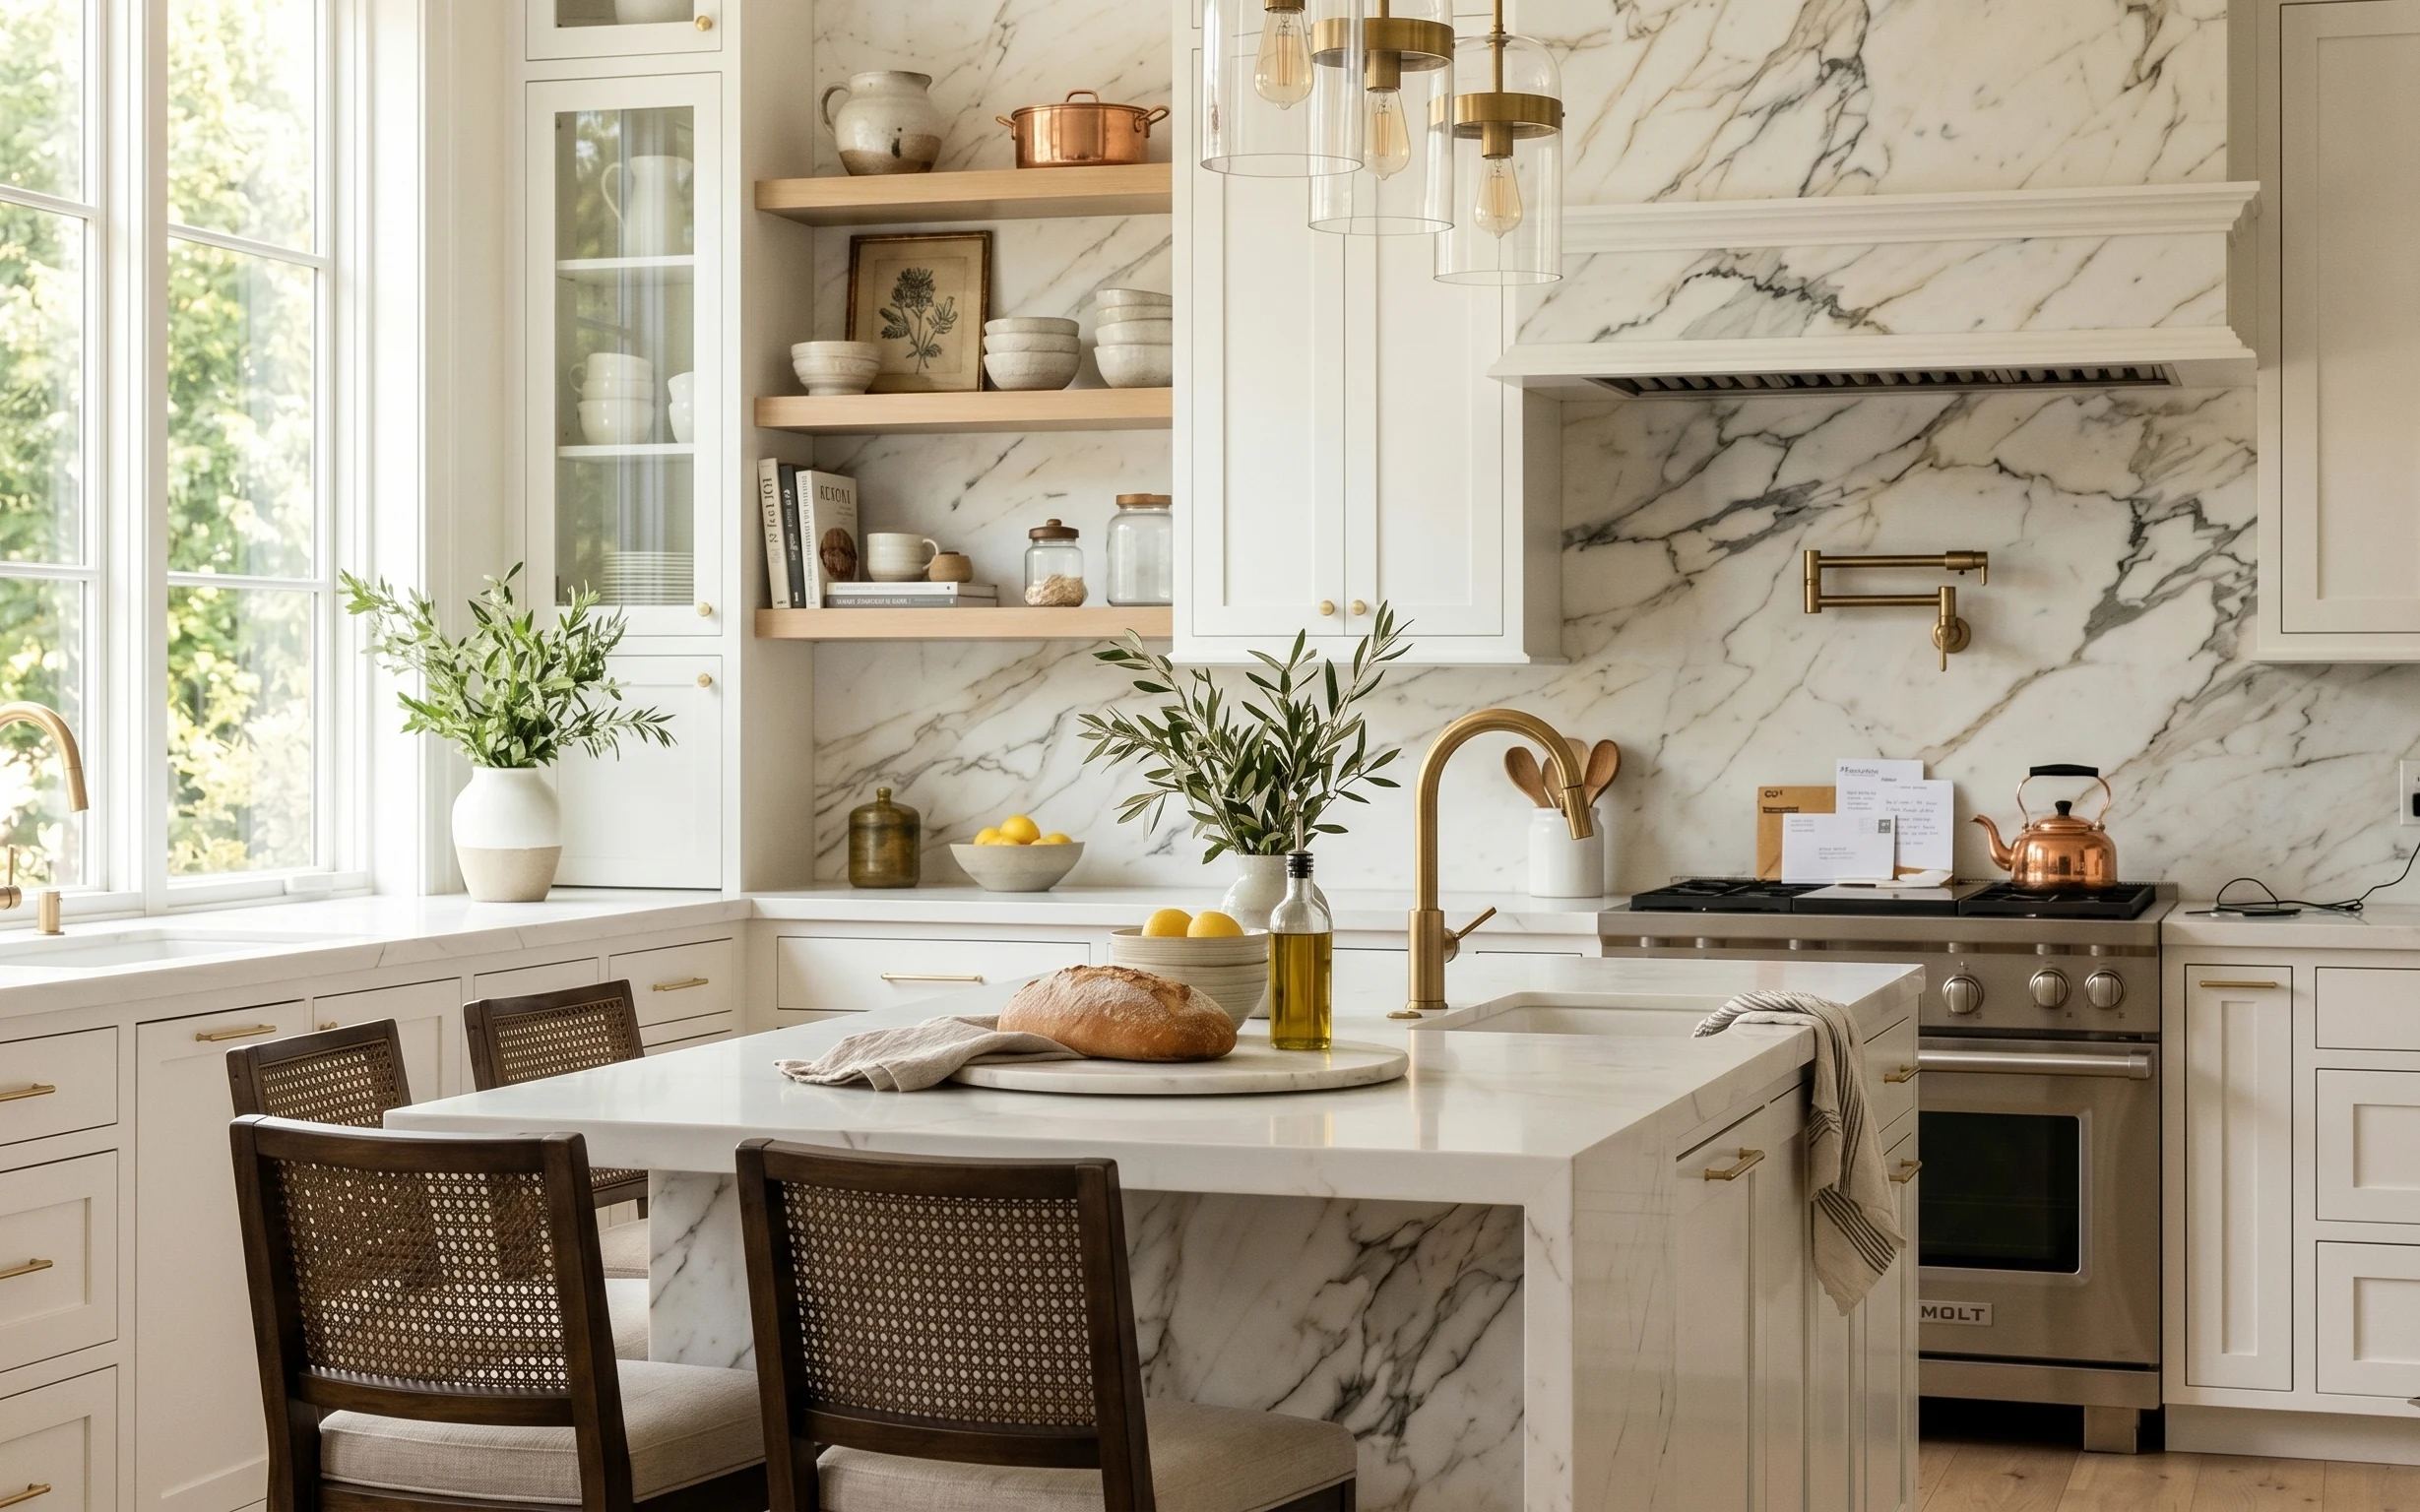
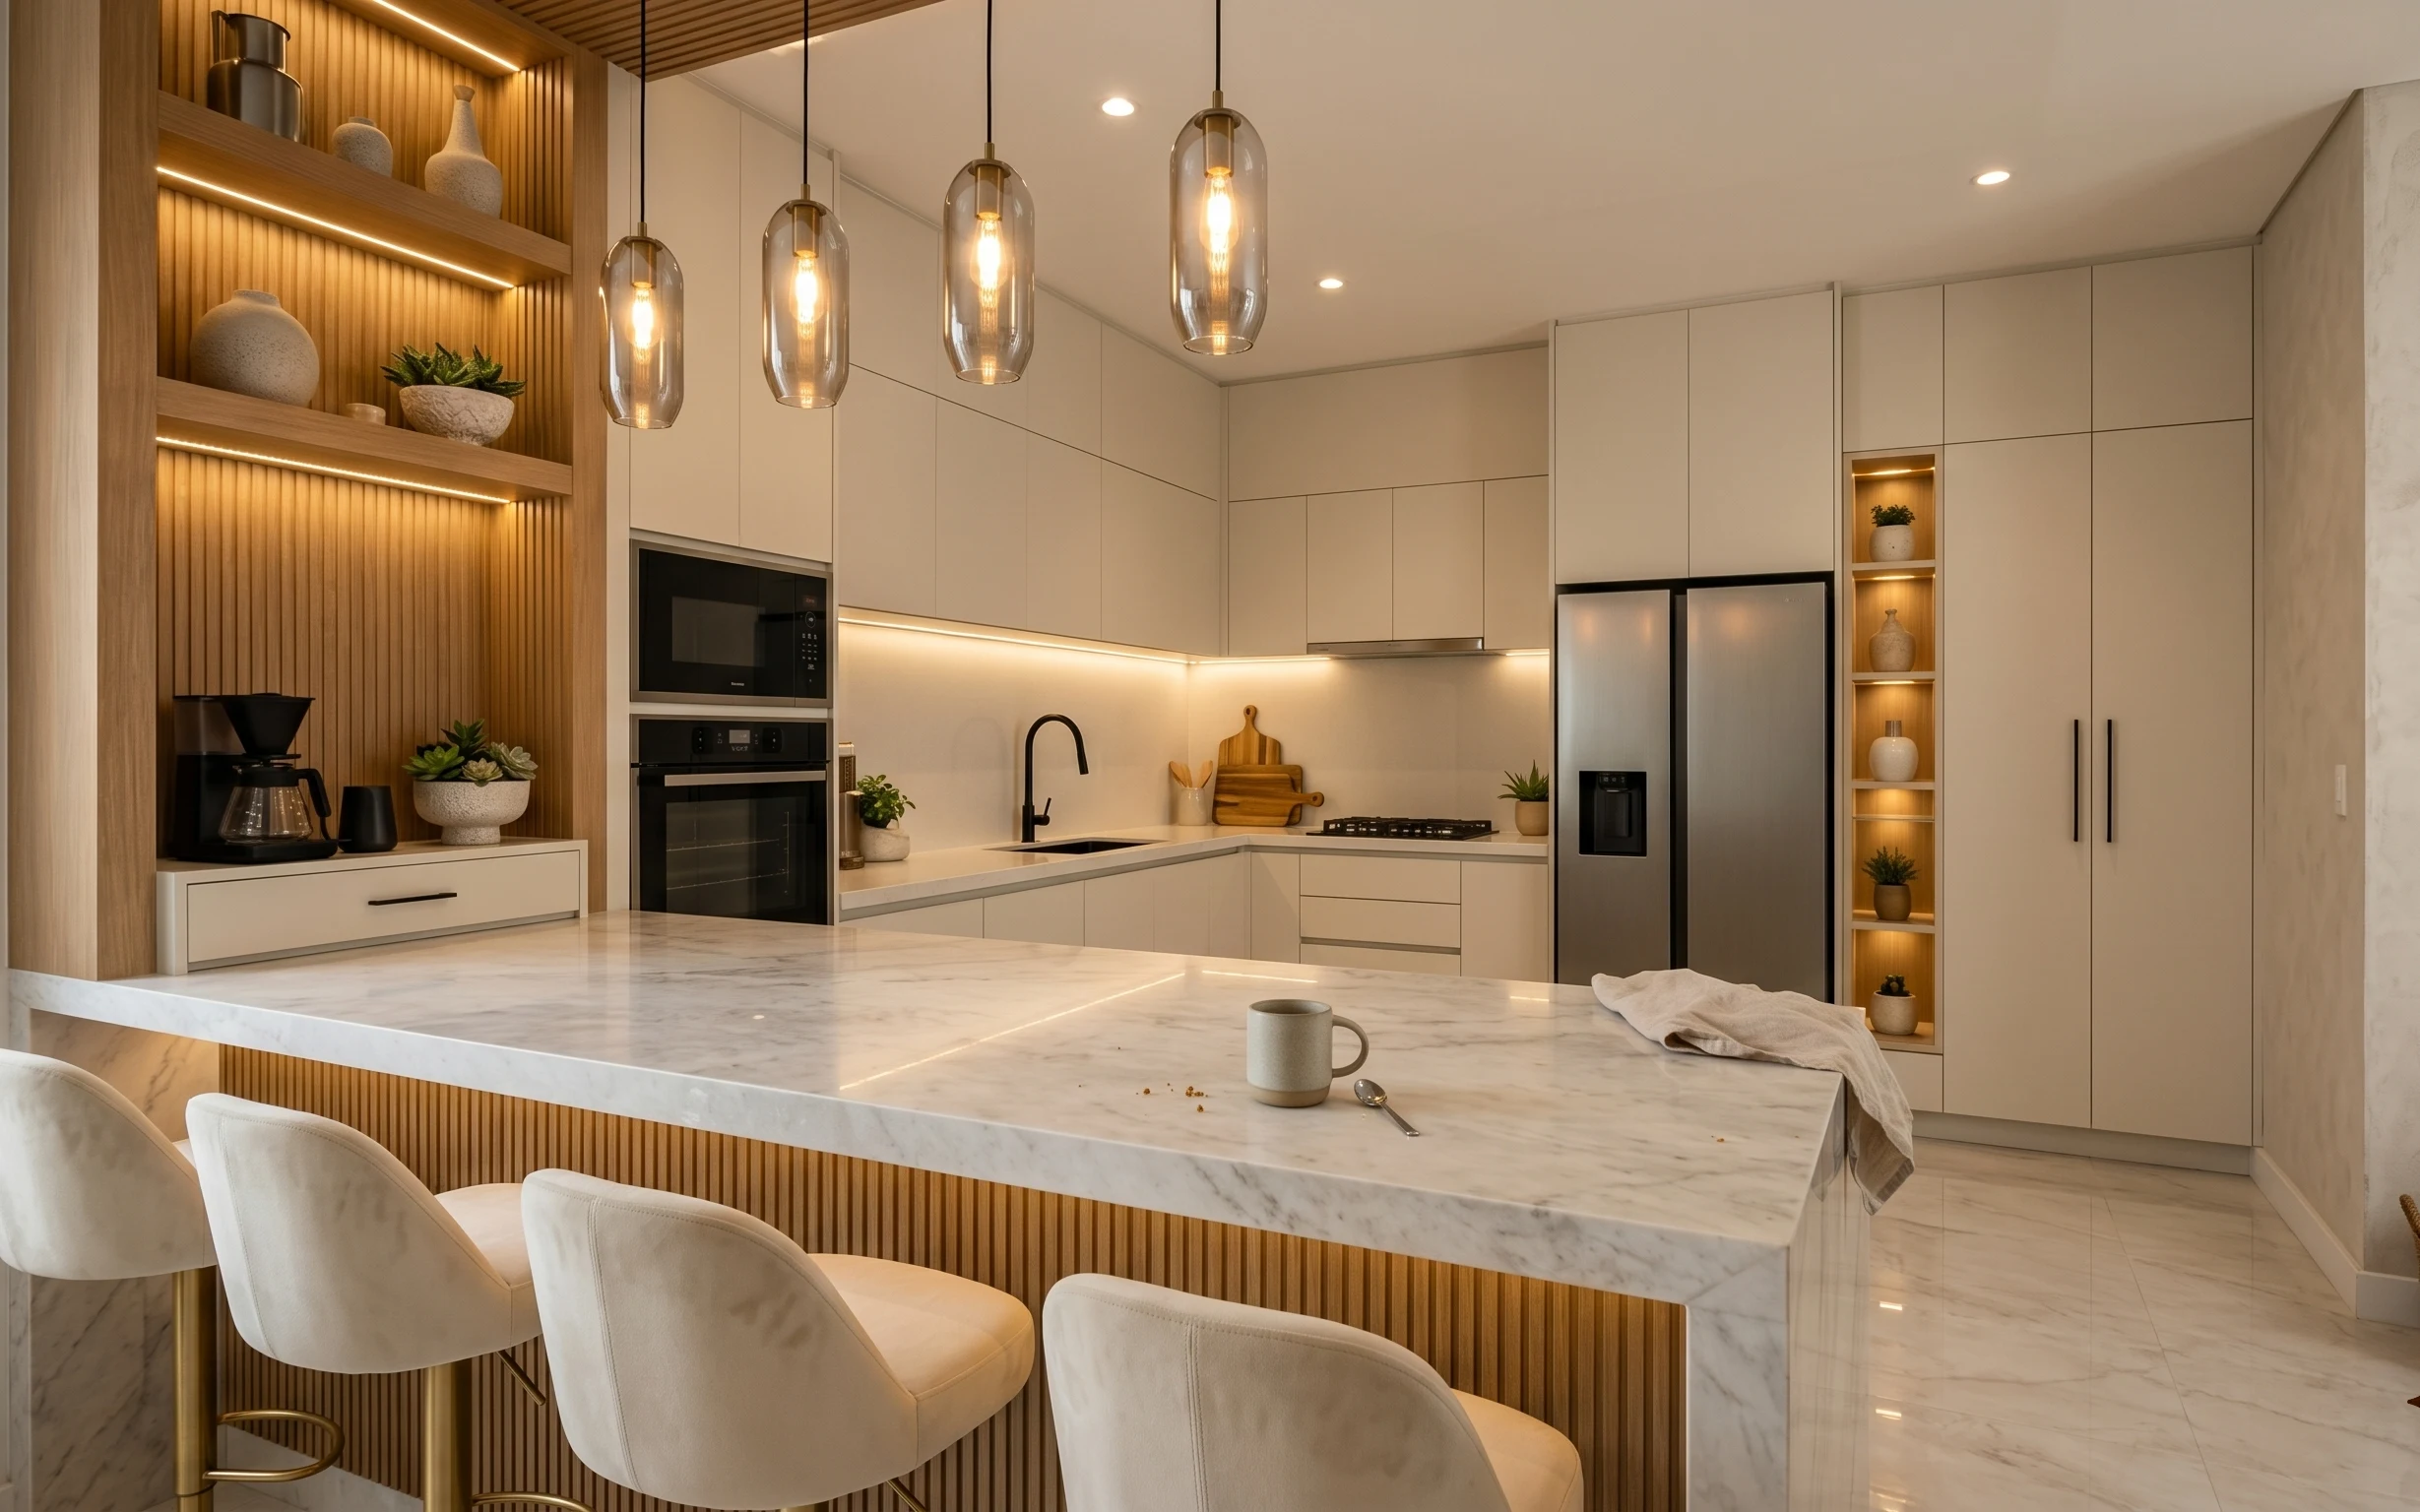
Why brass-and-cream kitchen island seating is the grounded look of 2026
The first thing this space gets right is the palette: warm cream walls, light wood, and a brass-like glow from the pendant lights. Even though the kitchen itself is fixed, the renter-friendly parts—like the woven rug under the bar stools and the way candles sit on a tray—create that same calm rhythm. The stone-like countertop reads smooth and bright, while the textures (towel, rug, and ceramic pieces) keep everything from feeling too sleek. This look is achievable on a renter budget because the styling elements pack up easily at lease end.
I used to overbuy “statement” decor and then wonder why rooms still felt unfinished. What changed for me was paying attention to where your eye rests: here, it lands on the rug line, the framed botanical print, and the candle-and-tray cluster. When those anchor points match the color temperature (warm), the rest of the room suddenly looks coordinated—even with the landlord’s base finishes staying put.
Layer 1 — woven area rug under bar stools ($150) anchors the seating zone
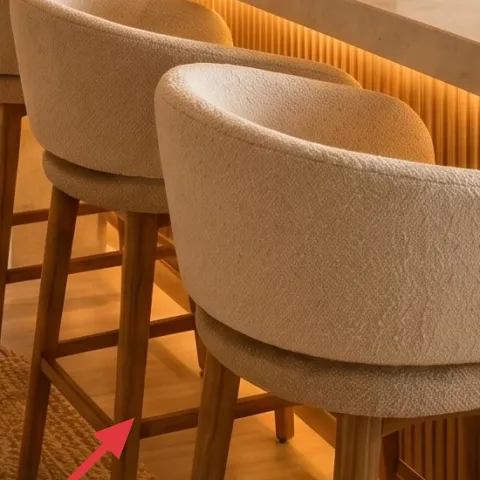
This woven area rug sits directly under the bar stools, so it does the heavy lifting of defining “dining” inside an open-plan kitchen. In the photo, the rug’s warm beige tone softens the contrast between the light stone countertop and the wood plank floor. A rug like this also solves the practical problem of foot traffic—your chair legs land on fabric instead of scuffing bare floors. The trade-off is that it needs a little shake-out or vacuuming instead of being wipe-clean like hard flooring, but the warmth it adds is worth it.
Rug sizing tip
Choose a 5×7 or runner-style rug so the front stool legs stay on the rug—partial coverage looks accidental in wide kitchen shots.
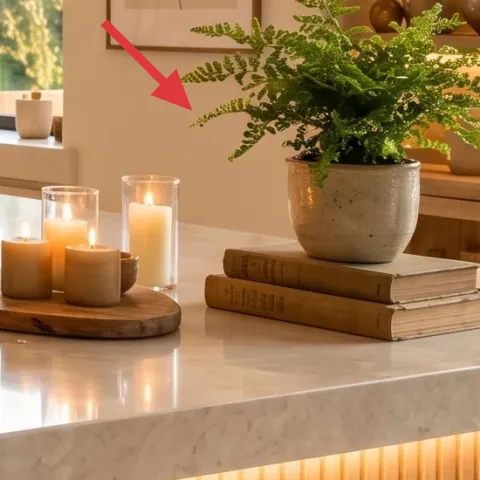
Layer 2 — glass jar candle set on countertop ($35) brings the warm evening glow
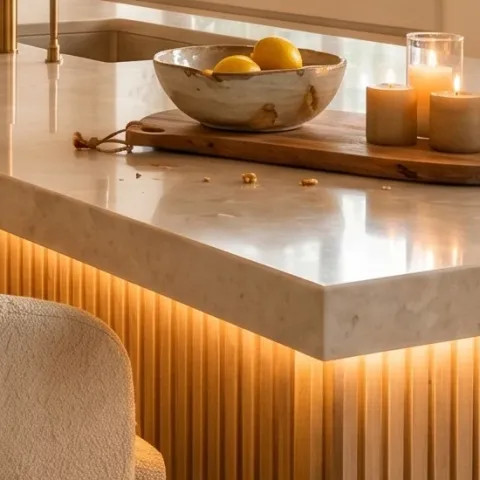
Those small glass jar candles are doing more than decoration: they add a low, intimate height of light that works with the pendant glow and makes the countertop feel styled, not bare. Replicating the “cluster” matters—multiple small jars read more modern than one big candle. This is also renter-friendly because candles are plug-free and packable, and jar glass keeps the flame contained. The trade-off is scent and wick maintenance; once a wick is trimmed, the candles burn cleaner and look the same for longer.
Make it instead of buying it
DIY a small candle pour in glass jars so the warm cluster on the island matches the photo without paying for a pre-made set.
Materials
- Candle wax—enough for 2–3 jars—local craft store or online — $12
- Wicks (pre-tabbed)—2–3 wicks — craft store — $5
- Glass jars (cleaned and dry)—2–3 — thrift store — $8
- Wick tabs or adhesive dots—small pack — craft store — $2
- Basic pour thermometer or cheap kitchen thermometer — discount store — $2
Steps
- Prep the jars and center the wicks using wick tabs so they stand straight.
- Weigh wax and plan your pour so each jar gets a similar fill level.
- Melt wax gently until fully liquid.
- Let wax cool slightly, then pour slowly into the jar.
- Remove any small surface bubbles with a toothpick if needed.
- Let candles cure until fully set at room temperature.
- Trim wicks to about 1/4 inch for a clean first burn.
- Burn test: light one candle for a short session to ensure even pooling.
Total DIY cost: $29 — saves about $6 over buying.
Layer 3 — wood serving tray on the island ($30) creates a styled “landing zone”
This wood serving tray is the organizing surface that turns random countertop objects into a deliberate vignette. In the photo, the tray sits on the stone counter and gathers the candle jars and small accents, which makes the whole setup look composed rather than cluttered. A tray also gives you a repeatable placement rule—move the tray, and the styling goes with it. The obvious alternative is scattering items across the counter, but that reads busier and easier to spot in photos. The main trade-off is that trays take a little planning for distance from the edge so they don’t feel like they’re “floating” too high.
Why wood works here
Wood’s warm undertone echoes the light cabinetry and keeps the brass lighting from looking too cool.
Layer 4 — tabletop plant in a small pot ($25) adds the soft, organic line
The small potted plant by the window and on the counter is what makes the island area feel lived-in, not staged. Plants add irregular shape—leaves break up the straight lines of the island edge and the backsplash. Keeping it in a compact pot is key for renter kitchens because it’s easy to move away from heat sources or pack up later. The trade-off with live plants is upkeep; choosing a hardy option and rotating it toward the window solves most “leggy” growth. Visually, it also balances the ceramic vessels and framed print so the styling doesn’t lean too much into only one texture.
Leaf-height tip
Pick a plant that sits around candle height or slightly above—too tall starts competing with the framed art.
Layer 5 — framed botanical wall art print ($60) ties the kitchen to nature cues
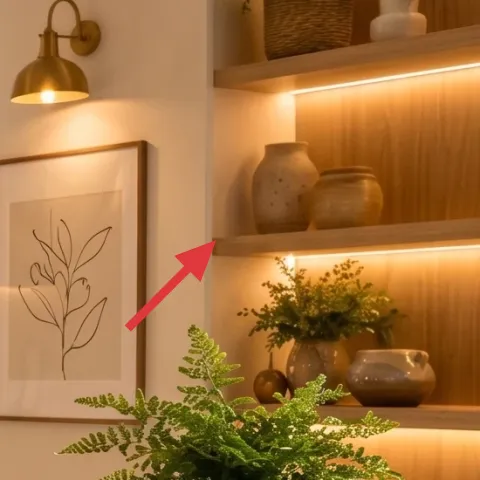
The framed botanical wall art on the right wall gives the space an “intentional print” moment that matches the greenery throughout the room. The line-drawing style is important: it’s airy enough to sit beside warm lighting without making the kitchen feel busy. A framed print is also a renter-safe upgrade—no drilling needed when you use Command strips on the frame’s hanging hardware. Compared with hanging multiple small prints, one larger piece reads cleaner in an island-centered photo. The trade-off is keeping it level; using a small measuring step before sticking prevents crooked lines that are obvious under warm pendant light.
Don’t let it compete with shelf styling
If the wall shelf is already busy, keep the print’s frame simple and let the botanicals do the talking.
Layer 6 — decorative ceramic vessels on shelf ($25) adds the handcrafted texture layer

The ceramic vessels on the wall shelf bring that tactile, artisanal feel that japandi spaces rely on. Even when the kitchen’s built-in finishes are fixed, ceramics give you control over shape, sheen, and color—think matte beige, cream tones, and a slightly irregular silhouette that looks collected over time. The alternative is adding only greenery, but plants alone can look too “fresh” and not enough “styled.” This layer works because the shelf area is visible in the same frame as the island, so the ceramics echo the countertop cluster. The trade-off: choose fewer pieces than you think you need, so the shelf stays airy under the warm under-cabinet lighting.
Match the finish, not the color
Use one or two ceramic finishes (matte or lightly speckled) so the shelf looks curated, not random.
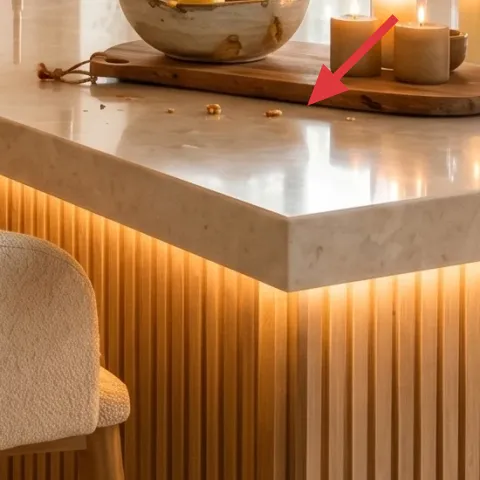
Layer 7 — stacked books on countertop ($8) gives everyday height and story
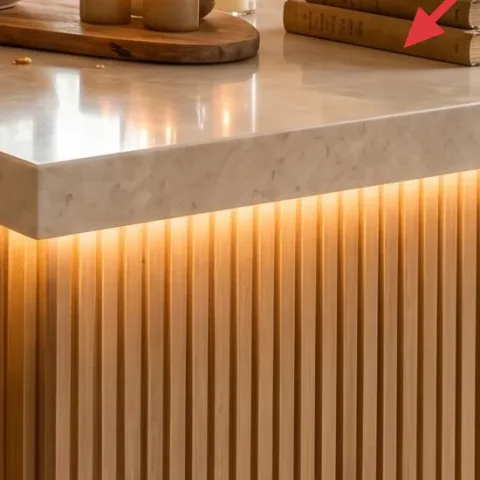
The stacked books on the countertop are a small detail, but they change how the island reads in a wide shot. Books add height variation next to the plant and ceramics, which prevents the styling from looking flat against the stone. They also create a logical “platform” for your tray and jars so everything looks like it belongs together. The cheaper alternative is skipping books, but then the counter can feel like it’s missing a layer of visual weight. The trade-off is that books need occasional dusting; a quick wipe keeps the spines readable and the styling crisp.
Use them like risers
Stack 2–3 thin volumes so the tray sits at a comfortable mid-height, similar to the candles.
The cost, layer by layer
| Layer | Item | Cost |
|---|---|---|
| 1 | Woven area rug under bar stools | $150 |
| 2 | Glass jar candle set on countertop (DIY candle pour) | $35 |
| 3 | Wood serving tray on the island | $30 |
| 4 | Tabletop plant in a small pot | $25 |
| 5 | Framed botanical wall art print | $60 |
| 6 | Decorative ceramic vessels on shelf | $25 |
| 7 | Stacked books on countertop | $8 |
| Total | $333 | |
A cheaper variant keeps the same layout: a smaller rug or neutral mat, one jar candle instead of a set, and thrifted frames for the botanical print. You still get the rug-as-anchor effect and the candle-height glow, just with fewer objects.
What worked, what didn't (across the whole room)
The wins here are all about layering: a grounded rug, mid-height styling on the island, and a single botanical print that matches the greenery. The candle cluster gives the whole kitchen a warm focal point even without changing any hard finishes. The only things to watch are over-styling the shelf and choosing plant heights that are too tall for the island-photo angle.
What worked
- The woven rug defines “seating” in an open plan and makes the bar stools look intentional.
- Multiple small candle jars create a modern cluster instead of a single focal point.
- The wood serving tray gathers items so the island looks styled, not scattered.
- A compact tabletop plant adds organic shape without crowding the countertop.
- The botanical print echoes the greenery and keeps the kitchen feeling calm.
- Matte ceramic vessels add texture that balances the smooth stone surfaces.
What didn't
- Relying on one object (like only candles) makes the counter feel incomplete in daylight.
- Stacking too many items on the tray turns the cluster into clutter in wide photos.
- Plants that sit too tall compete with the framed print and shrink the island’s visual calm.
- Shelf styling that’s too symmetrical can feel less collected and more “catalog” level.
What we'd skip if we did it again
Skip adding more small decor pieces around the island “just because it’s a kitchen.” The island already has strong lines from the countertop edge; too many extras read visually loud.
Skip mixing cool-toned metals or highly reflective ceramics with the warm brass lighting. When finishes clash, the countertop styling looks off even if individual items are pretty.
Skip hanging multiple prints on the same wall. One framed botanical print is enough to match the greenery, and it keeps the photo clean while staying renter-friendly.
Frequently asked
How long does this kitchen island look take to set up?
Shopping and staging usually takes 45–90 minutes, because most changes are swap-in objects: rug, tray, plant, and the framed print. The candle pour adds some wait time since wax needs to fully set and you’ll want a short first burn test. Plan for roughly 2 hours of active work, then let everything cure overnight. After that, styling is quick—just wipe, re-center, and refresh leaves or candle wicks.
Is this renter-friendly if I can’t drill or install new fixtures?
Yes. The core “make it look finished” elements are all movable: a woven area rug, a tray-and-candle countertop cluster, and a framed botanical print hung with Command strips on the frame hardware. The plant and ceramic vessels are also easy to transport. The kitchen’s fixed elements (cabinets, countertop, and lighting) stay untouched, so there’s no permanent change or landlord approval needed.
What if my kitchen island is smaller (or my rug won’t fit under both stools)?
If you can’t get a full 5×7 feel, size down and prioritize where the front stool legs land. The rug anchor effect still works as long as the seating area has a clear boundary. Keep the candle and tray cluster centered on the counter so the composition stays balanced. For plants, choose a shorter pot so it won’t bump the visual line to the window.
Where should I shop for these items if I want the same warm look?
For the rug, look at home goods stores or online marketplaces that list fiber and dimensions. The tray and ceramics can often be found at thrift stores, vintage sellers, or discount home décor shops—warm wood and matte beige are the key. For the framed botanical print, search for minimalist botanical line art in a standard frame size so it’s easy to hang cleanly. For plants, pick compact, hardy varieties from a grocery or plant shop.
What’s the biggest mistake people make when styling kitchen islands?
Overfilling the counter without a height plan. If everything sits at the same level—no tray, no stacked books, no candle cluster—the island can look like random items. The fix is to repeat one organizing shape (tray), add one height step (books), and keep plant height modest so it supports the print instead of competing with it.
More in Kitchen & Dining

How to nail japandi kitchen island seating for $350
A warm japandi kitchen island seating look on a renter-friendly budget ($350). Use one grounded rug, a DIY candle pour, and small counterto…
A calmer, brighter kitchen for $700
This kitchen island refresh leans into white-and-brass contrast: a framed botanical print, two greenery accents, and a small textile swap. …
7 kitchen island swaps for a $500 renter-friendly refresh
A warm, japandi kitchen island dining zone built from move-friendly swaps. With a $500 refresh budget, the look leans on soft countertop te…