
- Best for
- Move-ready bedroom textiles
- Time
- 1 afternoon
- Total cost
- $425 in swaps
- Renter-safe
- No drilling / take-it-with-you
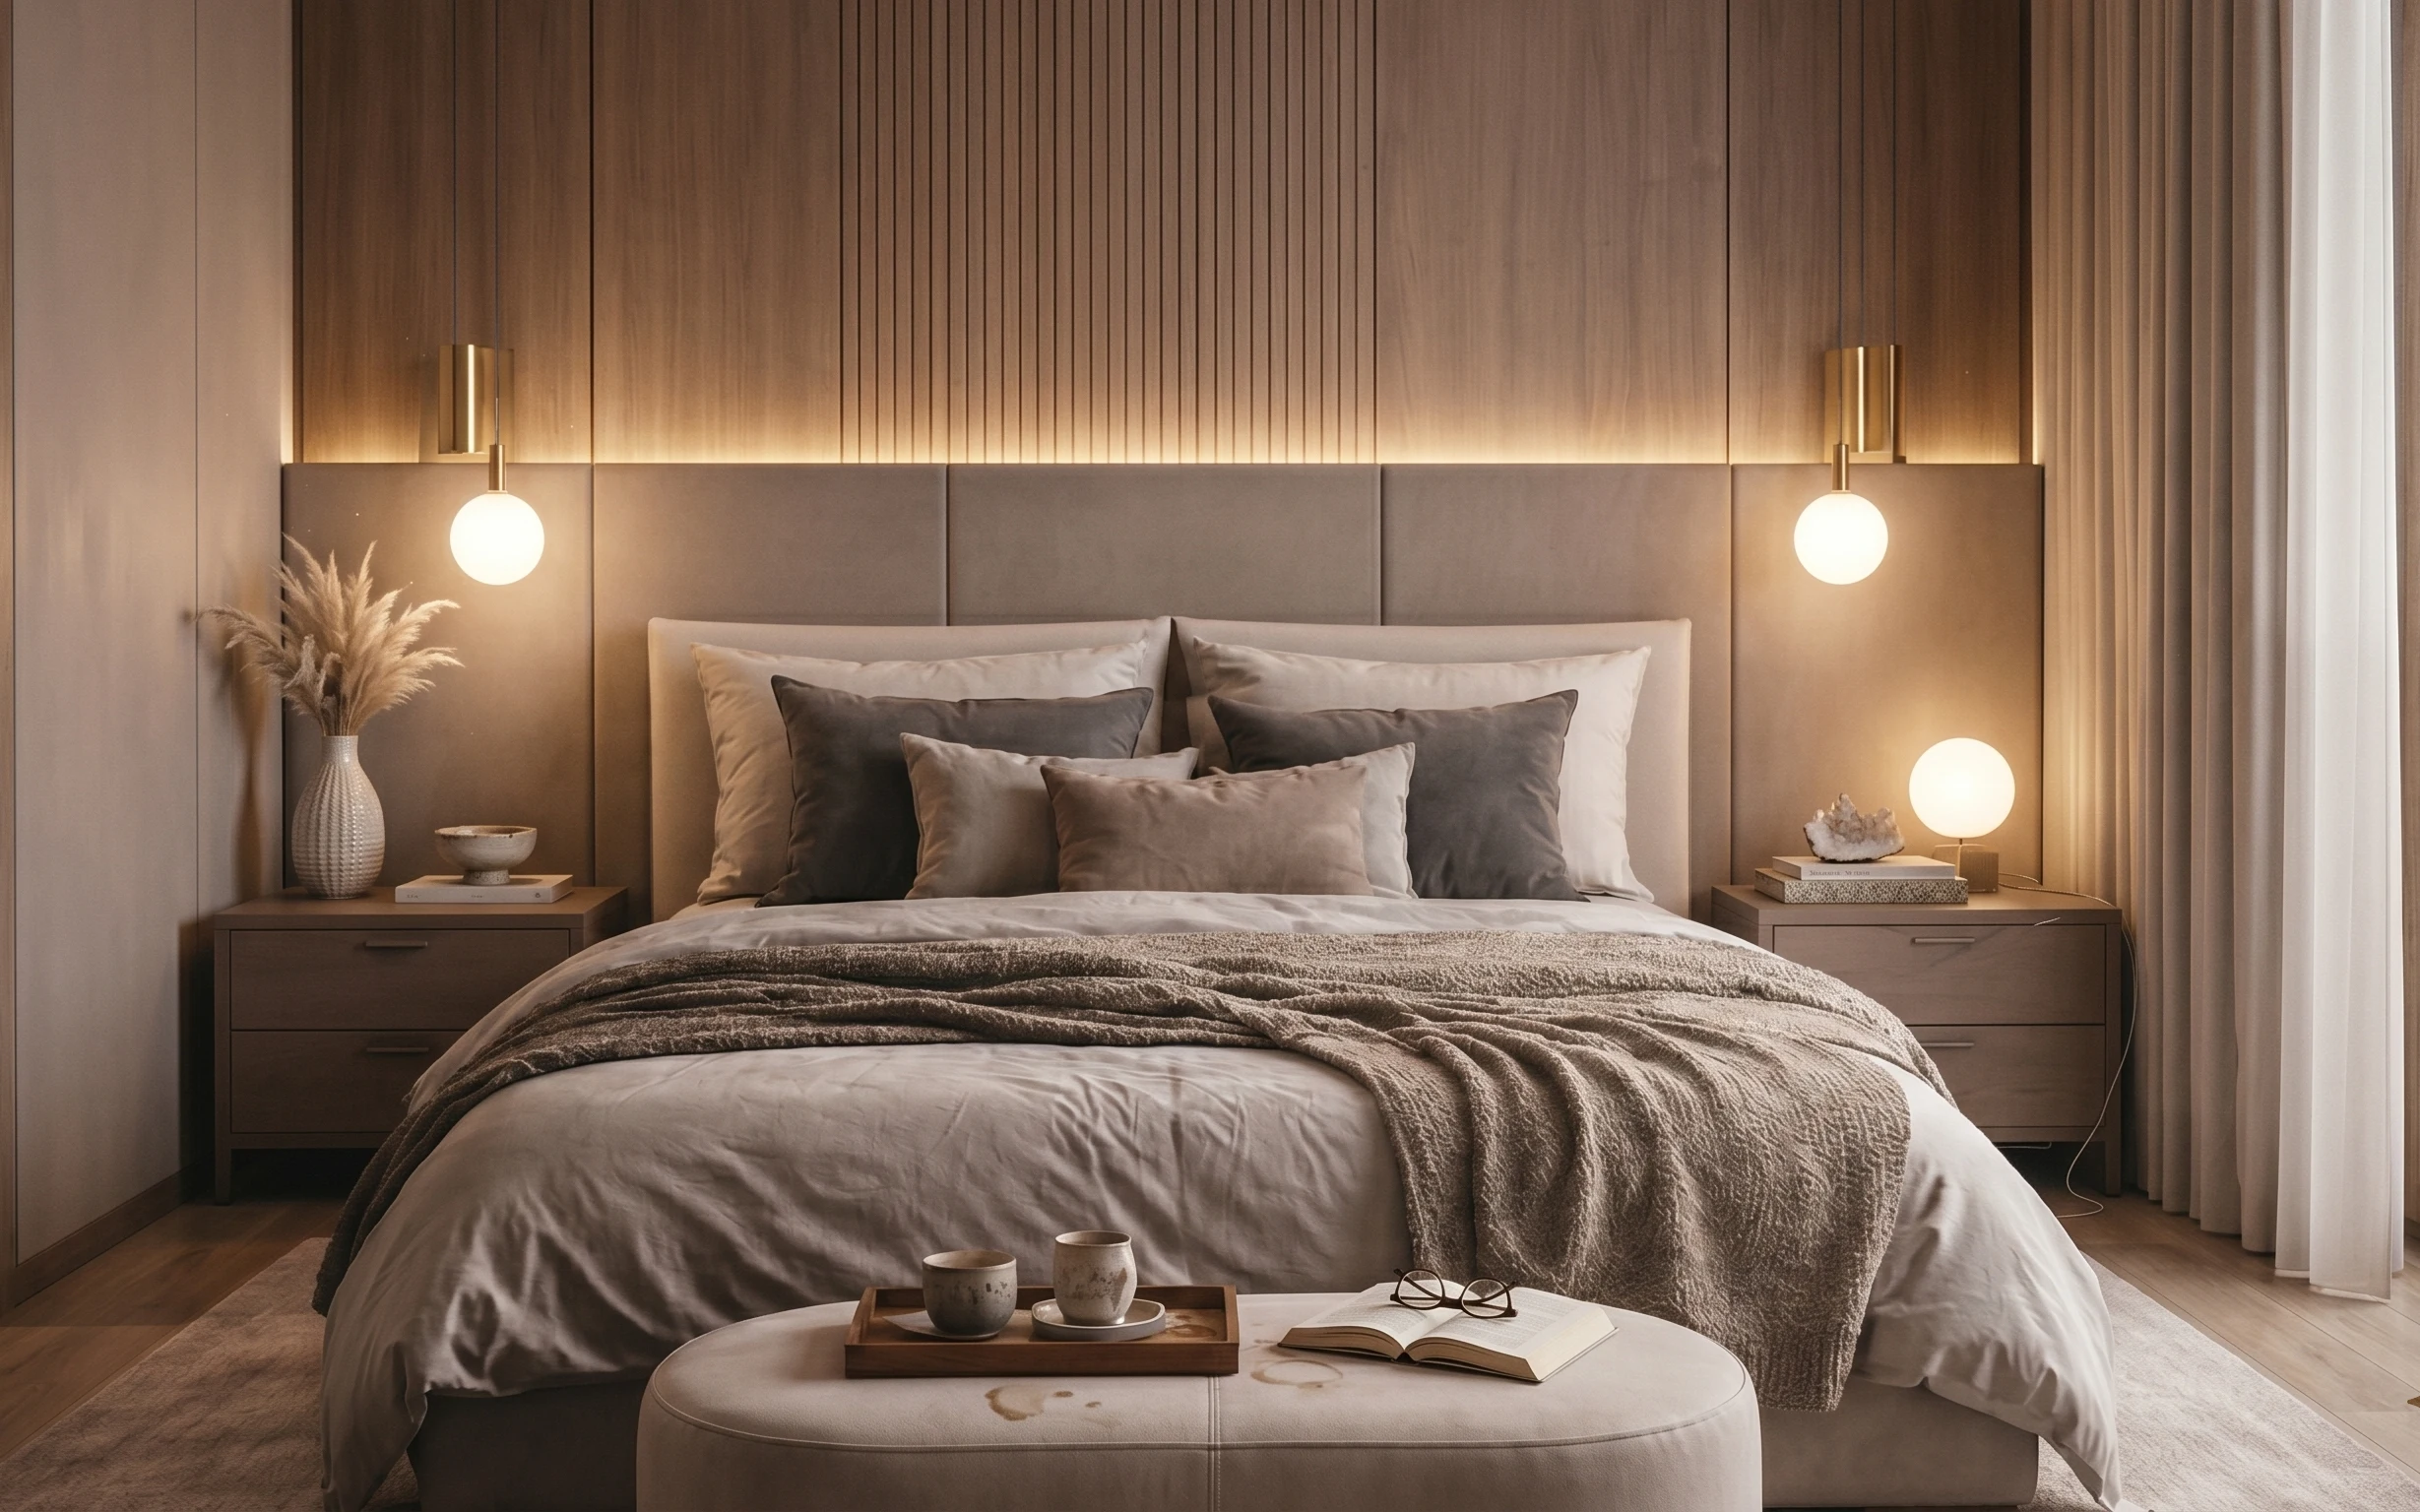
Why sage-and-terracotta textiles are the bedroom corner of 2026
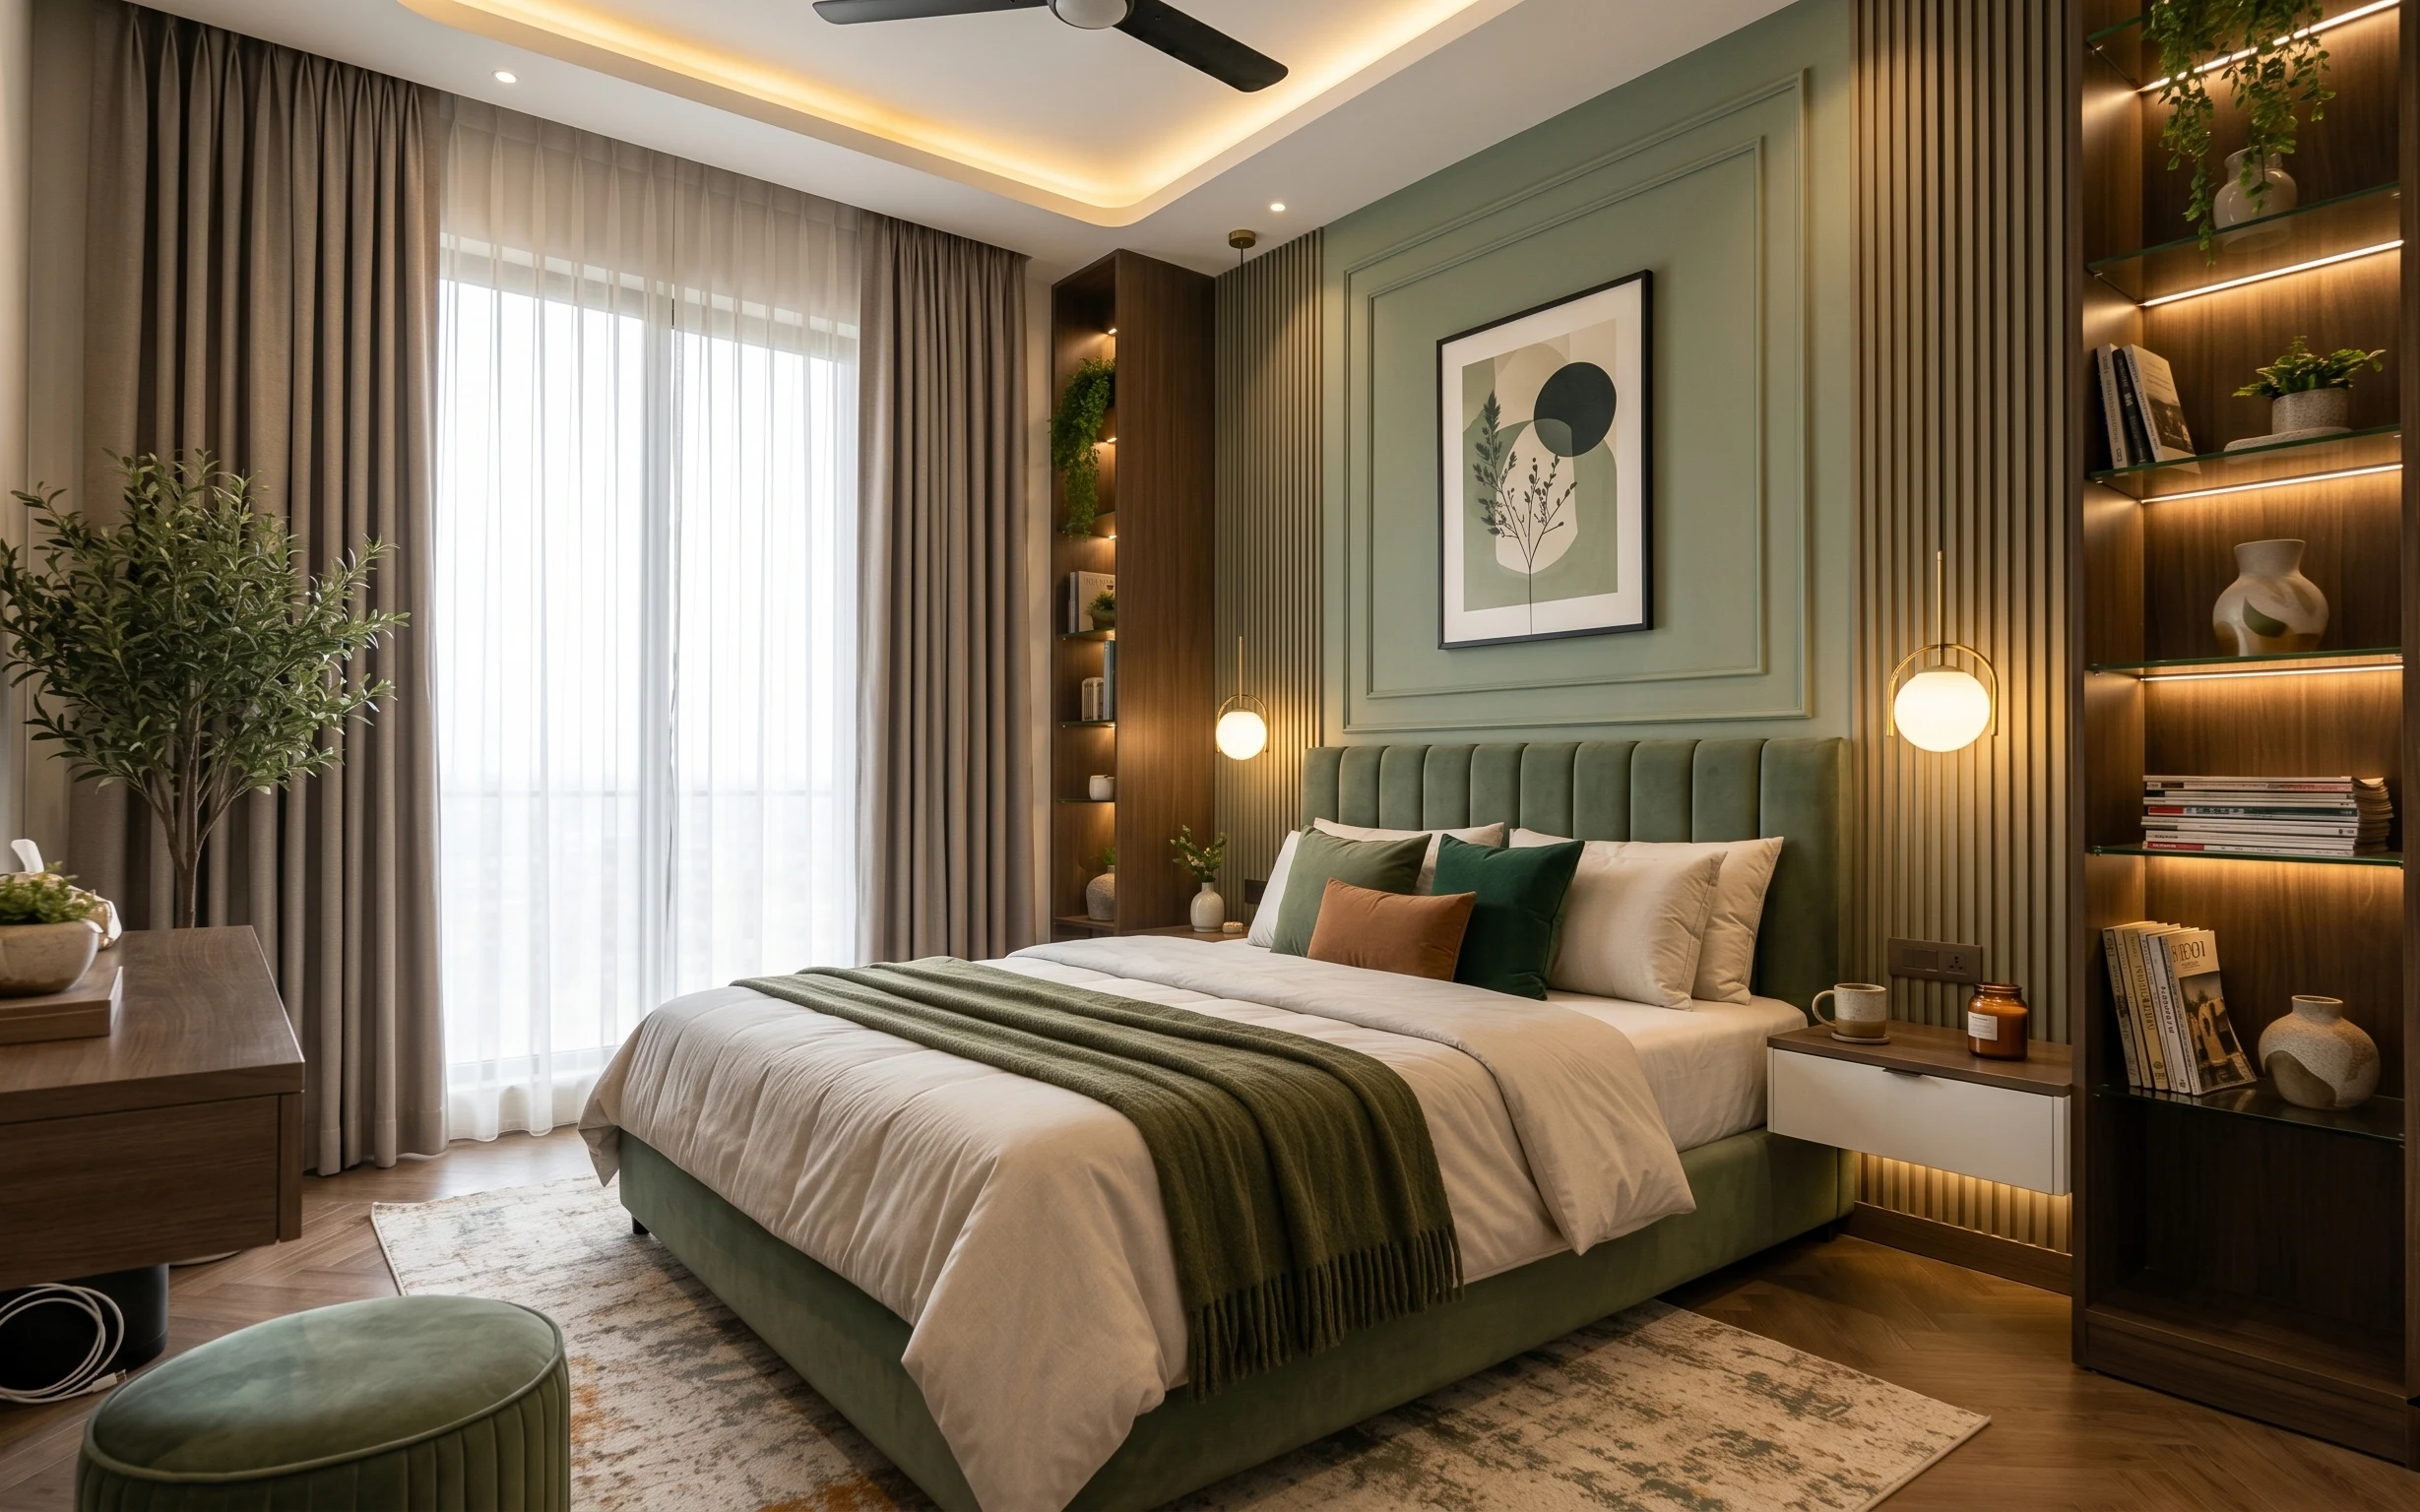
The first thing I notice is the material mix: a plush area rug underfoot, a thick green throw blanket folded where you can actually grab it, and soft drapery that turns a bright window into a frame. The palette is restrained—cream, sage green, and warm walnut brown—so each texture reads clearly instead of competing. This kind of styling is doable for shared housing because it’s mostly swappable textiles and lightweight wall art, not changes you can’t take with you.
I used to rush past curtains and call it “good enough.” Then I realized the whole room looked flatter without that vertical softness. Once I started treating curtains as part of the bed styling—same color family, different texture—the space stopped feeling like furniture and started feeling like a room.
Layer 1 — area rug ($200) Grounds the palette under your bed
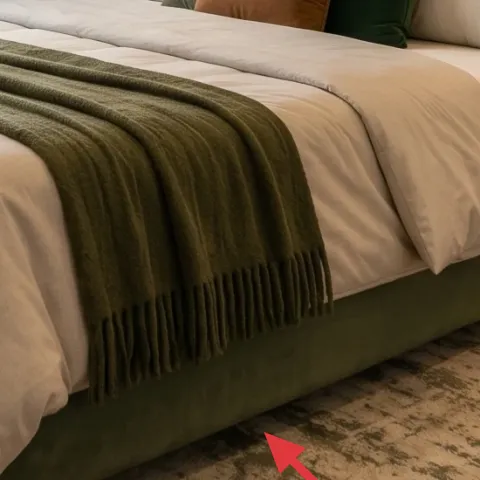
A large area rug in a muted neutral does the unglamorous work of making the bed feel intentional. In the photo, the rug’s soft pattern and light base keep the green textiles from looking too sharp, especially with the warm wood tones nearby. A plain alternative usually looks fine from one angle, but it can feel flat once you add curtains and wall art. The trade-off I accept with rugs: it’s one heavier item to transport, so it’s worth choosing one that folds/rolls and has a low, stable pile.
Pick the rug first, then match greens to it
Use the rug’s midtone (not the darkest green in the pillow) to choose a throw and pillow cover color.
Layer 2 — green throw blanket ($35) Adds weight to the bed styling
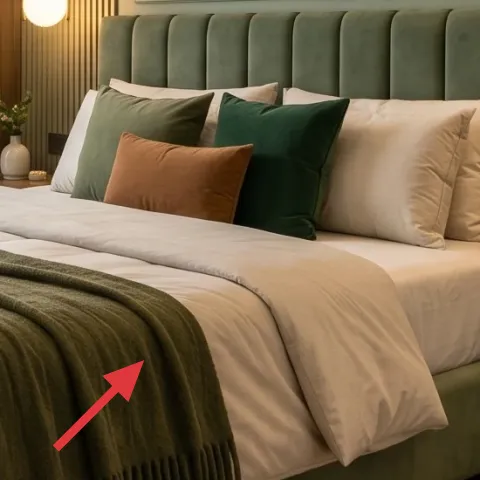
This green throw blanket is folded where it reads from the foot and side of the bed, which is why it feels designed instead of accidental. The texture looks like a knit or woven throw, so it breaks up the smoother cream bedding and makes the palette look layered. If you instead use a thin scarf-like throw, it can disappear against the duvet and headboard. The compromise here is timing: folded throws look best with a quick straighten every few days, but that’s a lot easier than keeping up with perfect pillow arrangement.
Fold, don’t drape
A crisp fold creates a visible edge, and edges show up better in photos and from across the room.
Layer 3 — green throw pillow cover ($30) Makes the color feel “real,” not random
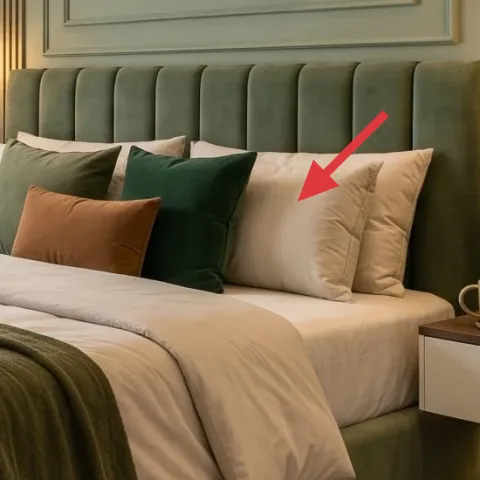
One strong pillow cover is what sells the color story. Here, the green matches the throw blanket closely enough to feel cohesive, while the cream bedding keeps everything from getting too heavy. Buying a ready-made cover is fast, but dyeing lets you land on a shade that fits the room’s light—especially in bedrooms with warm sconces. The trade-off: dyed fabric takes a little planning, so this works best when you do it before you unpack fully and give the color a test wash first.
Make it instead of buying it
DIY dyed pillow covers by dyeing plain light-colored covers to a sage green close to the throw, so the palette matches without needing to buy an exact set.
Materials
- Plain light cotton pillow cover (20×20 or similar) — 1 pair — thrift — $8
- Fabric dye (sage/green family) — 1 kit — craft store — $12
- Salt — 1 box — grocery — $2
- Disposable gloves — 1 pack — pharmacy — $1
- Small plastic drop cloth / trash liner — 1 — household — $1
Steps
- Pre-wash the pillow cover to remove any sizing so the dye catches evenly.
- Set up your work area with a liner under your dye pot or sink.
- Dissolve dye and salt in warm water according to the kit directions.
- Submerge the cover fully and stir often to avoid blotches.
- Let the fabric sit for the recommended time, then rinse in cool water until it runs clearer.
- Air-dry or follow the kit’s heat instructions, then check the final green in daylight.
Total DIY cost: $24 — saves about $6 over buying.
Layer 4 — curtain panel pair (brown + white sheer) ($60) Softens the window into a backdrop
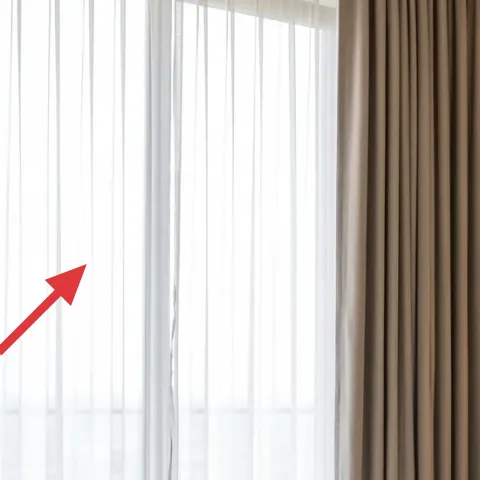
In this room, the curtains do two jobs: the brown panels add warmth and height, and the white sheer diffuses daylight so the bedding colors look smoother. If you only hang sheers, you lose that grounded vertical structure; if you only hang heavy panels, the room can feel darker than it needs to be. A paired setup keeps the window from overpowering the bed while still letting the space feel bright. The best shared-housing part: you can take the panels with you and reuse them in the next place with tension mounts or existing hardware.
Match sheen levels, not just color
Choose a matte or lightly textured brown panel, then pair it with a soft sheer that won’t look plasticky.
Layer 5 — framed botanical print ($60) Adds calm, plant-based rhythm
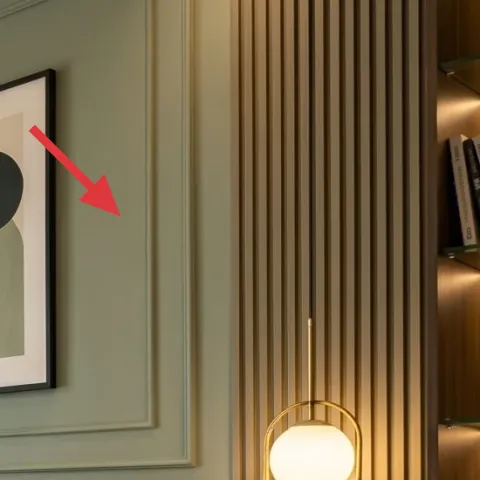
A framed botanical print is small enough to move but strong enough to carry the wall’s mood. The tree illustration brings organic shapes into the otherwise straight-line wood slats and keeps the palette from feeling purely geometric. The obvious alternative—an abstract print in one bold color—can work, but botanicals tend to blend better with layered greens and cream. The trade-off: paper-based art should be handled with care during moves, but it’s far easier than any wall change, and the frame can be re-used across neighborhoods.
Skip oversized frames for this wall
If the frame is too big, it competes with the window height and makes the room feel crowded.
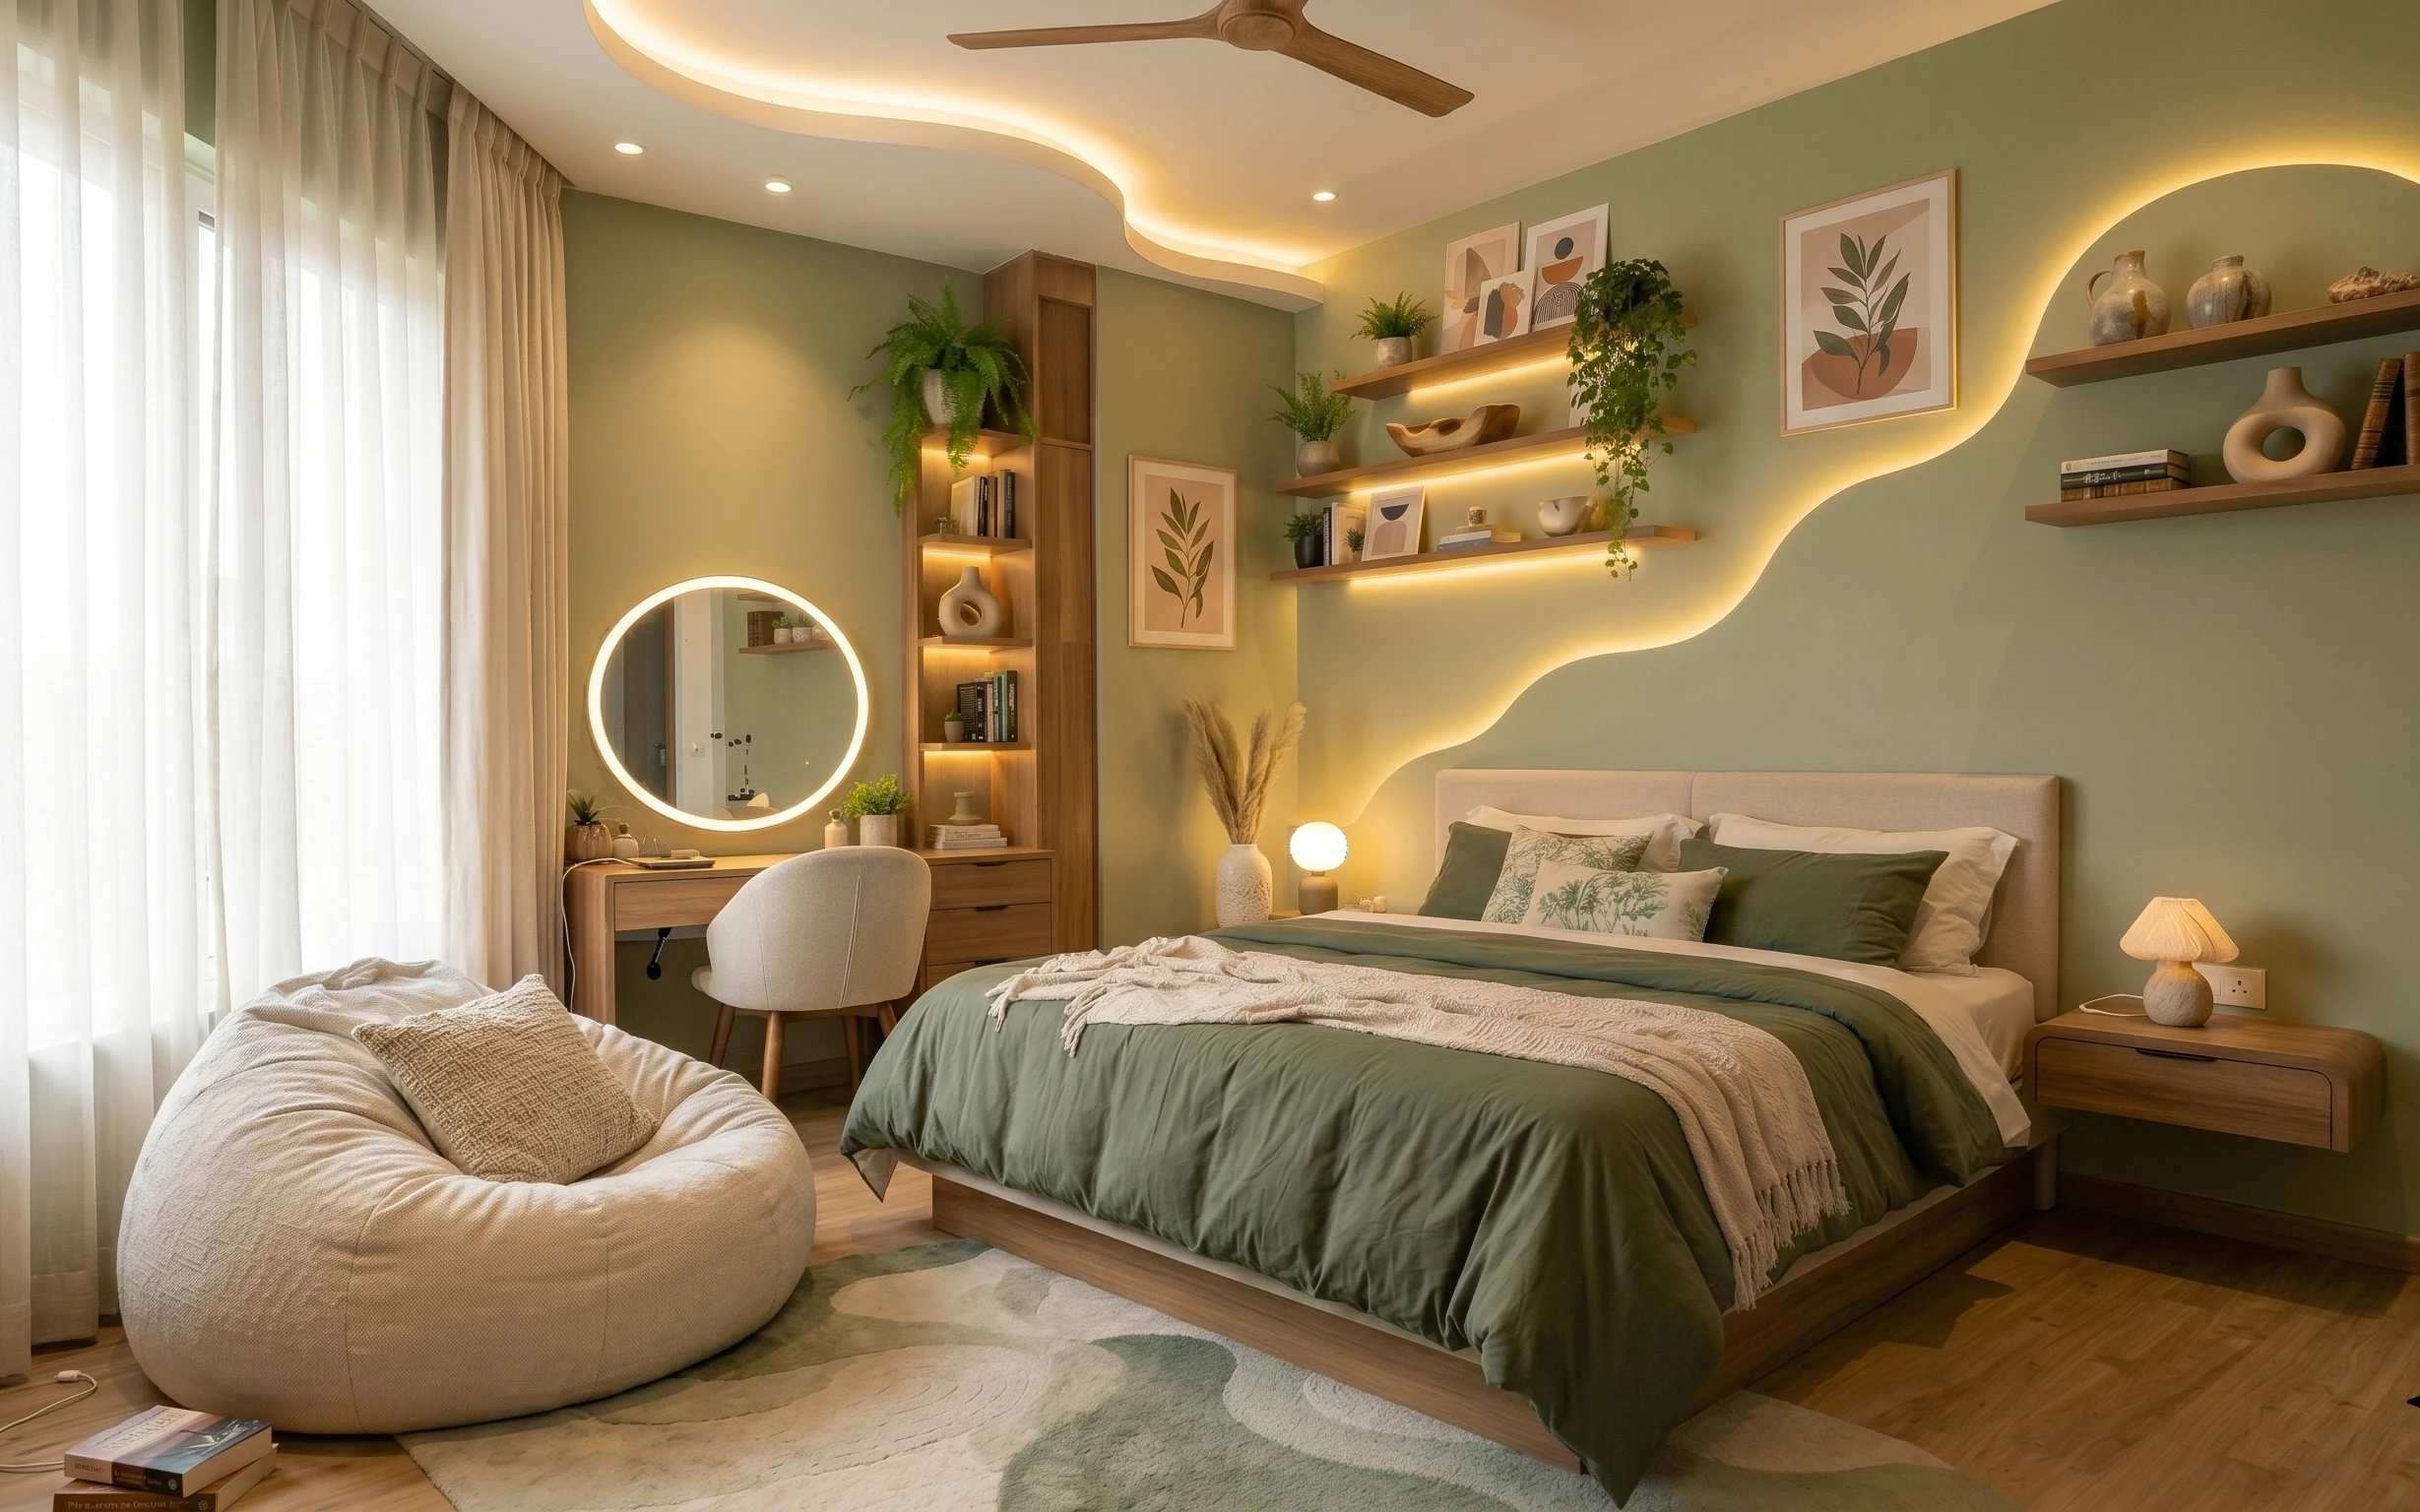
Layer 6 — candle jar ($15) Creates that “one more layer” glow
A simple candle jar on the shelf adds a small moment of light at night, which is exactly what this bedroom is doing with layered warmth. Keep it in a neutral glass or ceramic so the green and cream textiles stay the star. If you go for a heavily scented novelty candle, the color palette and scent can fight—especially in a shared home where people have different tolerances. The trade-off is safety logistics: choose a stable holder, keep it away from curtains, and pack it carefully so the glass doesn’t chip.
Use it like styling, not like a decor centerpiece
One candle in a single spot reads intentional; three scattered candles can look messy fast.
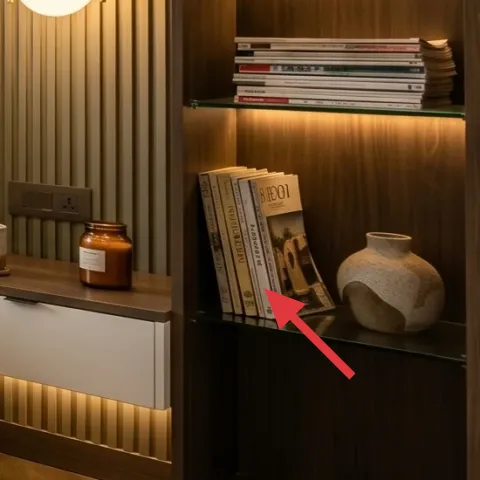
Layer 7 — ceramic vase ($25) Brings shape to the shelf styling

The ceramic vase is small, but it makes the shelf feel finished because it adds a sculptural silhouette next to the books and greenery. Look for a matte or softly glazed finish—something that won’t glare under warm light. A cheap plastic vase often looks “overly clean,” while a ceramic shape holds the eye and makes the shelf look collected rather than random. The trade-off is that it needs padding during moves, but once you’ve invested in one good vase, you can keep re-styling it with whatever cuttings or dried stems you can pack.
Keep the stems short for easier packing
Trim greenery so the vase stays boxable, then refresh with new cuttings when you arrive.
The cost, layer by layer
| Layer | Item | Cost |
|---|---|---|
| 1 | Area rug | $200 |
| 2 | Green throw blanket | $35 |
| 3 | Green throw pillow cover (DIY dyed) | $30 |
| 4 | Curtain panel pair (brown + white sheer) | $60 |
| 5 | Framed botanical print | $60 |
| 6 | Candle jar | $15 |
| 7 | Ceramic vase | $25 |
| Total | $425 | |
A cheaper variant is to keep the rug and curtains, then swap the framed print for a smaller framed botanical print and choose a less expensive candle jar. You can also dye fewer pillow covers and reuse one existing neutral pillow cover for the short-term move.
What worked, what didn't (across the whole room)
This look works because the heavy visual weight (rug, curtains, layered greens) is all textile-based, so it stays move-friendly and forgiving. The wall art and shelf styling land softly without needing any hard installations. My only “didn’t” is when one texture is too thin—then the whole palette starts to look flat.
What worked
- The rug’s muted pattern keeps the green throw from feeling neon against warm wood.
- Folding the throw blanket creates a visible edge that reads as intentional styling.
- Matching pillow cover green to the throw makes the color story look coordinated.
- Brown panels plus a white sheer keeps daylight soft instead of harsh.
- The framed botanical print adds organic curves that balance straight wood slats.
- Candle jar and ceramic vase styling adds warmth without needing any permanent installs.
What didn't
- A thin throw blanket collapses visually and doesn’t compete with curtains and headboard height.
- Too much dark window coverage can make a bedroom feel dim even with warm lights.
- Wallpaper-level “statement” wall art would fight the botanicals and the vertical slats.
- Overscented candles can overwhelm a shared space, even if the jar looks pretty.
- Using random green accessories with the same intensity makes the palette look accidental.
What we'd skip if we did it again
Skip matching nightstand sets that try to look “architectural.” In a shared place, it’s better to invest in textiles and one or two moveable objects; the rest tends to look stiff once you swap beds or wall angles.
Skip anything that requires hard mounting for wall art. A framed botanical print works because it can be re-hung with removable options or relocated, while heavier wall systems tend to follow the landlord, not the tenant.
Skip overbuilding shelf styling with too many small items. One candle jar plus a ceramic vase (and maybe a small plant) reads curated; extra clutter makes the room feel busy fast, especially in warm, dim light.
Frequently asked
How long does this kind of bedroom refresh usually take?
If most items are ready to buy, the switch-over is often an afternoon: rug down, throw and pillow styling, curtains hung, then art and shelf placement. Dyeing pillow covers adds a day because drying and rinsing take time, but the rest of the room can still be styled while the fabric sets. The key is keeping the plan textile-first so you don’t lose momentum waiting on cure times or hardware.
What if my shared space has different wall colors or less warm lighting?
Use the rug and curtains as your “color anchor” and then pick pillow and throw greens that match their undertone rather than their hue name. If the room looks cooler, dye slightly more blue-green; if it looks warmer, lean olive. The framed botanical print is forgiving because it’s mostly linework and negative space, so it still reads calm even if your paint is different.
Can I keep the same look if my room is smaller?
Yes—go smaller on the framed print and choose a rug that still reaches under at least the front edge of the bed. For pillows, stay with one stronger green cover plus one cream or near-cream pillow so the bed doesn’t become a block of color. With curtains, prioritize softness and vertical line rather than full panel width; even a narrower window treatment can make the room feel finished.
Where should I shop for these move-friendly items?
For rug and textiles, focus on retailers with easy returns for color matching, plus thrift options for covers and smaller decor. Framed botanical prints are widely available at home goods stores, but look for a simple frame you can pack without bending paper. Candle jars and ceramic vases are usually easiest to swap later—choose neutral shapes so you can re-style them when you move neighborhoods.
What’s the biggest mistake people make with this style?
Overdoing the green accents so they all match too perfectly—or choosing the wrong texture for one layer. When the throw is too thin or the curtain fabric is shiny, the palette looks off even if the colors are “correct.” Another common slip in shared housing is buying wall decor that’s too permanent; lightweight frames beat complicated installations every time.
Will this work for renters who can’t change fixtures?
That’s the point of this plan: it leans on textiles (rug, throw, pillows, curtains) and moveable wall art. The glow can come from candles and styling, not from replacing the lighting. As long as you can bring a rug and swap soft goods, you can recreate the warm, minimal look without touching fixed items.
More in Bedroom
7 move-friendly bedroom swaps for a $500 refresh
A warm, japandi-style bedroom corner refresh on a $500 budget using 7 move-ready swaps. Focus areas: rug, green textiles, no-drill curtains…
Under $500: move-friendly bedroom refresh in warm sage
A move-friendly bedroom refresh built from 7 no-drill swaps and soft-goods upgrades, all achievable for about $500. The look leans japandi …
What $300 buys: a bed nook refresh for rented bedrooms
A renter-friendly bed nook refresh built around warm taupe textiles and a clean lighting setup, all achievable for about $300. The look lea…