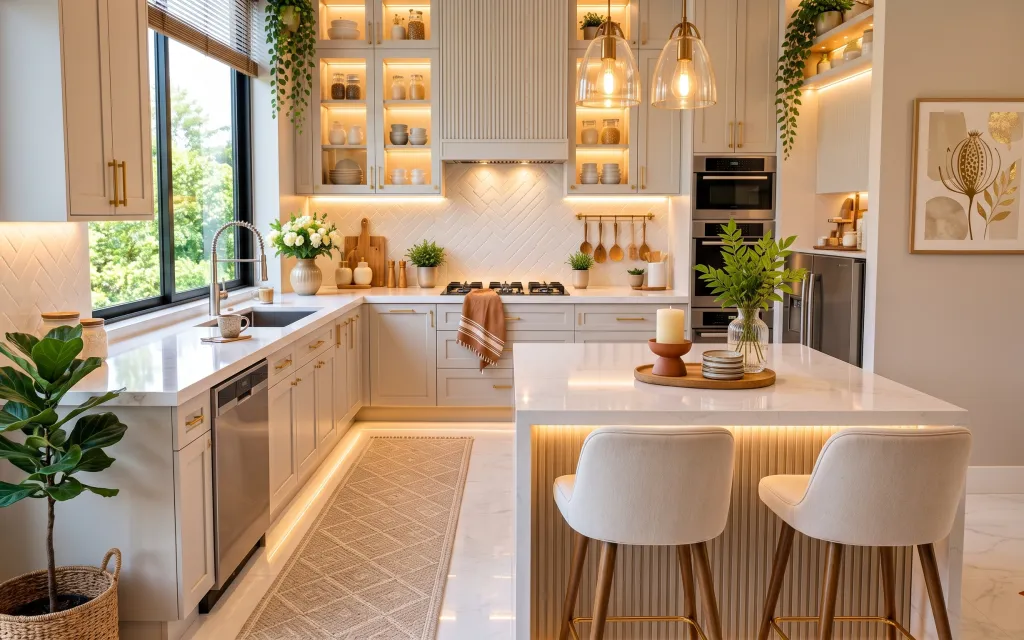
- Best for
- Shared kitchens that need moving-proof decor
- Time
- 2–4 hours for the install, then weekly styling
- Total cost
- $525 for the look (ceiling $600)
- Renter-safe
- Mostly textiles + freestanding styling
Why warm lighting and terracotta accents are the kitchen island of 2026
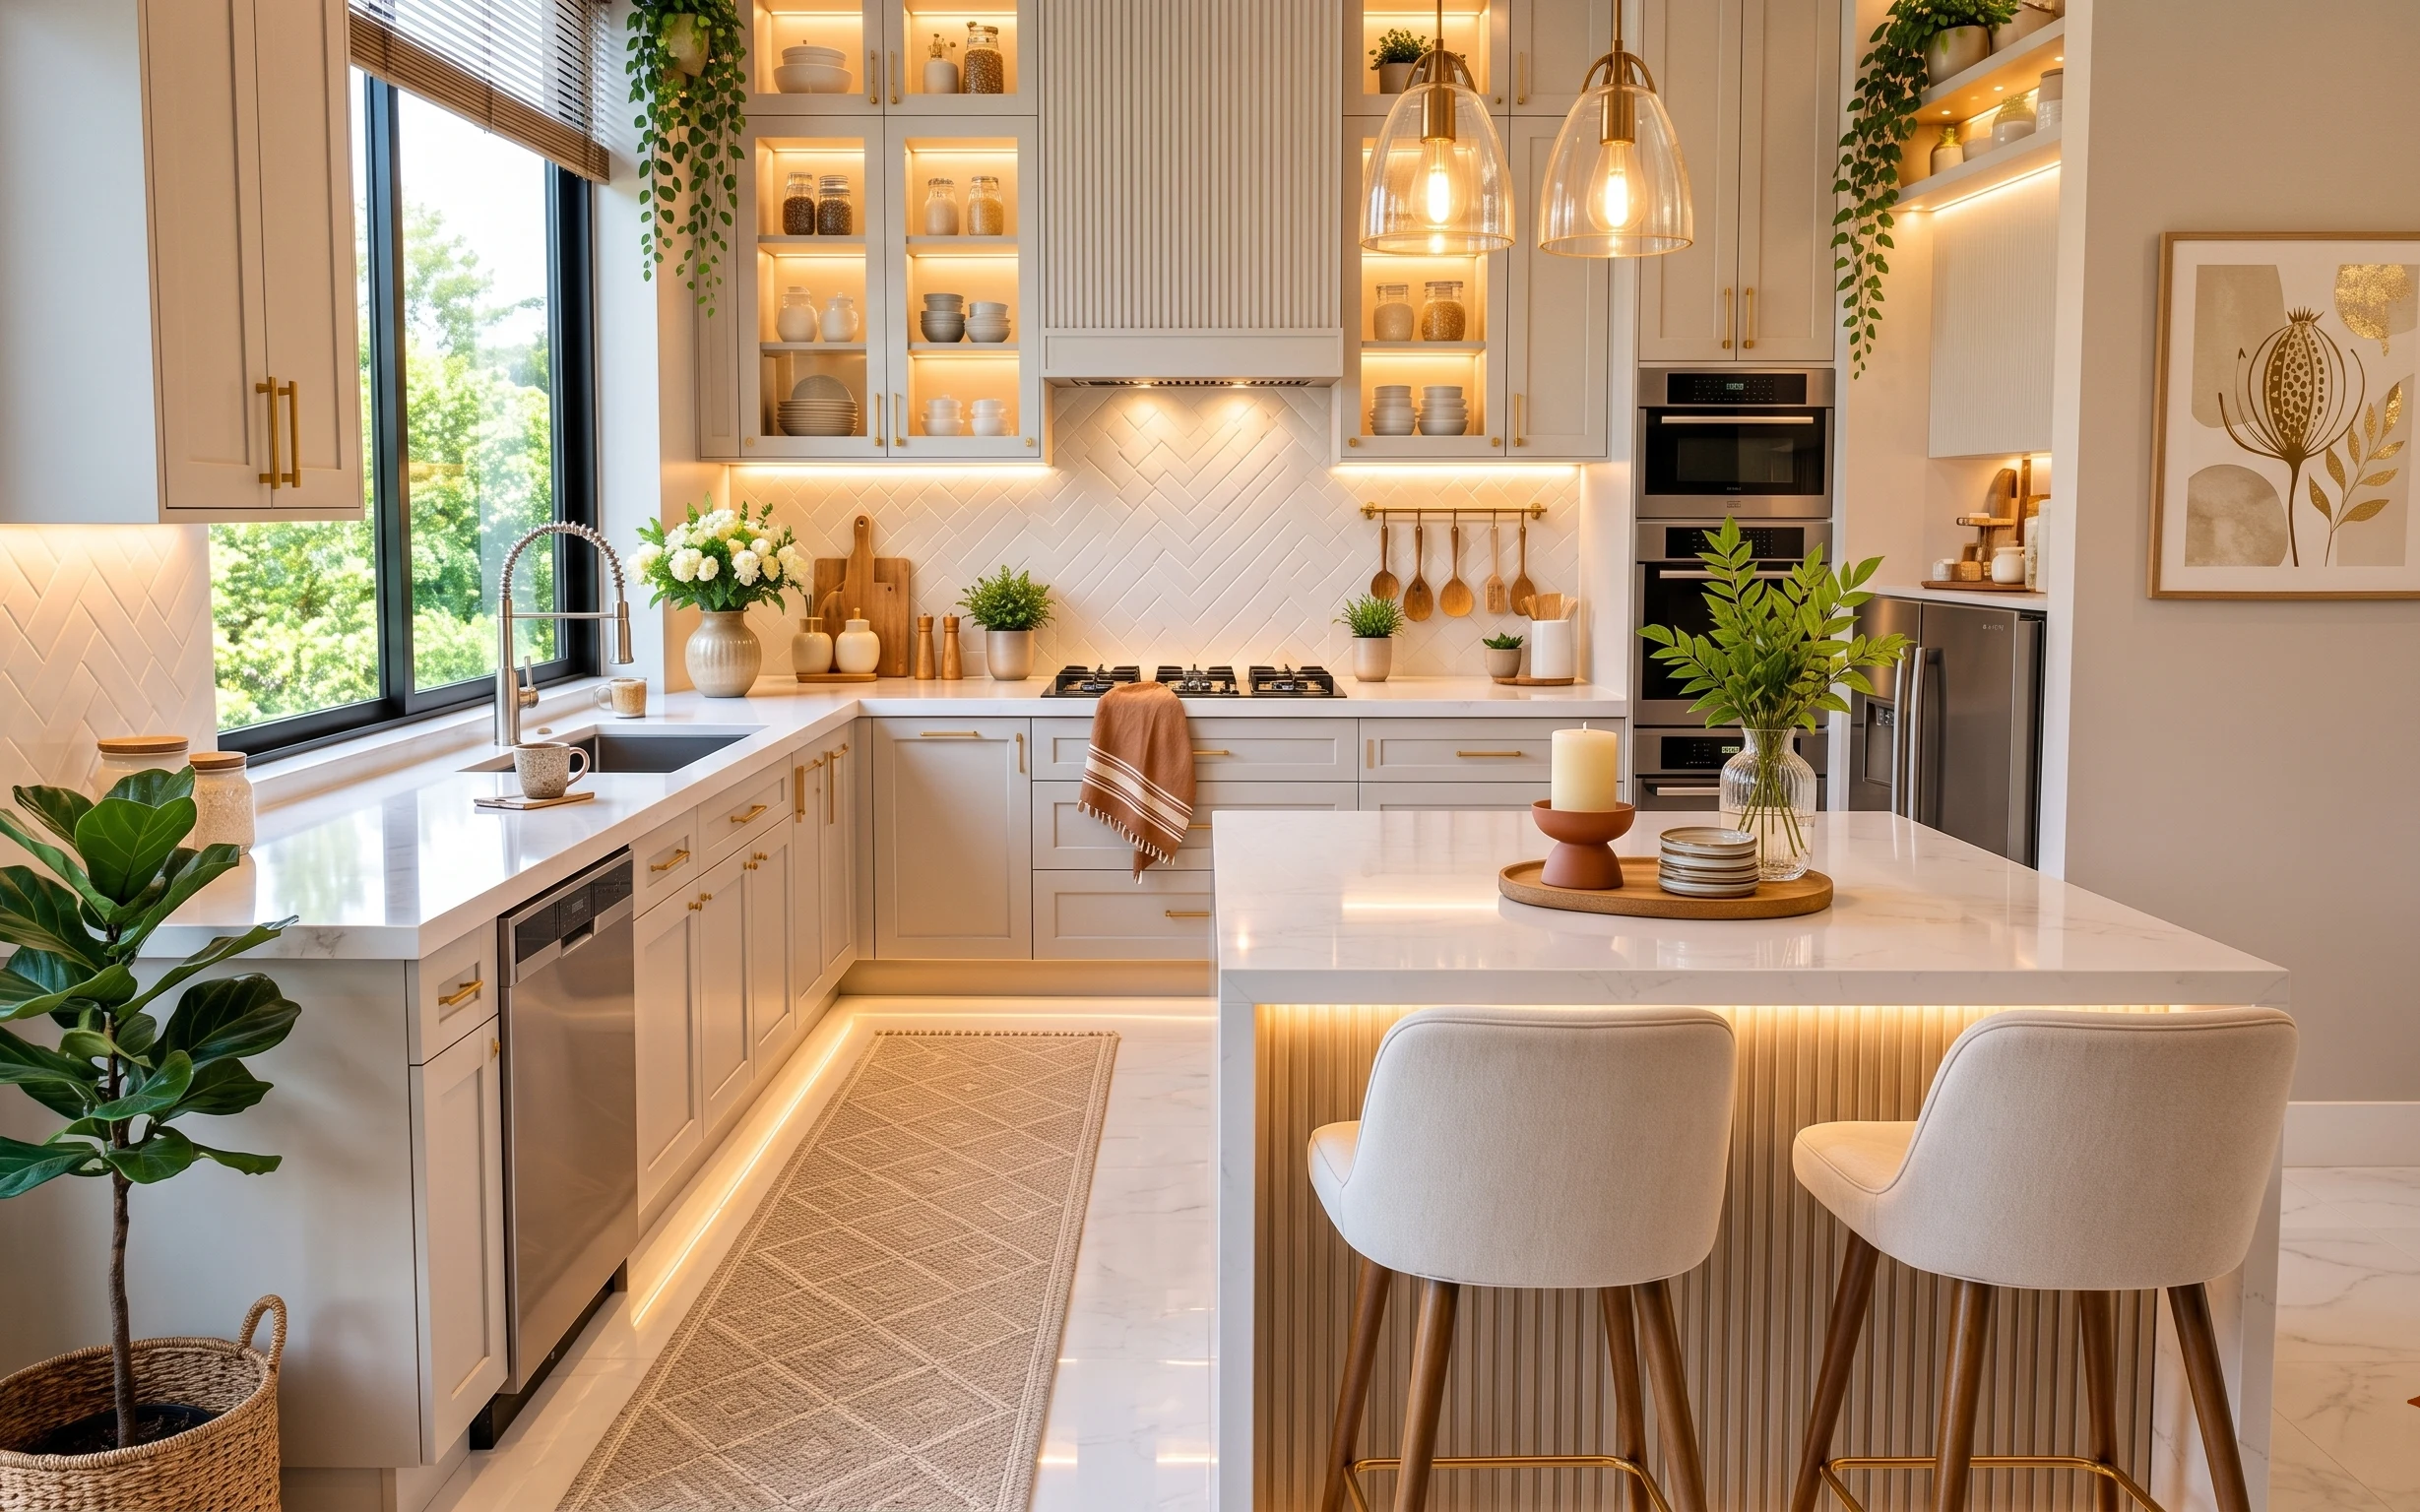
The biggest clue in this photo is how the warm under-cabinet glow makes small objects feel intentional: a chevron tile backdrop, a marble-look countertop, and a woven rug runner under the stools. The styling leans modern farmhouse, with sage-green plants, brass-toned serving pieces, and a striped throw draped over the island edge. For shared housing, that combo is great because it’s mostly soft goods and freestanding accessories—nothing that requires living around a drill schedule.
I used to overthink kitchens as “appliance rooms,” so I’d leave the counter almost empty. Then I copied a magazine spread that used one hero surface moment: a tray, one candle height, and a plant that breaks up the white. This version works because it mimics that layering—texture on the rug, color through the throw, and a single framed focal point on the wall.
Layer 1 — Woven-look area rug runner ($200) Textured feet, fewer kitchen scuffs
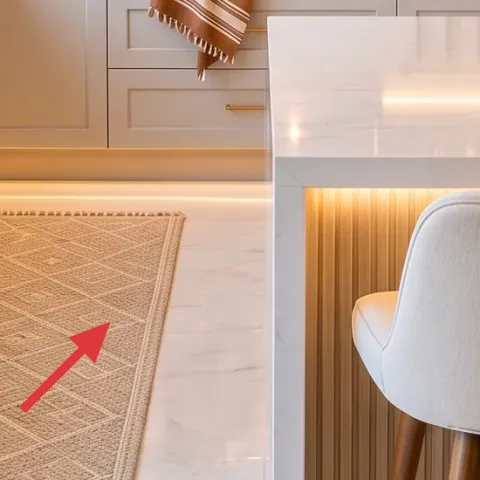
This woven-look rug runner grounds the whole kitchen island zone, especially where bar stools land. It also buffers the “slippery clean” feeling that white floors can create, and it hides tiny messes that happen fast in shared spaces. I’d choose a runner with a flat weave or low pile so it doesn’t catch chair legs or become annoying to vacuum between roommates. The trade-off is that you’ll want a rug pad if the floor is smooth—otherwise it shifts under daily movement.
Rug pad saves your sanity
If your kitchen floor is slick, use a non-slip rug pad so the runner doesn’t creep when stools scoot.
Layer 2 — Striped throw blanket on island ($60) Peach-and-tan texture over the white counter
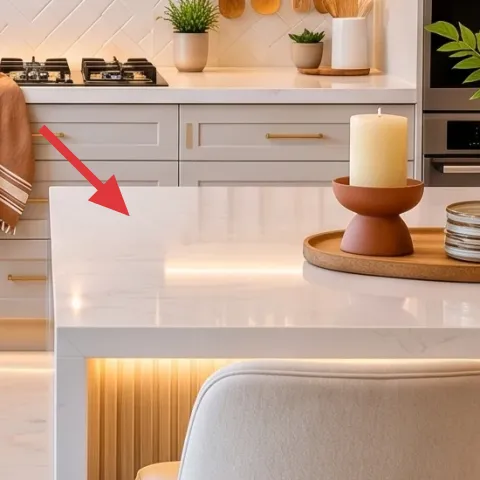
A striped throw blanket, folded and draped over the island edge (right where the eye lands between stools and counter), adds color without asking you to commit to permanent changes. The peach/tan stripe echoes the warm lighting, while the knit/cotton texture brings softness to all that glossy surface. You could go with plain linen, but stripes read more “designed” from across the room and look good from multiple angles. The trade-off is to pick a throw you can launder—kitchen life means occasional splashes.
Fold it so the stripes stay crisp
Keep the fold tight so the stripes look intentional, not accidental and messy.
Layer 3 — Framed botanical wall art print ($120) One warm focal point that packs flat
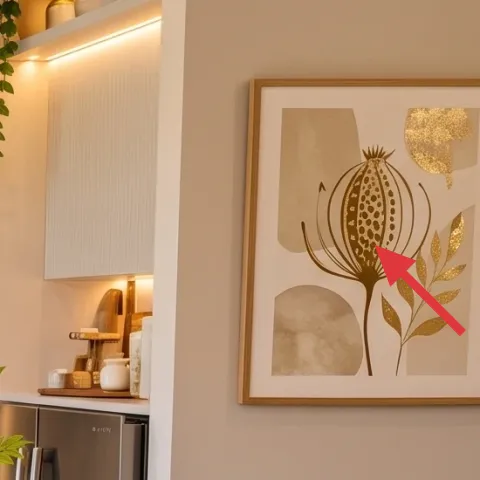
This framed botanical print gives the wall a focal point without competing with the backsplash and shelves. In a kitchen, wall art can go stale if it’s too busy—this one works because it stays botanical and neutral enough to play well with sage greens and brass details. For move-friendly living, choose a frame that can be packed with cardboard corners and bubble wrap. The trade-off is that you have to keep it secure during transport—frames can get dinged if they’re stacked without protection.
Skip heavy wall anchors
If the frame needs hanging hardware, use renter-safe methods (like picture-hanging systems that don’t drill) and remove everything at move-out.
Layer 4 — Pillar candle on gold tray ($35) Pour a jar candle for the same height
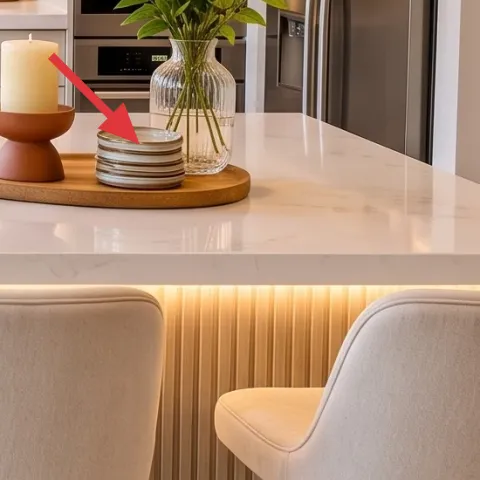
This candle sits at the right height on the tray, turning a “pretty container moment” into a real styling focal point. The warm glow makes the island feel calm even with dishes and plants around, and it’s one of the easiest elements to replicate in every shared home. Buying a replacement candle every month adds up, so making one keeps the look consistent while still packing into a small box. The trade-off is timing—your DIY candle needs a pour-and-set window—but after that, it behaves like any other candle for weeknight dinners.
Make it instead of buying it
DIY a jar candle pour that matches the same warm pillar look on the tray—one jar, shipped to your next lease in a box.
Materials
- Soy or paraffin candle wax — ~1 lb — craft store — $8
- Candle jar with lid — 1 — thrift or craft store — $6
- Cotton wick + wick sticker — 1 set — craft store — $4
- Candle fragrance oil (optional) — 1 small bottle — craft store — $2
- Wick centering tool or chopstick/clip — 1 — household/grocery — $3
Steps
- Set up your jar and center the wick using a wick sticker, then keep it upright.
- Measure wax and melt it gently in a pour pot or heat-safe container.
- Optional: stir in fragrance oil at the wax temp your brand recommends.
- Pour wax into the jar slowly to avoid air bubbles.
- Let the candle cool undisturbed until fully solid.
- Trim wick to about 1/4 inch before the first burn.
Total DIY cost: $23 — saves about $12 over buying.
Layer 5 — Round gold serving tray ($35) Create a mini “landing pad” for the island
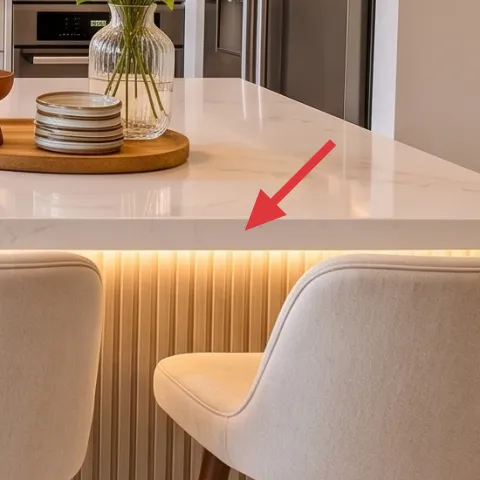
A round gold serving tray pulls together candle, stacked ceramics, and small decor into one readable cluster. It also adds that warm metal note that shows up in lighting and hardware, so everything feels connected without matching exactly. The tray’s shape matters: the circle mirrors the curved stool backs and softens the island’s straight edges. You could skip a tray and place objects directly on the counter, but then it’s harder to control how the items look from the doorway. The trade-off is to pick a tray you can lift and carry easily—this one should fit in a moving box.
Keep it to three items max
Tray styling reads best when it has one height element, one texture element, and one small grounded object.
Layer 6 — Woven basket with large leafy plant ($50) Adds greenery without taking over the work surface
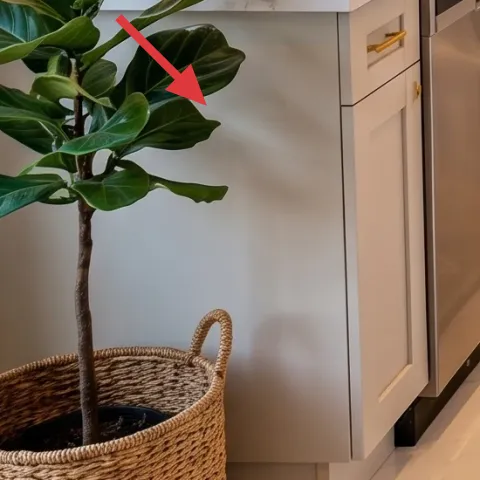
This woven basket with a leafy plant gives you height and softness at floor level, leaving the counter clear for shared messes and quick cleanups. The texture of woven material also complements the rug runner, so the whole island-to-floor area feels cohesive. I like a basket plant in shared homes because it hides the occasional uneven watering—baskets forgive messes better than decorative ceramic pots. The trade-off is that large plants need light, so place it near the window and rotate it weekly.
Choose a pot that lifts out
If the plant’s inner pot lifts, the basket stays clean when it’s time to water.
Layer 7 — White vase with flowers ($25) Fresh color that’s easy to refresh
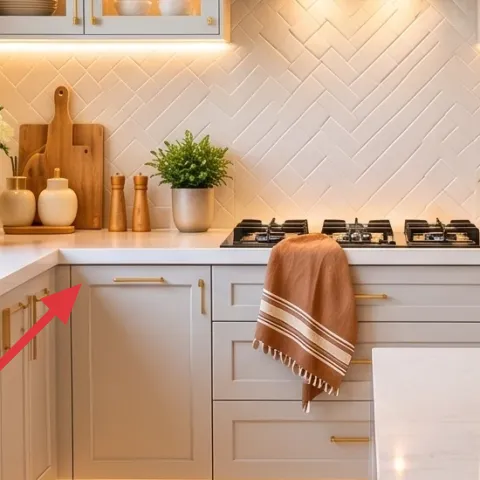
A simple white vase with a bouquet is the fastest “new lease” upgrade because it’s seasonal and packable. The color stays neutral against the white tile and countertop, while the flowers bring that crisp green-and-cream contrast that reads bright even under warm lights. You could use a bunch of stems directly in a jar, but a vase makes it look intentional and higher-end in photos and in-person. The trade-off: flowers are temporary, so plan to swap them when they fade and keep stems and vase together for transport.
Buy stems in small weekly bunches
It’s cheaper and your arrangement always looks full instead of stretched.
The cost, layer by layer
| Layer | Item | Cost |
|---|---|---|
| 1 | Woven-look area rug runner | $200 |
| 2 | Striped throw blanket | $60 |
| 3 | Framed botanical wall art print | $120 |
| 4 | Pillar candle (DIY jar candle pour equivalent) | $35 |
| 5 | Round gold serving tray | $35 |
| 6 | Woven basket planter with leafy plant | $50 |
| 7 | White vase with flowers | $25 |
| Total | $525 | |
If you need a cheaper path, swap the runner for a lower-cost flat weave, choose an unframed print option, and keep the styling to one plant plus the tray.
What worked, what didn't (across the whole room)
The room’s best feature is how it stacks warm materials—textiles, metal accents, and plants—without fighting the bright backsplash. The island styling reads clean because the tray creates a boundary. The only downside is that candles and vases demand a little maintenance in a kitchen with shared schedules.
What worked
- Rug runner reduces slipperiness and catches minor spills near the stools.
- Striped throw adds color while staying removable and easy to pack.
- Framed botanical art makes the wall feel finished without permanent installs.
- Tray styling gives a clear “home base” for candle height and small objects.
- Floor-level basket plant adds softness while keeping the counter usable.
- White vase keeps floral color from clashing with warm lighting.
What didn't
- Glass candle containers are fragile for moves unless wrapped in cardboard.
- Fresh flowers don’t last long, so the arrangement needs weekly upkeep.
- Large plants can outgrow the spot if the window light changes seasonally.
- Too many objects on the tray makes the island look busy instead of curated.
- Runner pile that’s too high can snag on stool legs and feel fussy to clean.
What we'd skip if we did it again
Skip matching “set” decor (same tray + same vase style across every surface). In shared spaces it turns into clutter fast, and you lose the calm, one-hero-moment look.
Skip wall installs that require hardware left behind. A framed print can be renter-safe when it uses removable methods, but anything that involves drilling creates move-out stress.
Skip high-maintenance textiles near the island. Choose easy-wash cotton/knit throws and low-pile rugs, so the refresh survives real cooking nights—not just tidy weekends.
Frequently asked
How long does this kitchen island refresh take?
Plan on about 2–4 hours total. The big time chunk is laying out the rug runner, draping the throw, and building the tray cluster. Hanging the framed botanical print depends on your wall setup, but most renter-safe systems are quick once you’ve chosen the spot. The candle pour DIY adds a waiting window while it sets, but it’s mostly hands-off time.
What if I rent and my wall doesn’t allow picture hardware?
Keep the art choice flexible: a frame that can use renter-safe removable hanging methods is the cleanest option. If your wall is touchy, lean on freestanding style wins instead—rug runner, throw blanket, tray objects, and the plant cluster do most of the visual work. You can also swap the framed print for a clip-on or tabletop art display so you don’t risk any wall damage.
Can I scale this down for a smaller kitchen island?
Yes—tighten the styling footprint. Use a narrower runner, fold the throw smaller, and keep the tray to three items. The goal is height contrast plus texture, not lots of objects. Choose a smaller candle jar and a shorter vase so the visual balance stays with the island width. In a smaller kitchen, one strong focal point beats multiple medium ones.
What if my kitchen island is larger than this one?
Repeat the same strategy but slightly expand scale: choose a wider runner, a bigger framed print, and a tray that holds the same three-item “rule” without crowding. For flowers, go for a taller vase or add one extra stem type for depth. The key is to keep the tray as the organizing boundary so the island still looks curated instead of random.
Where should I shop for these move-friendly items?
Look for rugs and throws at home stores and discount bedding shops, then round out with plants and decor at local nurseries or online marketplaces with easy returns. For the framed botanical print, prioritize brands that sell ready-to-hang frames with protective packaging. A jar candle pour works best with craft store supplies so you can match wick size and wax type without guessing.
Biggest mistake people make with kitchen island styling?
Overstuffing the counter. Kitchens are functional, and shared homes add extra hands, extra plates, and extra quick cleanups. If the tray has too many objects, it stops reading as “intentional.” Stick to one height element (candle), one texture element (plant or woven), and one grounded object (stacked ceramics or small container). That triangle keeps it styled even on messy days.
More in Kitchen & Dining
What $600 buys: a move-friendly kitchen island refresh
A warm, modern kitchen island refresh for roommates and students—built from renter-safe swaps. This $600 plan focuses on a rug runner, a st…
How to style a renter-friendly kitchen island for under $500
A warm, pebble-textured kitchen-island look is doable for renters under $500. This plan uses peel-and-stick backsplash, two framed wall pie…
7 renter-friendly ways to style a peninsula nook for $250
A warm, japandi-style peninsula nook for shared housing—built from a gray patterned runner, two framed prints, plants, and candlelight. Thi…