
- Best for
- weekend makeover
- Cost
- about $800
- Difficulty
- easy-to-confident DIY
- Time
- half-day to 2 days
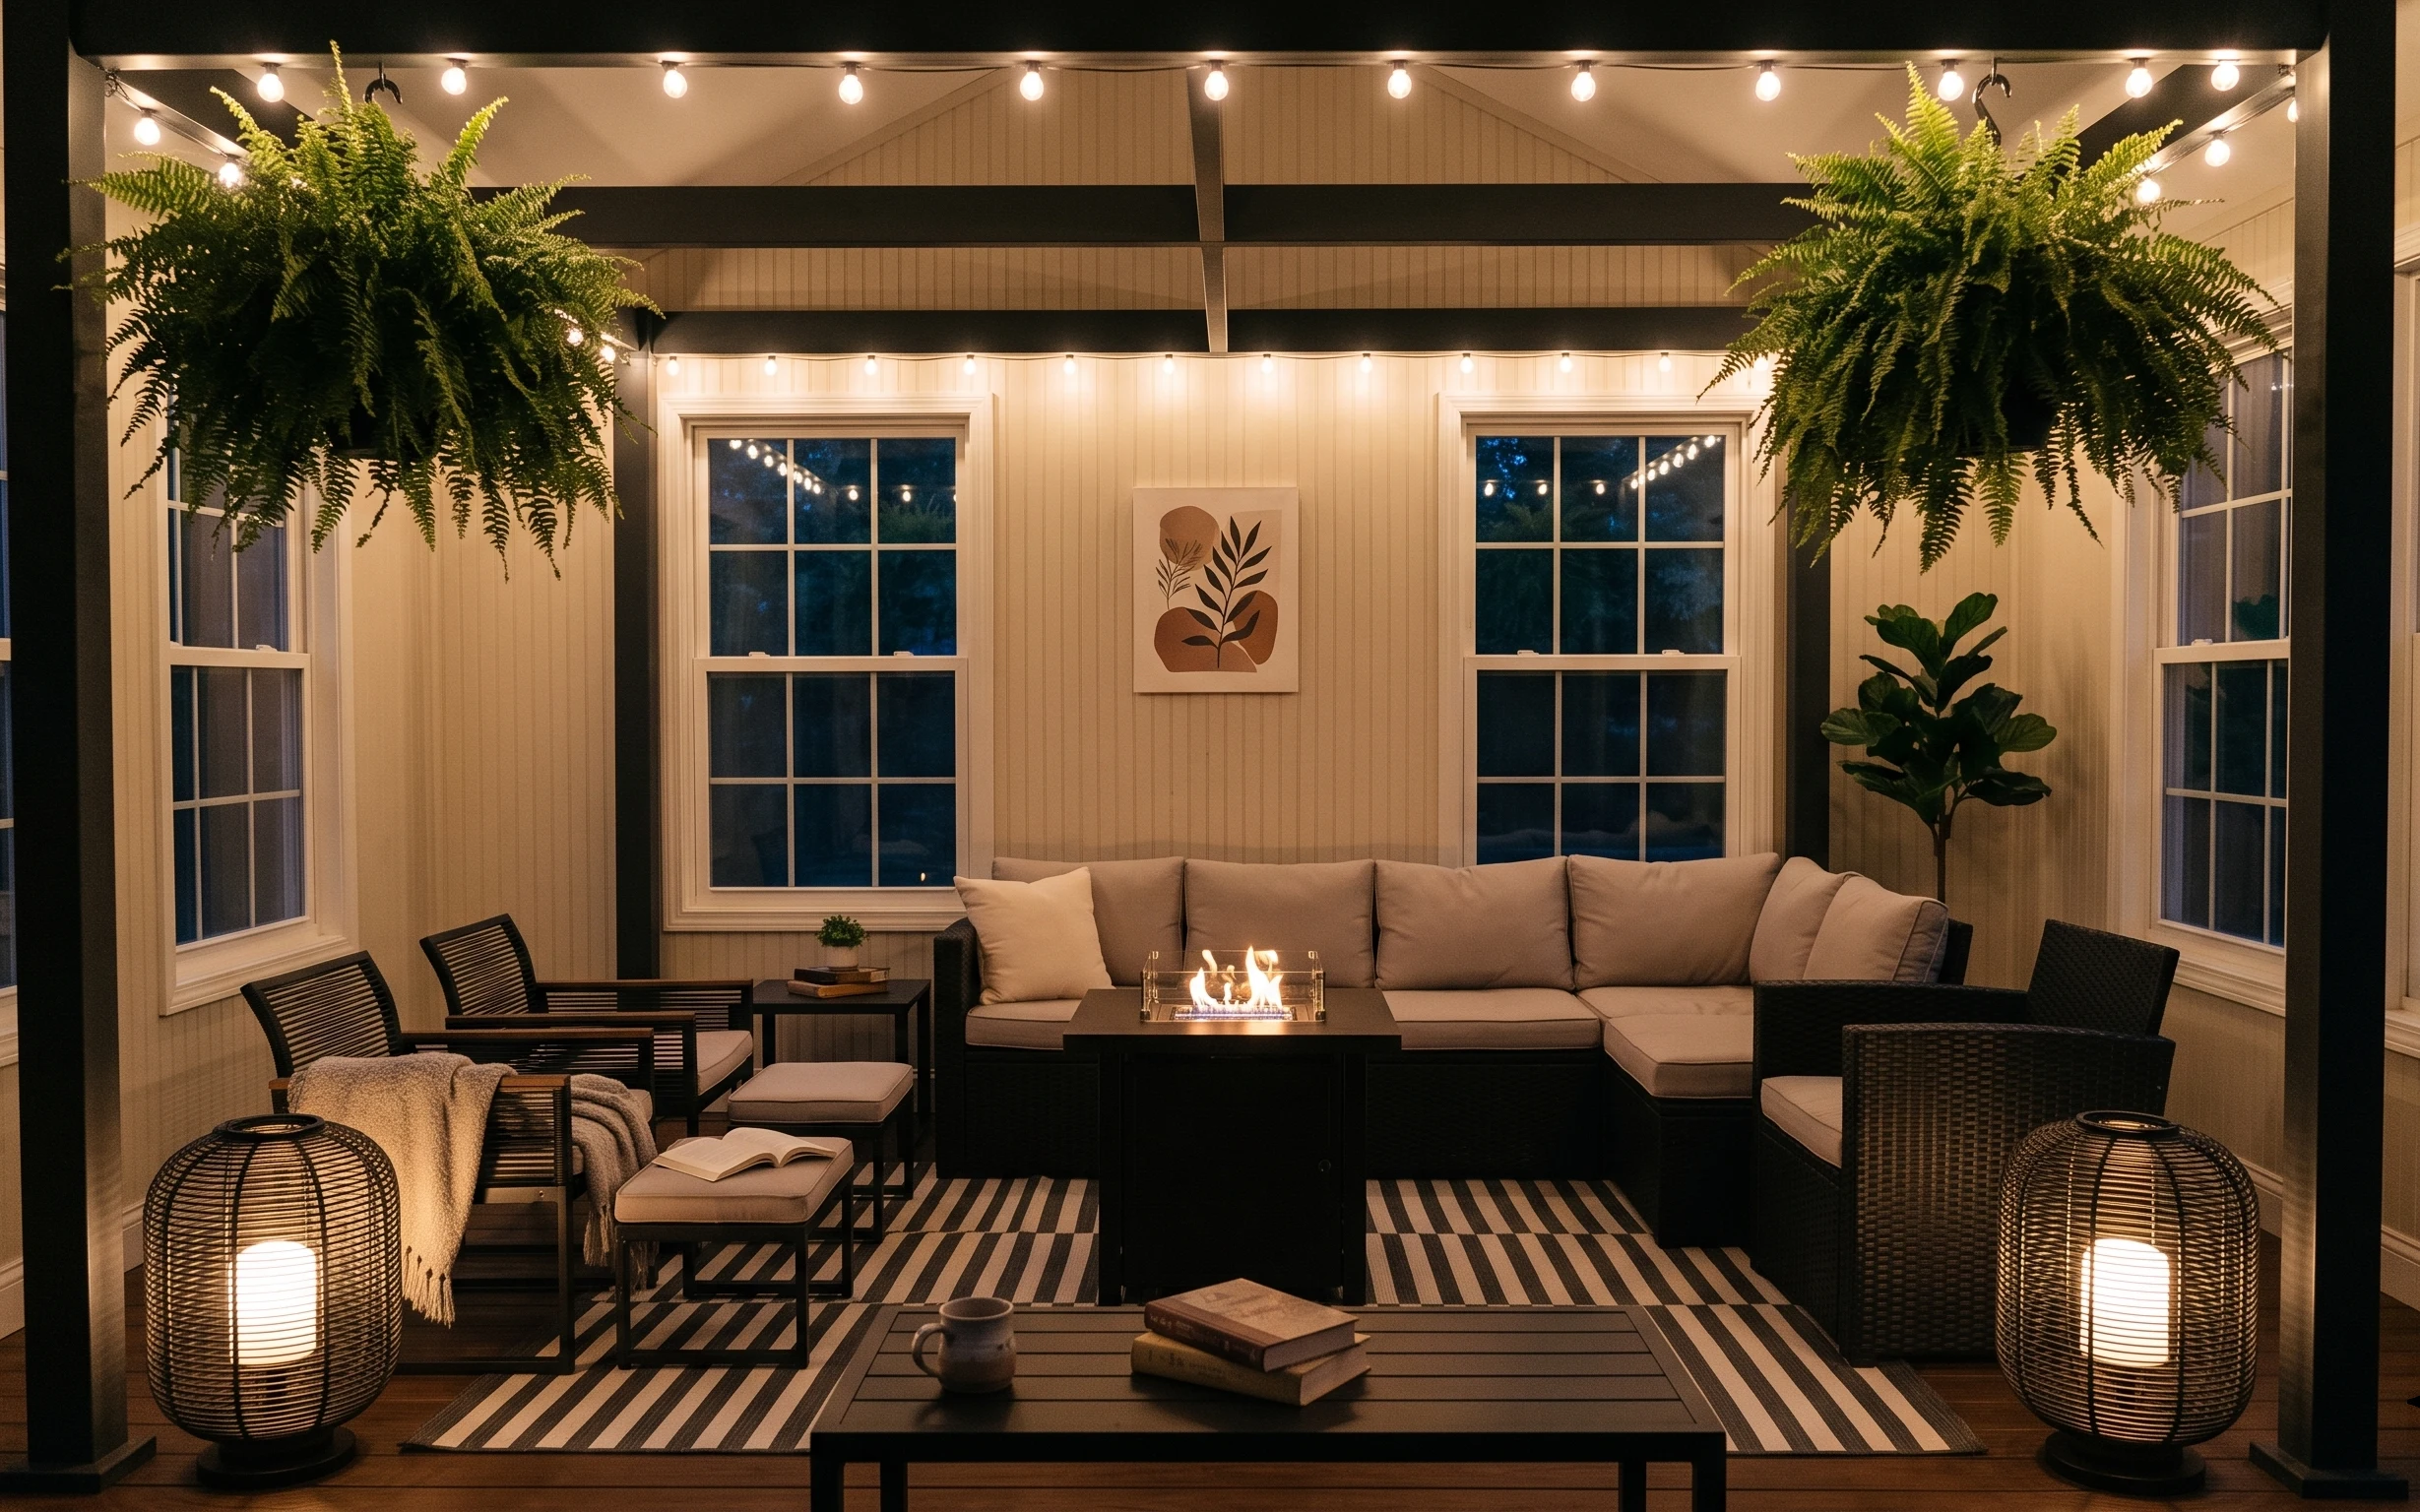
Why warm-beige and black layers are the covered patio lounge of 2026
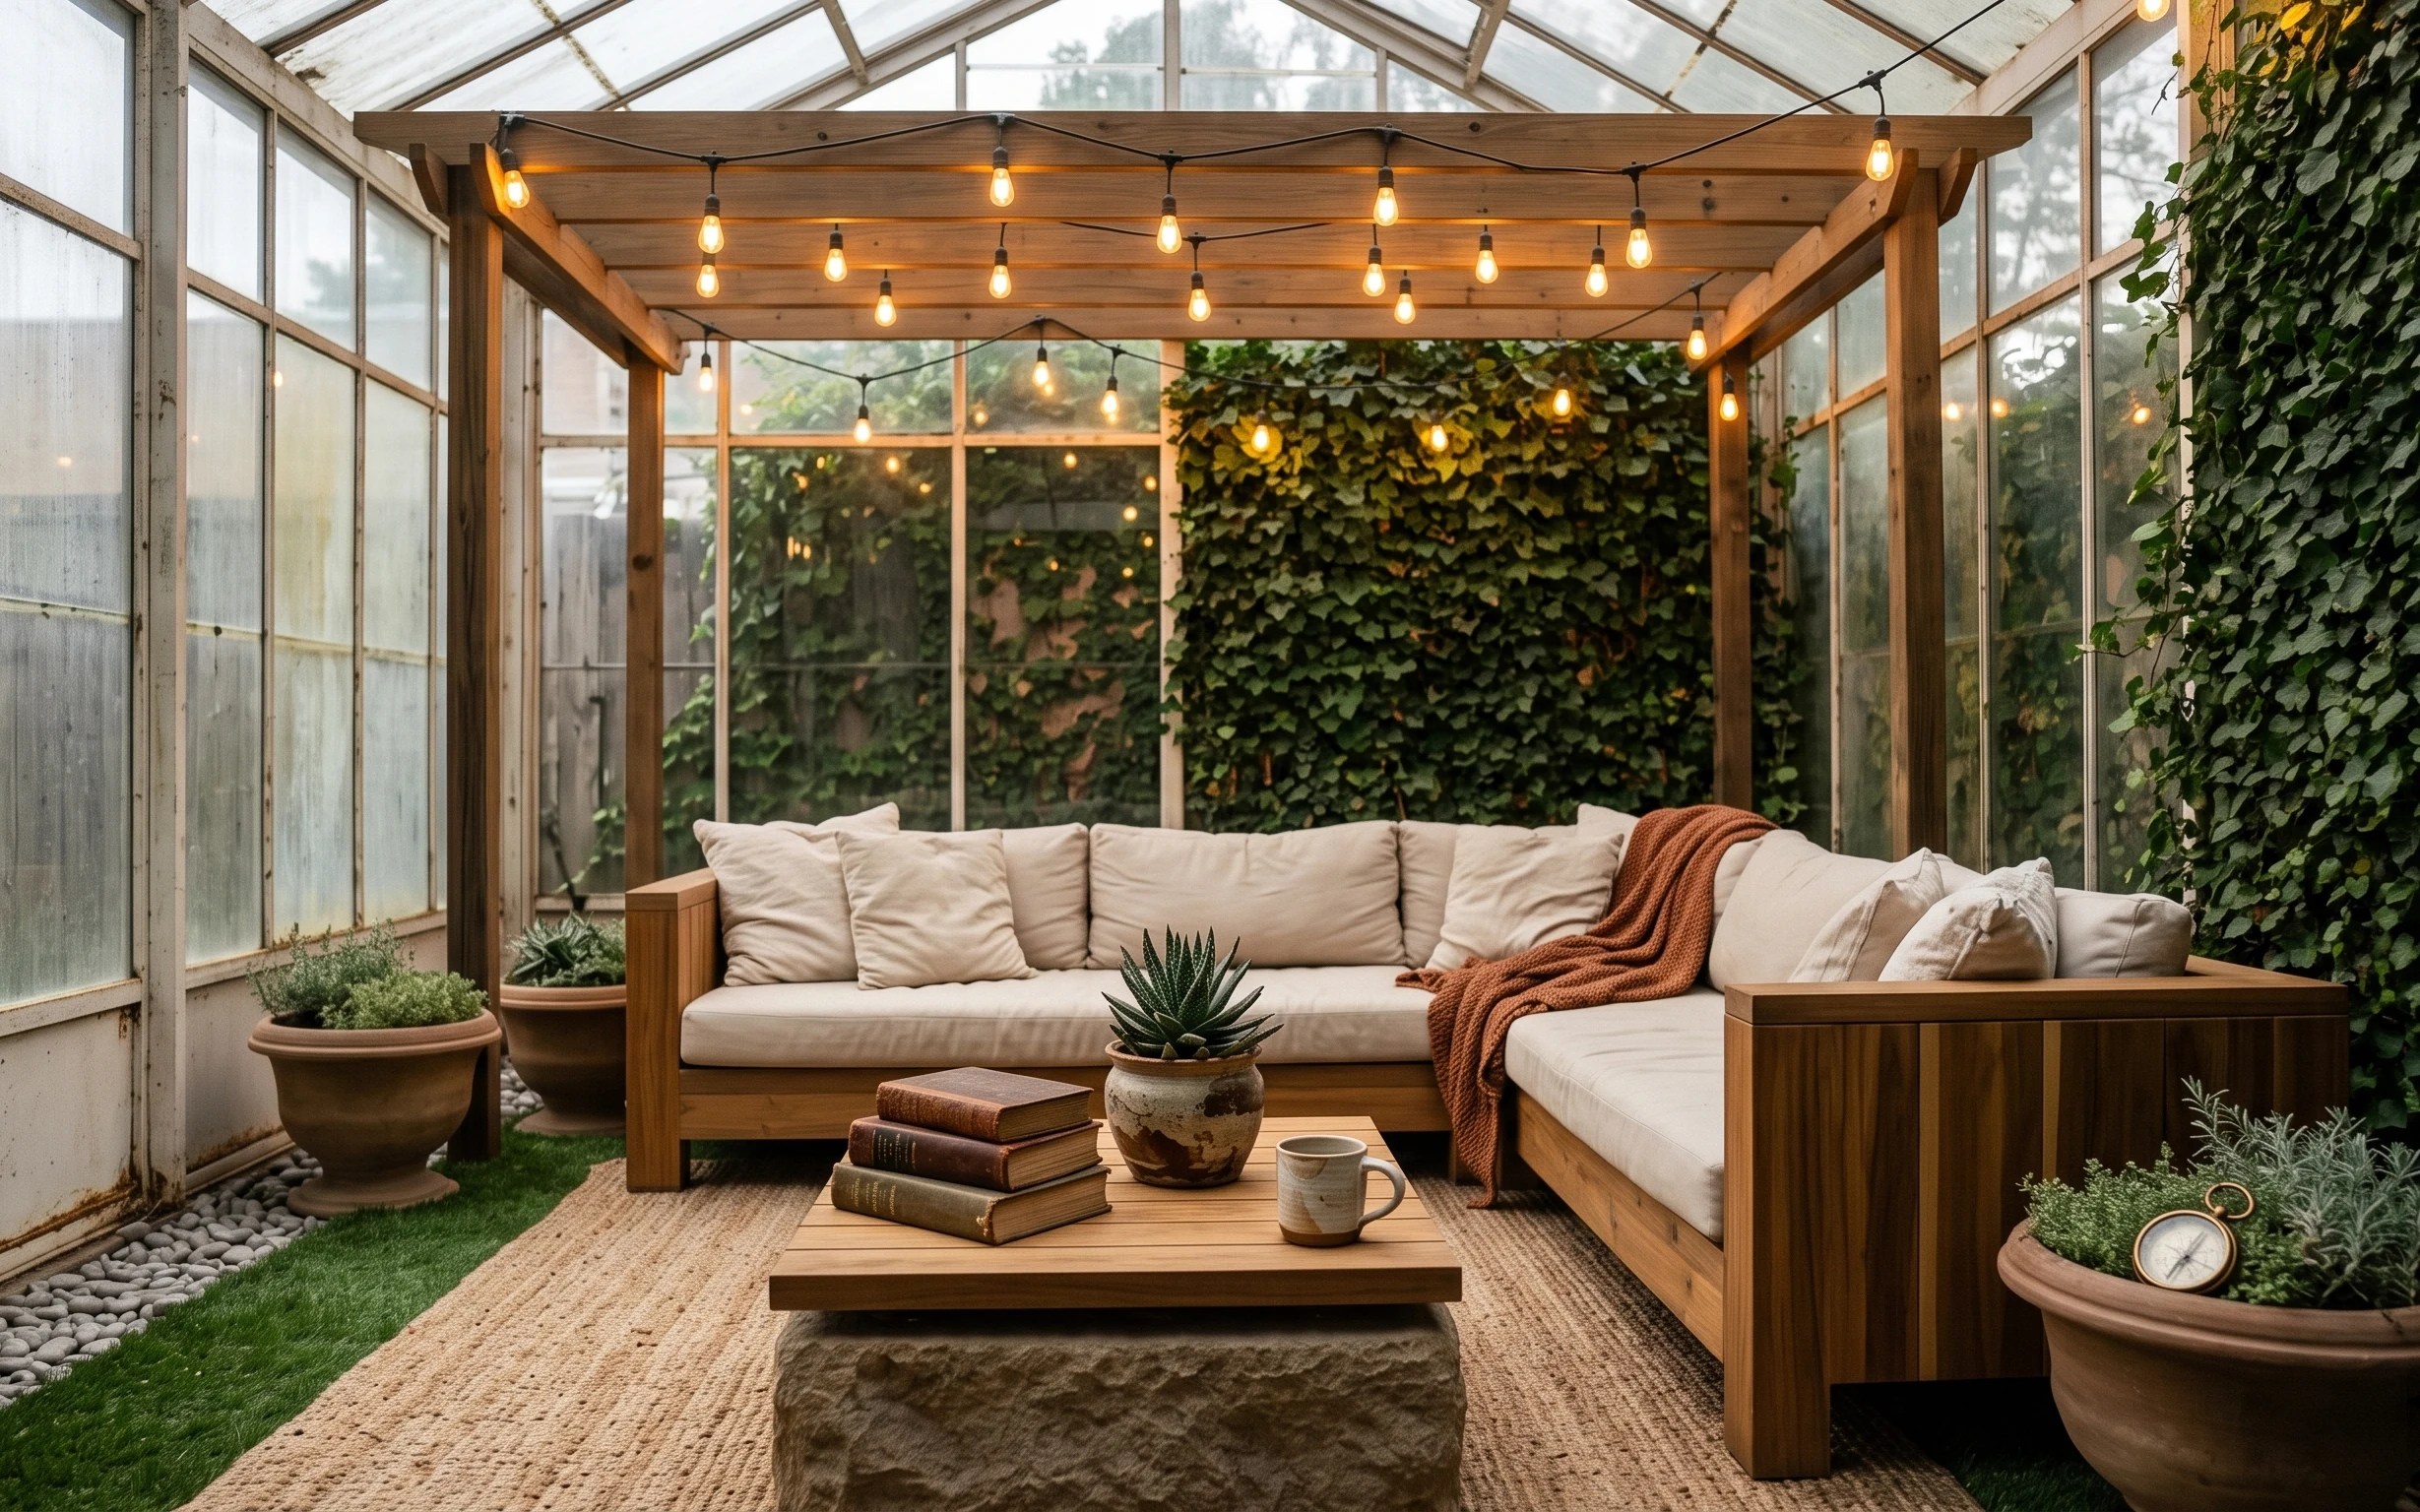
You’re already halfway there: this patio has vertical wood-paneled walls, a wood-beam ceiling, and string lights that cast a warm glow. The fastest way to make it feel designed (not just decorated for a night) is to lock in three things you can touch: the striped outdoor rug, the centered framed botanical print, and pillow covers that match the sofa’s beige cushions. Then the plants—those large potted ferns—stop looking random and start looking purposeful. For homeowners working on a weekend timeline, these swaps are doable because they don’t require inspections or structural changes.
My own mistake the first time I tried to “style” an outdoor seating area? I kept buying pretty decor and forgot the boring rule: the rug sets the zoning. I added a rug late, and suddenly the sofa-and-table cluster stopped floating. Here, the same logic applies—anchor the seating with the stripes, then repeat the palette in pillows, wall art, and greenery.
Layer 1 — striped outdoor rug ($150) grounds the seating cluster
The striped outdoor rug is the piece that tells your eye, “this is the room.” It sits under the outdoor coffee table with fire feature and stretches across the floor in front of the sectional, so everything reads as one arrangement instead of separate zones. I’d choose stripes here over a plain solid because the lines give you structure against the vertical wood-paneled walls, especially at night when lighting can blur edges. The trade-off: you have to commit to the pattern scale—too tiny and it disappears, too loud and it competes with the plants.
Anchor first, style second
Pick the rug before pillows and wall art so the color repetition feels intentional.
Layer 2 — framed botanical print ($80) creates the center point
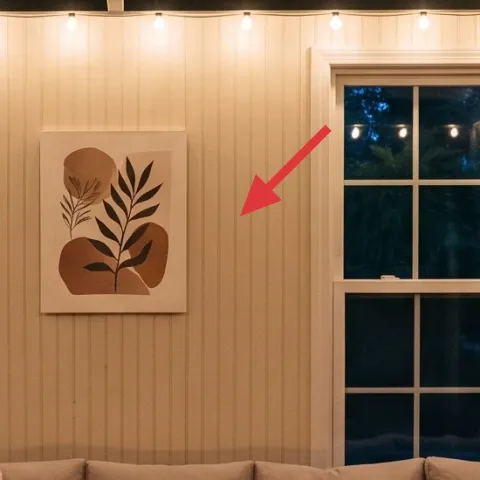
This framed botanical print is already centered between the large windows, which is exactly what you want for a covered patio lounge: one clear focal point. Swapping the print (or updating what’s inside it) is the easiest way to make the space feel “finished” without rearranging furniture. The reason it works with this palette is simple: the botanical linework echoes the plant shapes (those large potted ferns) while the warm background matches the beige cushions and wood tones. The trade-off is that you want the print to be legible from seating height, not tiny details that only show up when you’re standing.
Make it instead of buying it
DIY a hand-painted botanical print that matches the warm beige-and-green palette so it looks custom but stays budget-friendly.
Materials
- Wood panel or primed canvas, ~8x10 inch — 1 piece — craft store — $18
- Acrylic paint set (green + warm beige) — 1 set — craft store — $14
- Black fine-tip paint marker or acrylic liner — 1 — art store — $12
- Painter’s tape — 1 roll — hardware store — $9
- Clear matte sealant (for indoor/outdoor-safe display) — 1 can — hardware store — $6
Steps
- Lightly sand the primed surface until it feels smooth to the touch.
- Use painter’s tape to block in a warm-beige background rectangle.
- Paint the background and let it fully dry.
- Sketch the leaf shapes lightly with pencil or a washable marker.
- Paint broad leaf shapes in green, then add vein lines with the fine-tip liner.
- Let the paint dry completely, then seal with a thin matte coat.
- After the sealant cures, swap the finished panel into the existing frame.
- Hang it centered so the print lines up with the window mullions.
Total DIY cost: $59 — saves about $21 over buying.
Keep the botanical tones cohesive
Pull one green shade and one warm neutral from the ferns and pillows so the wall art feels like part of the same palette.
Layer 3 — beige outdoor throw pillow covers ($120) soften the sofa without adding bulk
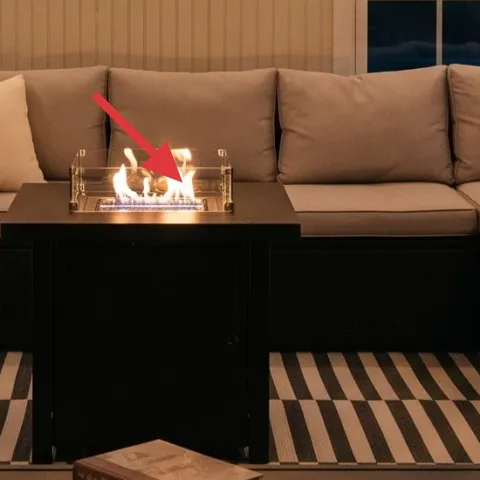
On a covered patio, beige cushions can read flat unless the texture and shape are intentional. Swapping in new beige outdoor throw pillow covers gives you a “clean” surface that matches the sofa cushions while still looking layered. I’m aiming for a mix of sizes (a couple larger covers plus smaller ones) so the eye can rest in the middle of the sectional back. The main reason it works here is scale: your furniture is chunky, and pillow covers are the easiest way to echo that comfort without changing the layout. Trade-off: if the covers are too thin, they won’t look plush against the warm string lights.
Match color, vary texture
Keep the same warm beige tone, but mix weave or finish so the cushions don’t look like one block.
Layer 4 — string lights ($60) adds warmth after dark
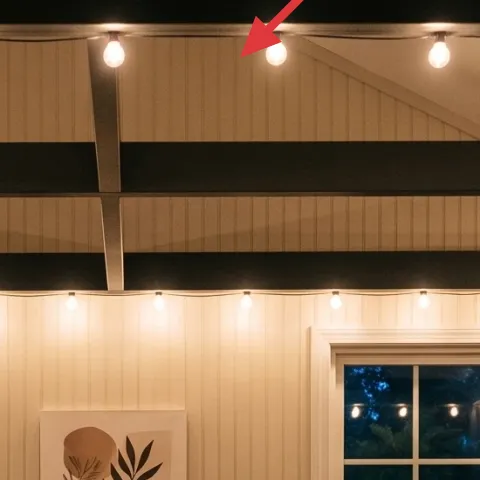
String lights are doing more than decoration here—they shape the room’s atmosphere. Because they run along the wood ceiling beams, they visually widen the covered patio lounge and make the vertical wood-paneled walls glow. If you’re refreshing your setup, prioritize consistent bulb size and spacing so it looks curated rather than patched together. The trade-off is electrical planning: stick with plug-in strings and route cords neatly so they don’t sag in front of seating. When the bulbs hit the plants, the ferns look fuller and the whole palette reads warmer.
Avoid uneven sagging
If one section dips, it can make the whole line look accidental—measure spacing and keep the tension even.
Layer 5 — woven outdoor side chair ($100) frames the lounge with symmetry
The woven outdoor side chair on the left gives the seating arrangement balance, especially when it faces the outdoor coffee table with fire feature. This is one of those upgrades that looks “expensive” because the material has depth: weave texture catches the string-light glow and makes the black metal/wood tones feel grounded. If you’re working on budget, swapping just one chair (or refreshing the chair’s cushion) can still read as a full layout update because the eye perceives symmetry. Trade-off: woven pieces show wear faster, so choose outdoor-rated cushion fabric and plan for quick spot cleaning.
Match the cushion tone to the sofa
Picking a cushion that’s close to the beige cushions reduces the “random chair” effect.
Layer 6 — large potted ferns (pair) ($160) makes the palette feel alive
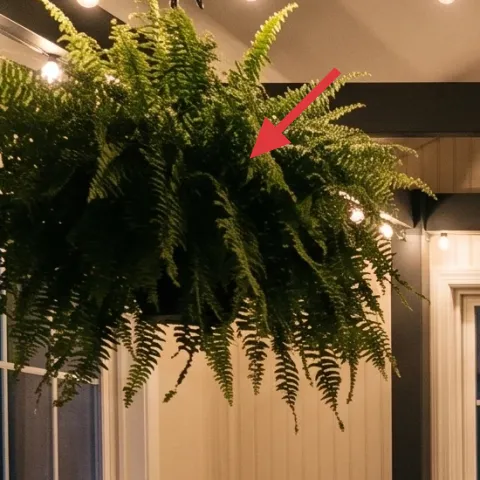
The large potted ferns do the heavy lifting of bringing softness to the sharp lines—windows, beams, and the framed botanical print. Placing them on both sides creates a natural frame around the centered artwork and keeps your patio lounge feeling balanced from every angle. I like ferns here because their fine fronds read full even when the lights are warm and the room is dim. Trade-off: they’re visually dramatic, so you have to choose pots that won’t fight the black-and-beige palette. Bigger fern volume also means more watering attention, especially in dry climates.
Place for “frond height”
Aim the fronds around the level of the framed botanical print so they mirror its presence.
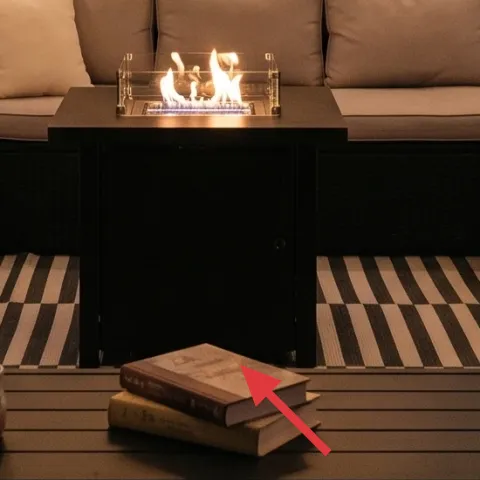
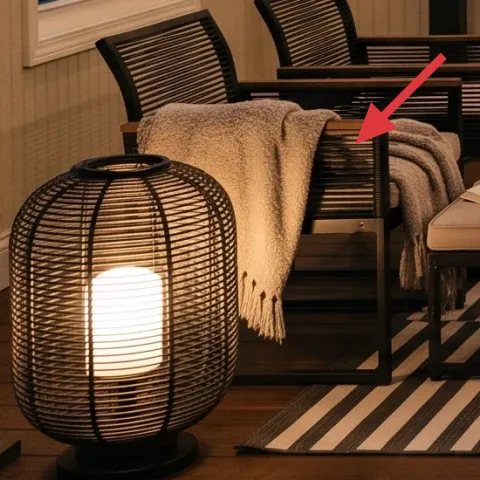
Layer 7 — outdoor coffee table with fire feature ($120) anchors the night
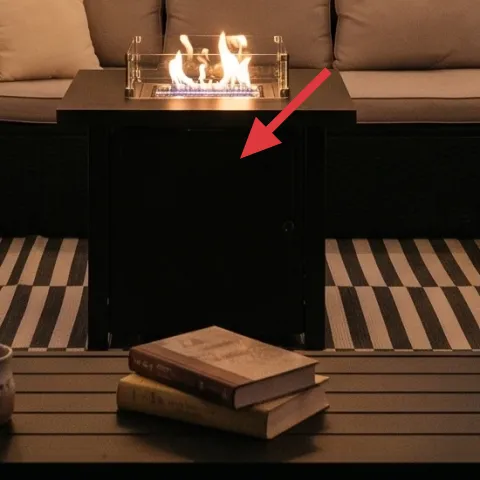
The outdoor coffee table with fire feature is the reason people linger—heat plus glow turns a seating area into an event. In this photo it’s centered in the middle of the striped rug, so the rug becomes the runway and the fire becomes the focal point. Choosing (or refreshing) a fire feature with a clean, simple silhouette keeps it from competing with the woven lantern floor lamps and the ferns. Trade-off: fire tables need safe, stable placement, so keep the surrounding area clear and don’t crowd the flame zone with clutter. When it’s lit, your entire palette looks more cohesive.
Let the glow do the color-matching
Warm light will deepen beiges and greens—so you don’t need matching decor in every shade.
The cost, layer by layer
| Layer | Item | Cost |
|---|---|---|
| 1 | Striped outdoor rug | $150 |
| 2 | Framed botanical print (DIY) | $80 |
| 3 | Beige outdoor throw pillow covers (set) | $120 |
| 4 | String lights (plug-in) | $60 |
| 5 | Woven outdoor side chair | $100 |
| 6 | Large potted ferns (pair) | $160 |
| 7 | Outdoor coffee table with fire feature | $120 |
| Total | $790 | |
If you want a cheaper variant, start with the rug and the framed botanical print, then swap only one chair and one batch of throw pillow covers. Skip replacing plants and instead refresh the greenery with a smaller second pot or a pruning trim.
What worked, what didn't (across the whole room)
The biggest wins were the pieces that create a center line: the striped outdoor rug, the framed botanical print, and the fire feature. Warm string lights made everything read cohesive, especially against the vertical wood-paneled walls. The main place it can go off-track is overbuying decorative items—when you keep the core anchors simple, plants and texture do the rest.
What worked
- The striped outdoor rug visually ties the sofa, coffee table, and seating chairs into one zone.
- The framed botanical print sits centered between windows, creating an easy “where to look” point.
- Beige throw pillow covers add texture without fighting the warm wood tones of the patio walls.
- String lights brighten the entire covered patio lounge, making ferns look fuller and richer.
- Large potted ferns frame the artwork and soften the hard lines of beams and window trim.
- The fire feature anchors the night—everything feels more intentional once it’s lit.
What didn't
- If throw pillow covers are too flat, the sofa looks stiff next to the warm lighting.
- Uneven string light sagging can make the whole setup feel improvised instead of planned.
- Too-small plants can look like decoration; large ferns read like architecture for this room.
- Over-decorating around the coffee table with fire feature makes the flame feel secondary.
What we'd skip if we did it again
Skip replacing decorative lantern-style lights and keep your floor lighting simple. In this kind of covered patio lounge, string lights plus the fire glow already create depth, so extra light fixtures usually add clutter and cost.
Skip small-pattern rugs. With the vertical wood-paneled walls and tall ferns, a micro-pattern rug disappears and forces you to fight the room’s lines instead of letting the stripes do the zoning work.
Skip buying one-off wall decor that doesn’t echo the plants. If the framed botanical print doesn’t pull a green tone and keep the composition centered, it can feel random—better to DIY or choose one clear botanical style.
Frequently asked
How long does this covered patio lounge refresh take?
Plan on about 4–6 hours for the fast wins: rug placement, pillow cover swaps, and hanging the framed botanical print. If you DIY the print, add another 2–5 hours for painting and dry/seal time (plus curing). If you’re buying ferns and chairs on the same day, it can stretch to a full weekend, but most homeowners will still be lighting string lights that night.
What if I rent and can’t keep the framed botanical print?
You can still do the same look by using a lightweight frame you can remove easily, and by choosing a print sized to line up with the existing window spacing. For string lights, use plug-in cords and keep routes out of high-traffic areas. If hanging isn’t allowed, lean the framed print against the wall during styling, then swap back before move-out.
My patio is smaller—how do I adjust the layout?
For a smaller covered patio lounge, keep the rug proportional and don’t extend it farther than the seating zone. Use fewer pillow covers (start with three to five) so the sofa still reads comfortable, not crowded. With plants, choose one tall fern per side instead of a full pair if the room is narrow, but keep the frond height similar to the framed botanical print for balance.
Where should I shop differently to stay under $800?
Shop the rug and wall art first, then do “support shopping” for the rest. Rug pricing varies wildly—look for outdoor-rated stripes during seasonal sales. For the framed botanical print, thrift the frame and DIY the art inside. For pillows, search for outdoor-rated cover sets in beige tones instead of matching everything to the exact sofa fabric.
What’s the biggest mistake to avoid in this room type?
Don’t start with decorative extras before you anchor the seating zone. If the striped outdoor rug and the centered framed botanical print aren’t doing their jobs, plants and lighting can’t compensate. In practice, the room looks finished when those three anchors line up: rug for zoning, print for focus, and string lights for warmth.
More in Outdoor & Patio
6 no-drill ways to make a covered patio lounge feel styled for $800
A covered patio lounge already has the bones—now it just needs a few high-impact swaps. This $800 weekend refresh focuses on a striped outd…
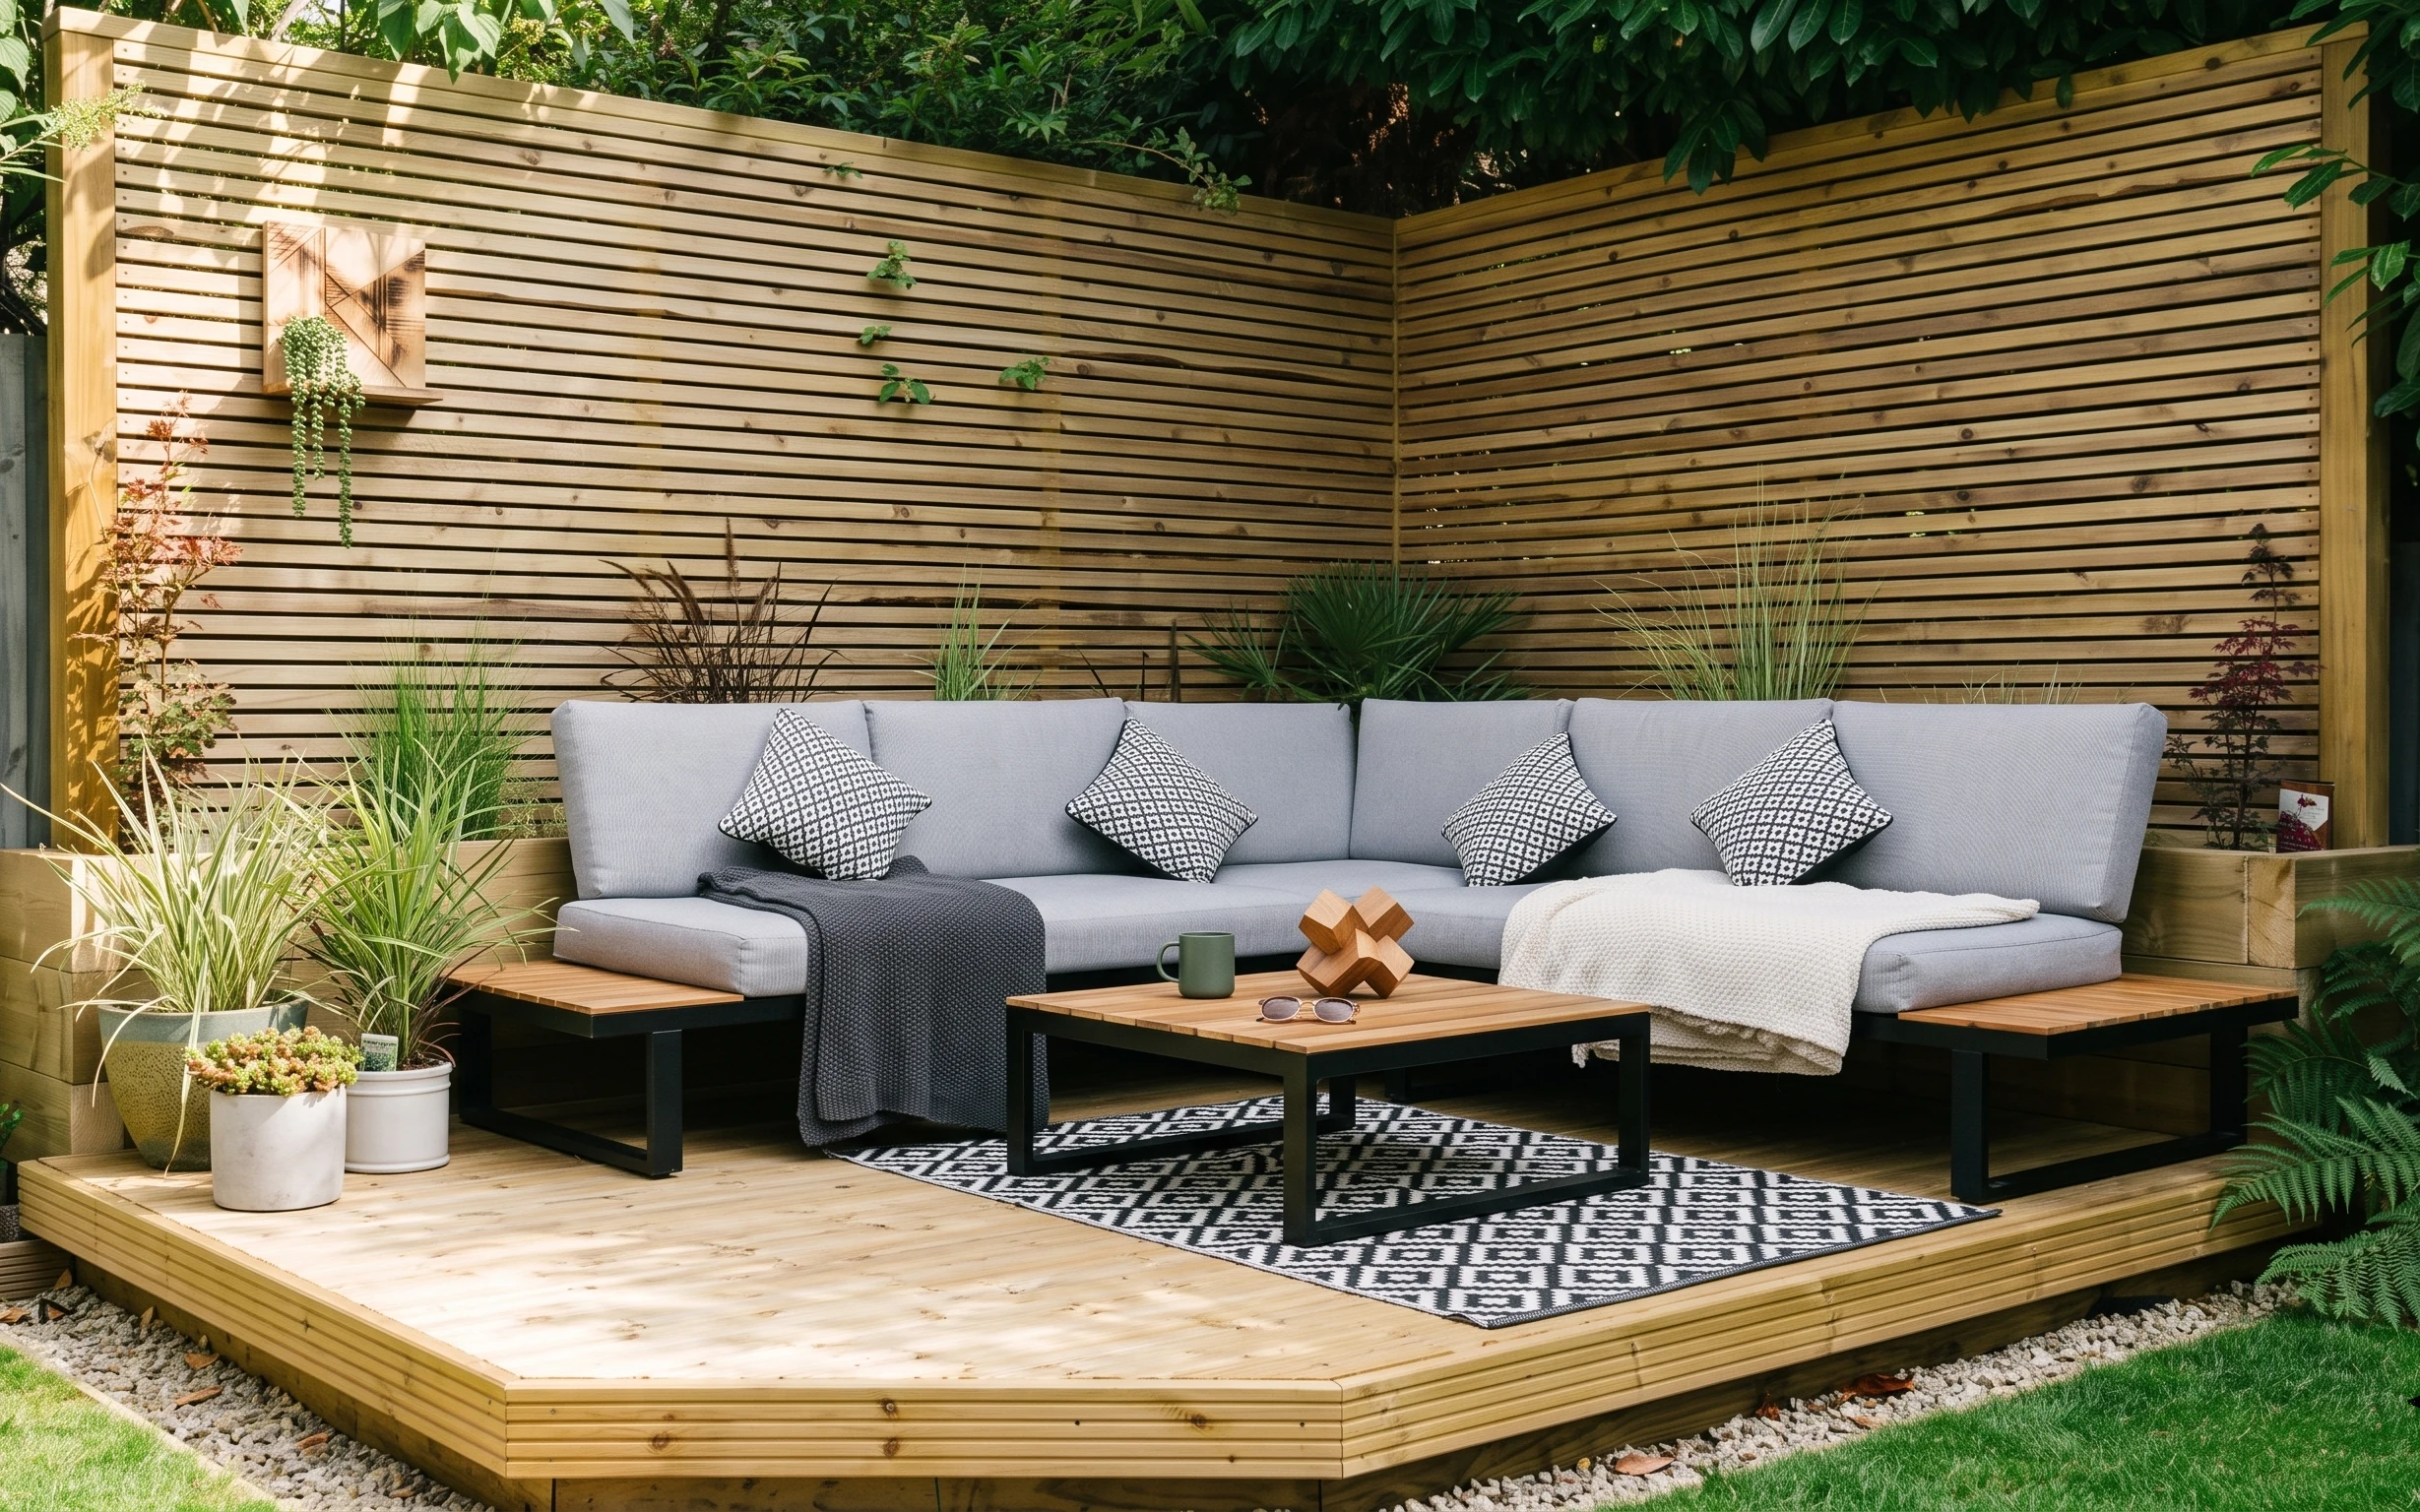
7 budget-friendly outdoor swaps for an outdoor lounge
A light-gray sofa, black-and-white rug, and wood coffee table turn a basic deck into an outdoor lounge. This $700 weekend refresh focuses o…
7 no-drill ways to build a garden pergola lounge, $350
A garden pergola lounge refresh for shared housing that leans on warm string lights, a cream rug base, and a couple of fabric swaps. This $…